EDUCBA

EDUCBA

MENUMENU
  • Free Tutorials
  • Free Courses
  • Certification Courses
  • 280+ Courses All in One Bundle
  • Login
Home Design Design Tutorials Photoshop Tutorial Layers Panel in Photoshop
Secondary Sidebar
Photoshop Tutorial
  • Basics and Advanced
    • What is Photoshop?
    • Install Adobe Photoshop
    • Introduction to Photoshop
    • Career in Photoshop
    • Uses of Photoshop
    • Adobe Photoshop Commands
    • Is Photoshop Free?
    • Website Layout in Photoshop
    • Adobe Photoshop
    • Top Features in Adobe Photoshop
    • Adobe Photoshop Elements tools
    • Free UI Kits For Photoshop Download
    • Layers Panel in Photoshop
    • Photoshop Moon Brushes
    • Ripple Effect Photoshop
    • Action in Photoshop
    • Photoshop Color Match
    • Photoshop color picker
    • Photoshop split toning
    • Photoshop GIF
    • Photoshop Extend Background
    • Photoshop template flyer
    • Photoshop content aware fill
    • Photoshop Overlays
    • Photoshop vignette
    • Photoshop Textures
    • Photoshop liquify
    • Photoshop automate
    • Photoshop presets
    • Layer effects in Photoshop
    • Photoshop hologram effect
    • Vintage Effect Photoshop
    • Vaporwave Photoshop
    • Photoshop Polaroid
    • Pixel Effect Photoshop
    • Photoshop Creative
    • MP4 to GIF Photoshop
    • Templates in Photoshop
    • Night Effect in Photoshop
    • Photoshop Sun Effect
    • Photoshop Gold Gradient
    • Perspective Correction in Photoshop
    • VHS Effect Photoshop
    • Halftone in Photoshop
    • Puppet Warp in Photoshop
    • Photoshop Cheat Sheet
    • Resize Object in Photoshop
    • Distortion Effect Photoshop
    • Clone Stamp Tool in Photoshop
    • Fisheye Effect in Photoshop
    • Vanishing Point in Photoshop
    • Fix Perspective in Photoshop
    • Warp Image Photoshop
    • Transform Tool Photoshop
    • Photoshop Straighten Image
    • Glitch Effect in Photoshop
    • Photoshop Cinemagraph
    • Stamp Effect in Photoshop
    • Typography in Photoshop
    • Photoshop Distort Effect
    • How to Print in Photoshop?
    • Morphing in Photoshop
    • Glow Effects in Photoshop
    • Tree Brush Photoshop
    • 3D Text Effect in Photoshop
    • Shiny Effect Photoshop
    • Photoshop Font Effects
    • Metallic Effect Photoshop
    • Ice Effect in Photoshop
    • Dispersion Effect in Photoshop
    • Healing Brush Tool in Photoshop
    • Crop Tool in Photoshop
    • Artboard in Photoshop
    • Fire Effect in Photoshop
    • Photoshop Versions
    • Portrait Effect in Photoshop
    • Quick Selection Tool in Photoshop
    • How to Highlight Text in Photoshop?
    • How to Change Text Color in Photoshop?
    • Change Color in Photoshop
    • Filters in Photoshop
    • Change Hair Color in Photoshop
    • How to Change Shirt Color in Photoshop?
    • Watercolor Brushes in Photoshop
    • How to Blend Images in Photoshop?
    • Plastic Effect in Photoshop
    • Ruler Tool in Photoshop
    • How to Fill Color in Photoshop?
    • How to Delete Background in Photoshop?
    • Plugins in Photoshop
    • Photoshop Mixer Brush Tool
    • Color Replacement Tool in Photoshop
    • Eraser Tool in Photoshop
    • Motion Effect in Photoshop
    • How to Make Logo in Photoshop?
    • Lasso Tool in Photoshop
    • Reflection Effect in Photoshop
    • Metal Text Effect in Photoshop
    • Gold Text Effect in Photoshop
    • Smart Objects in Photoshop
    • Text Effects in Photoshop
    • Layers in Photoshop
    • 3D Text in Photoshop
    • Selection Tool in Photoshop
    • Patch Tool in Photoshop
    • Eyedropper Tool in Photoshop
    • Rectangle Tool in Photoshop
    • Background Eraser Tool in Photoshop
    • Rain Effect in Photoshop
    • Oil Paint Filter in Photoshop
    • Clipping Mask in Photoshop
    • Burn Tool in Photoshop
    • Paint Bucket Tool in Photoshop
    • Snow Effect in Photoshop
    • Mirror Effect in Photoshop
    • Adobe Photoshop Alternatives
    • Transparent Text in Photoshop
    • Sharpen Tool in Photoshop
    • Custom Shape Tool in Photoshop
    • Adobe Photoshop Tools
    • Red Eye Tool in Photoshop
    • Adobe Photoshop Shortcut Keys
    • Pencil Tool in Photoshop
    • Blur Tool in Photoshop
    • Smudge tool in Photoshop
    • Sponge Tool in Photoshop
    • Magic Wand Tool in Photoshop
    • Move Tool in Photoshop
    • Line Tool in Photoshop
    • Photoshop Interview Questions

Related Courses

Photoshop Training Course

Adobe Premiere Pro Training Course

Design Training Course

Layers Panel in Photoshop

Layers Panel in Photoshop

Introduction to Layers Panel in Photoshop

Photoshop is a raster image editing software that is used by many photo editing professionals for their professional work. We have many different types of important sections in this software which makes our photo editing work easy. In this article, we will discuss the layer panel which is an important section of this software. Layer panel is a section in which we have layers of our used image or any shape in photoshop and it helps in managing your layer or editing of our layer with its exciting features. So let us start our discussion about parameters of layer panel of this software and also get introduced with an important feature of this section.

How to use Layer Panel in Photoshop?

Layer panel is an important part of Photoshop and we can use it for making good photo editing work in this software but before starting let us have a look at the working screen of this software so that we can better understand this topic throughout this article.

Start Your Free Design Course

3D animation, modelling, simulation, game development & others

All in One Design Bundle(280+ Courses, 100+ projects)
AutoCADHoudiniAdobe Premiere ProPhotoshop
SolidworksVFX Visual EffectsCorelDrawUnreal Engine
Price
View Courses
280+ Online Courses | 100+ projects | 2000+ Hours | Verifiable Certificates | Lifetime Access
4.6 (64,654 ratings)

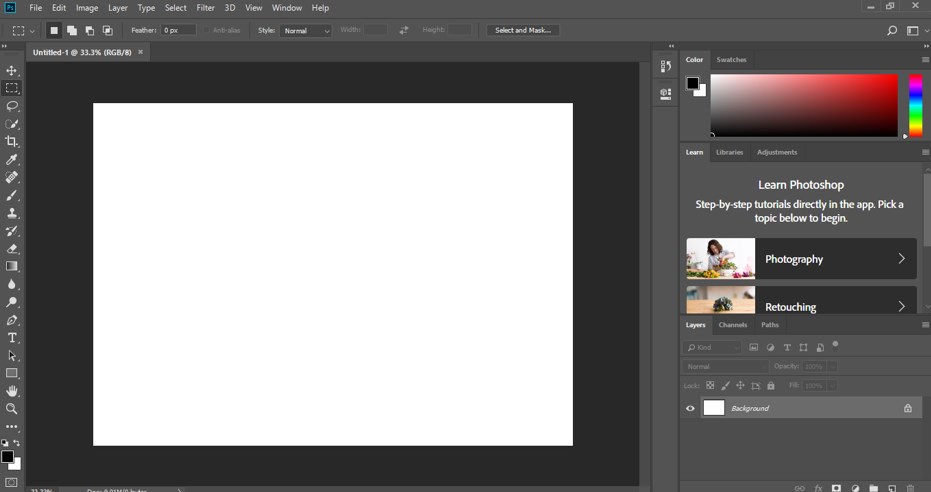
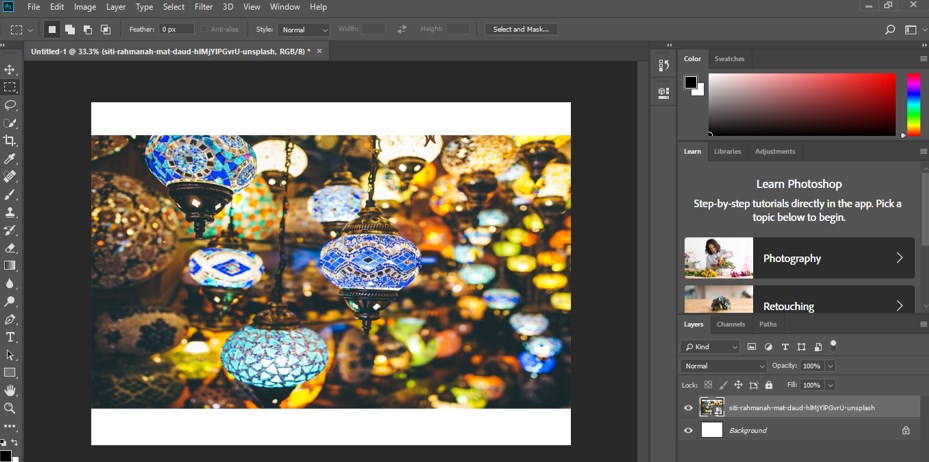
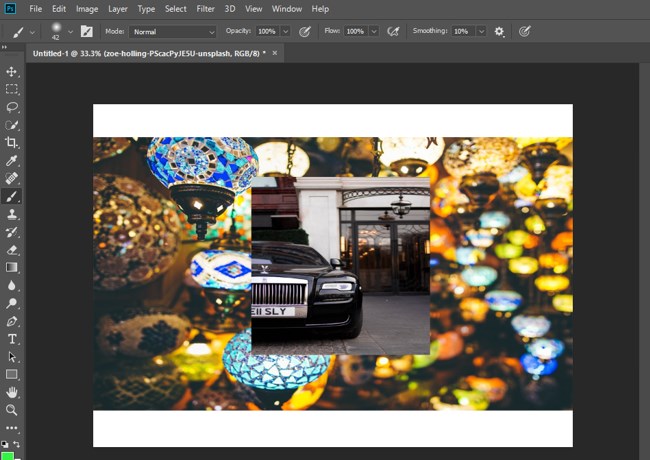
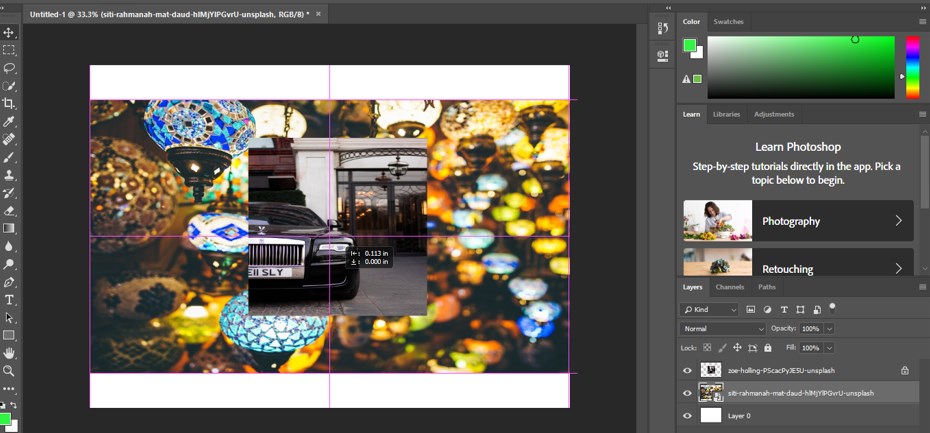
Step 1: At the top of the working screen we have Menu bar in which we have a different type of menus for making a different type of adjustment in our work, below this you can find parameters of your selected tool in the form of properties of that selected tool, at the left side you will find toolbar in which we have a different type of tools, next to this toolbar at the center of the working screen we have display window screen in which we can see our work, at the right side of this window you will find different box such as color box, layer panel, libraries panel. You can set all the sections according to your requirement from the window menu of this software.

working screen

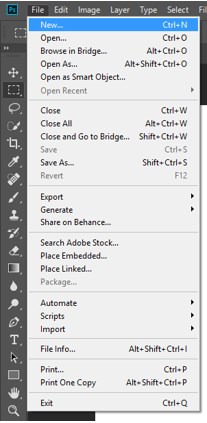
Step 2: Now let us have a new document from the File menu of Menu bar which is at the top of this software. For new documents click on the File menu of the menu bar and choose New option from the drop-down list or you can press Ctrl +N button from the keyboard.

File menu

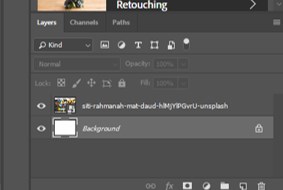
Step 3: Once you take a new document a background layer will come in layer panel of this software which has default name ‘background’.

new document

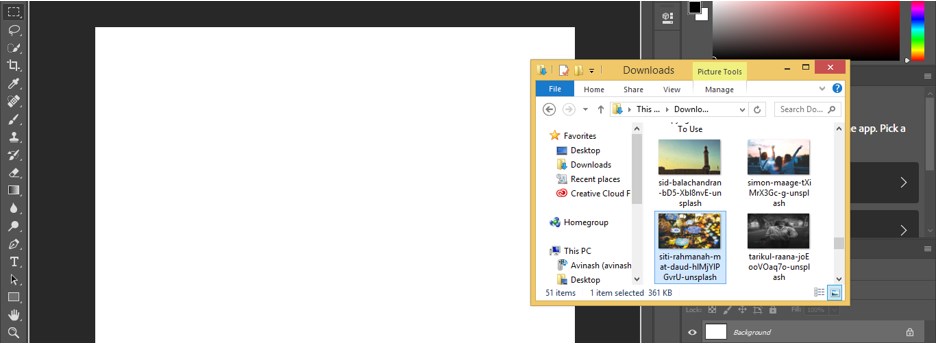
Step 4: Now let us import an image in this software. For importing image open the folder of your personal computer where you have saved it then pick it from there and drop it in the display window of this software.

import

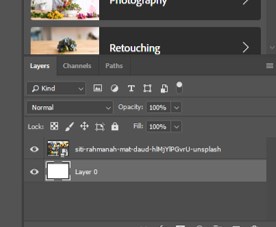
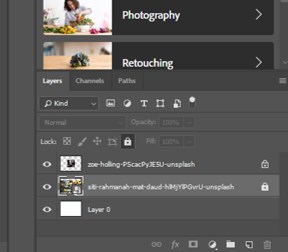
Step 5: Now we have one more layer added in the layer panel. You can name it according to you.

layer added

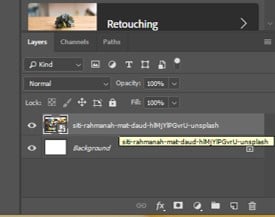
Step 6: Let us now discuss different parameters of the layer panel. Click on the background layer for selecting it. You can see there is no option of layer panel visible on this layer because you cannot make any change in the background layer until you make it normal layer.

set parameters

Step 7: Now when you click on another layer of layer panel you can see the option of this layered panel is visible for this layer.

layered panel

Step 8: Now let us make the background layer also as a normal layer for enabling all options of layer panel for this layer also. For enabling all options make double click in this layer with the mouse button. Once you make click a dialog box will open like this. Name your layer according to you then press the Ok button of this layer.

dialog box

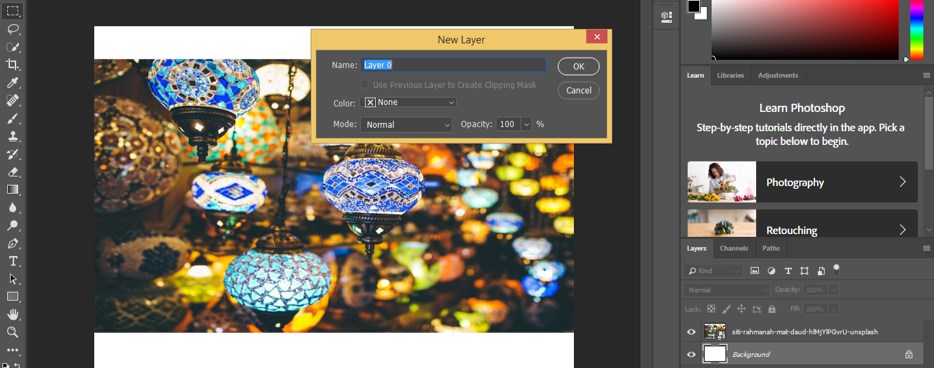
Step 9: Now your background layer will also change in the normal layer and now you can make changes in it also according to you.

background layer

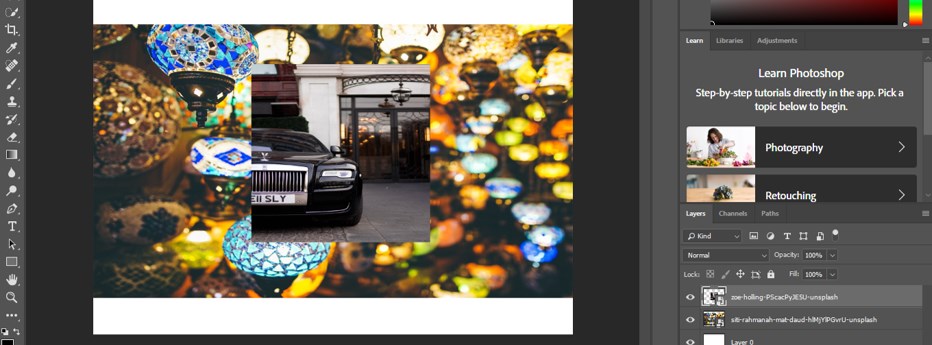
Step 10: Now let us understand other options of the layer panel. For understanding them let us take another image in this software by the same pick and drop method.

drop method

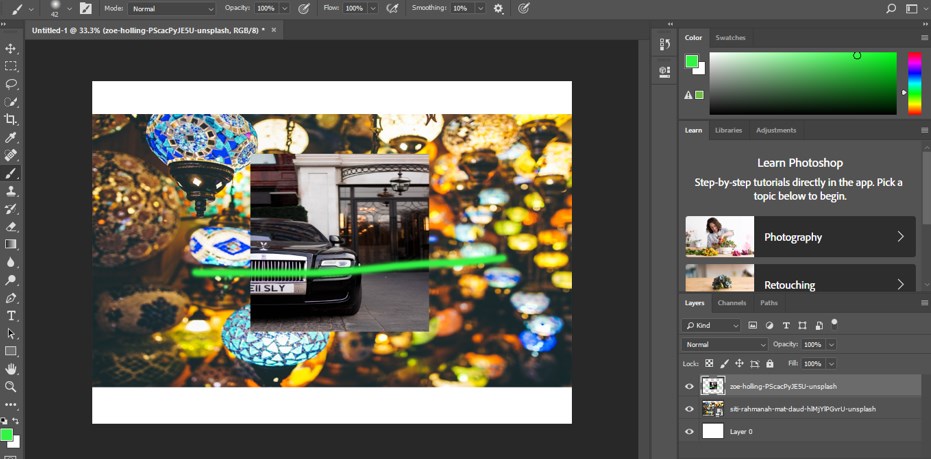
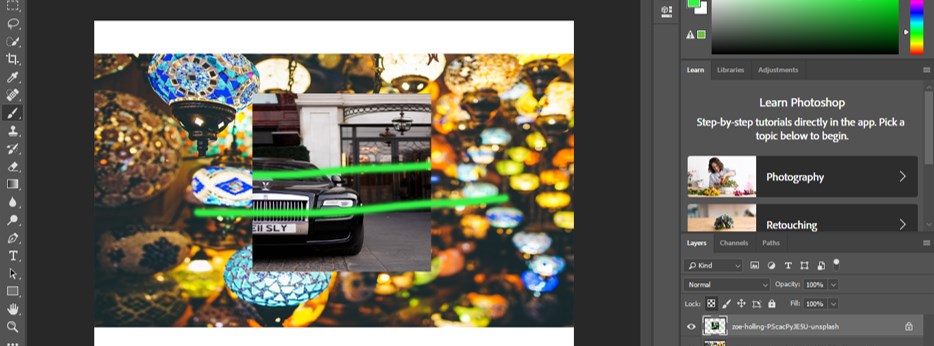
Step 11: Now I will take the brush tool from the toolbar of this software and draw a line on the car image.

Layers Panel in Photoshop - 11

Step 12: Now enable the ‘Lock transparency pixel’ option by click on it.

Layers Panel in Photoshop - 12

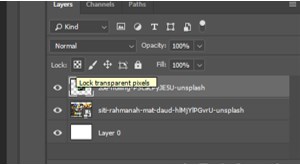
Step 13: Now again draw a line with the brush tool. At this time you can only draw anything on the car image not at the transparent area of this car image because we have locked transparency area by this option.

Layers Panel in Photoshop - 13

Step 14: Now click on lock image pixels option for enabling it.

Layers Panel in Photoshop - 14

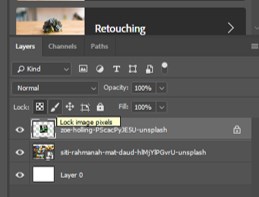
Step 15: Now at this time you cannot draw anything on the image area as well as the transparent area because both are locked.

Layers Panel in Photoshop - 15

Step 16: Now you can also lock the position of the layer if you don’t want to disturb the position of the image. Click on the Lock position option.

Layers Panel in Photoshop - 16

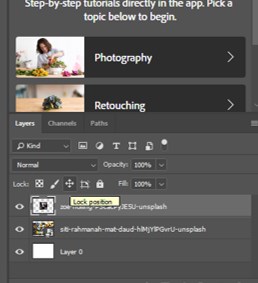
Step 17: And once you make click on this option you will not able to change the position of your selected image.

Layers Panel in Photoshop - 17

Step 18: Now if you want to lock your image totally then click on this lock icon and once you click on this option you won’t be able to change any parameter of your selected layer.

Layers Panel in Photoshop - 18

Step 19: If you have a number of layers in your layer panel then you can find it from this option.

Layers Panel in Photoshop - 19

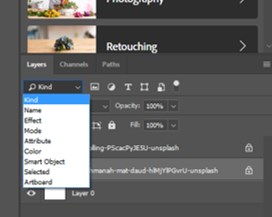
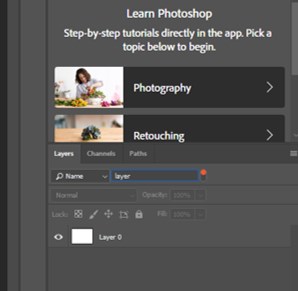
Step 20: For example click on Name option and then write the name of your layer in the search box of this option and your searched layer will only visible in the layer section.

Layers Panel in Photoshop - 20

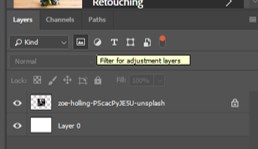
Step 21: We have some other option through which we can search our layer for example if you have any adjustment layer in your project then click on this adjustment layer button and all adjustment layer will remain in your layer panel.

Layers Panel in Photoshop - 21

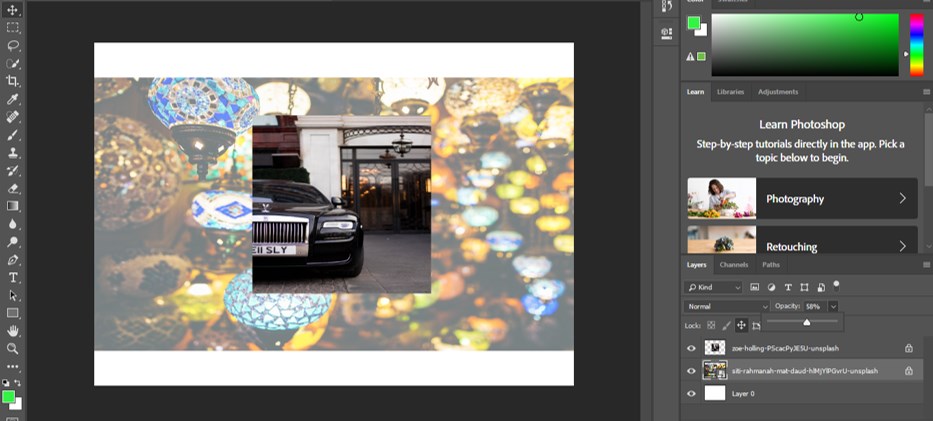
Step 22: You can increase or decrease the opacity of any layer. For this option just select that layer by click on it and then click on the drop-down arrow of the opacity option of that layer. Now drag the slider of this opacity option for increasing or decreasing the value of the opacity of your selected layer. You can enter your desired value through the keyboard also.

Layers Panel in Photoshop - 22

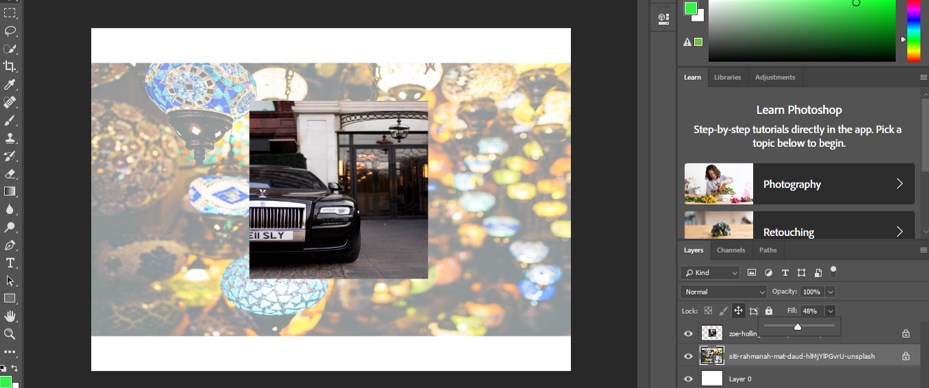
Step 23: You can use a fill option for increasing or decreasing transparency in the case of any image.

Layers Panel in Photoshop - 23

In this way, you can use a layer panel in Photoshop and handle its parameters.

Conclusion

Now after this article you can understand what layer panel is in Photoshop and how you can handle its parameters for getting the best result in editing raster images. You can take the command of different features of this layered panel by practicising on it.

Recommended Articles

This is a guide to Layers Panel in Photoshop. Here we discuss an introduction, how to create a layer panel in photoshop in step by step manner. You can also go through our other related articles to learn more –

  1. Transparent Text in Photoshop
  2. Portrait Effect In Photoshop
  3. Portrait Effect In Photoshop
  4. Fire Effect In Photoshop
Popular Course in this category
Photoshop Training (10 Courses, 12+ Projects)
  10 Online Courses |  12 Hands-on Projects |  80+ Hours |  Verifiable Certificate of Completion
4.9
Price

View Course

Related Courses

Adobe Premiere Pro Tutorial (4 Courses, 7+ Projects)4.9
All in One Design Bundle (280+ Courses, 100+ projects)4.8
0 Shares
Share
Tweet
Share
Primary Sidebar
Footer
About Us
  • Blog
  • Who is EDUCBA?
  • Sign Up
  • Live Classes
  • Corporate Training
  • Certificate from Top Institutions
  • Contact Us
  • Verifiable Certificate
  • Reviews
  • Terms and Conditions
  • Privacy Policy
  •  
Apps
  • iPhone & iPad
  • Android
Resources
  • Free Courses
  • Photoshop Tutorial
  • 3ds Max Tutorial
  • All Tutorials
Certification Courses
  • All Courses
  • Design Course - All in One Bundle
  • Photoshop Course
  • Maya Course
  • Unreal Engine Course
  • Unity Course
  • DaVinci Resolve Course
  • Pro Tools Course

ISO 10004:2018 & ISO 9001:2015 Certified

© 2022 - EDUCBA. ALL RIGHTS RESERVED. THE CERTIFICATION NAMES ARE THE TRADEMARKS OF THEIR RESPECTIVE OWNERS.

EDUCBA
Free Design Course

Banner Creation, Object Selection, Sky Replacement, Advance Filters & others

*Please provide your correct email id. Login details for this Free course will be emailed to you

By signing up, you agree to our Terms of Use and Privacy Policy.

EDUCBA Login

Forgot Password?

By signing up, you agree to our Terms of Use and Privacy Policy.

EDUCBA
Free Design Course

3D animation, modelling, simulation, game development & others

*Please provide your correct email id. Login details for this Free course will be emailed to you

By signing up, you agree to our Terms of Use and Privacy Policy.

EDUCBA

*Please provide your correct email id. Login details for this Free course will be emailed to you

By signing up, you agree to our Terms of Use and Privacy Policy.

Let’s Get Started

By signing up, you agree to our Terms of Use and Privacy Policy.

This website or its third-party tools use cookies, which are necessary to its functioning and required to achieve the purposes illustrated in the cookie policy. By closing this banner, scrolling this page, clicking a link or continuing to browse otherwise, you agree to our Privacy Policy

Loading . . .
Quiz
Question:

Answer:

Quiz Result
Total QuestionsCorrect AnswersWrong AnswersPercentage

Explore 1000+ varieties of Mock tests View more