Updated March 16, 2023
Introduction to Keras U-Net
Keras U-Net architecture contains the segmentation of image size 512*512 and it was computed by using modern GPU with a small amount of time. There are many variants and modifications of this architecture representing the success of the phenomenon. It has a significant attachment to the field of deep learning. It is equally essential for understanding the previous methods which were employed for solving similar kinds of tasks.
Key Takeaways
- It is a deep learning segmentation model and the architecture of u-net is used in the GAN variants.
- It is an image segmentation task which was segmenting the images into multiple areas by assigning the label to every pixel of the image.
What is Keras U-Net?
Keras U-Net provides detailed information regarding object detection of the image which was drawing a bounding box around the detected object or image classification which was assigning labels to the specified object. Segmentation is very useful and it is used in real-world applications.
In a keras u-net image segmentation every pixel of an image is assigned to the class. As per application, classes contains the different cell types or task which was binary. It is a semantic segmentation technique that was proposed for imaging segmentation.
How to Implement Keras U-Net?
To implement the keras U-Net we need to follow the below steps. We need to import the required dependencies.
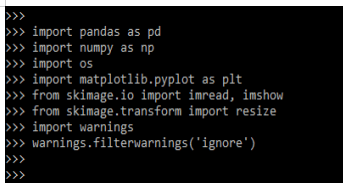
1. In this step we are importing the required dependencies which we are using in keras u-net.
Code:
import pandas as pd
import numpy as np
import os
…..
import warnings
warnings.filterwarnings('ignore')
Output:
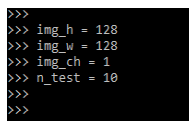
2. After importing the module in this step, we are defining the width and height of the image as follows.
Code:
img_h = 128
img_w = 128
img_ch = 1
n_test = 10
Output:
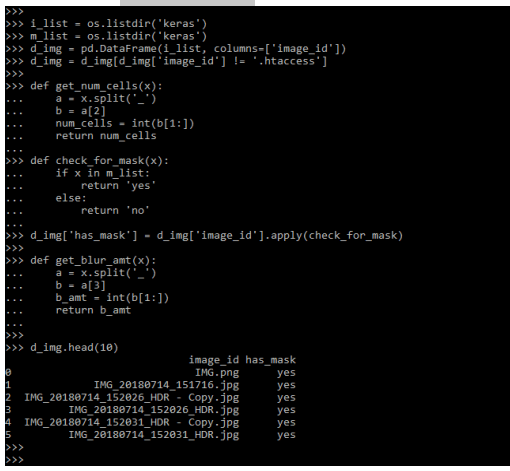
3. After defining the size of the image now in this step we are creating the image dataset as follows.
Code:
i_list = os.listdir('keras')
m_list = os.listdir('keras')
d_img = pd.DataFrame(i_list, columns=['image_id'])
d_img = d_img[d_img['image_id'] != '.htaccess']
def get_num_cells(x):
    a = x.split('_')
    b = a[2]
    num_cells = int(b[1:])
    return num_cells
def check_for_mask(x):
    if x in m_list:
        return 'yes'
    else:
        return 'no'
d_img['has_mask'] = d_img['image_id'].apply(check_for_mask)
def get_blur_amt(x):
    a = x.split('_')
    b = a[3]
    b_amt = int(b[1:])
    return b_amt
d_img.head(10)
Output:
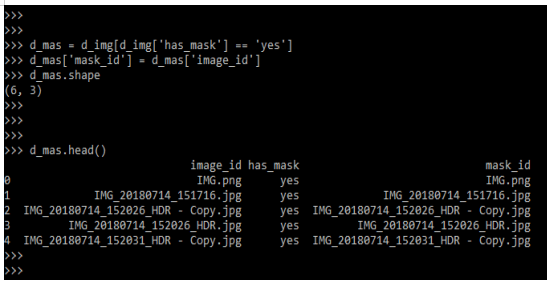
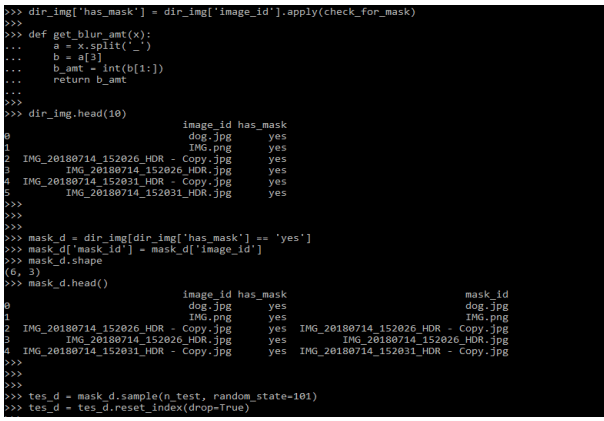
4. After defining the data frame now in this step we are using the data frame as follows.
Code:
d_mas = d_img [d_img['has_mask'] == 'yes']
d_mas['mask_id'] = d_mas['image_id']
d_mas.shape
d_mas.head()
Output:
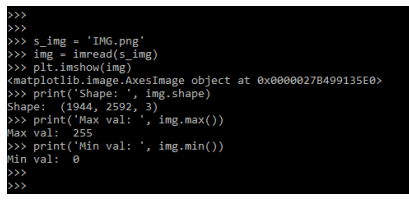
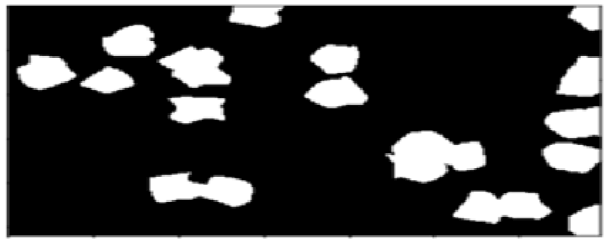
5. After using the data frame now in this step we are inspecting the images and mask.
Code:
s_img = 'IMG.png'
img = imread(s_img)
plt.imshow (img)
print('Shape: ', img.shape)
print('Max val: ', img.max())
print('Min val: ', img.min())
Output:

Keras U-Net in Image
Keras U-Net is a significant accomplishment in the field of deep learning. It is essential for understanding the previous methods. The image of it is defined in the architecture.
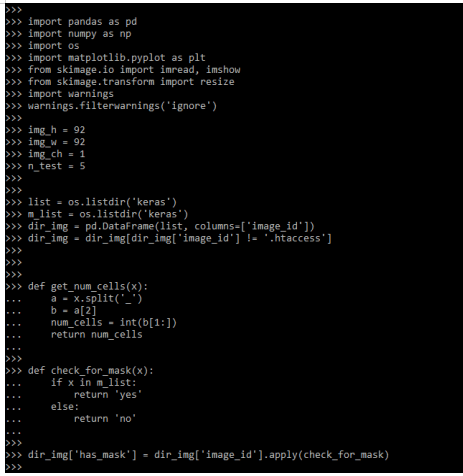
The below example shows how the keras u-net image will work.
Code:
import pandas as pd
import numpy as np
import os
warnings.filterwarnings('ignore')
img_h = 92
img_w = 92
img_ch = 1
n_test = 5
list = os.listdir('keras')
m_list = os.listdir('keras')
dir_img = pd.DataFrame(list, columns = ['image_id'])
dir_img = dir_img[dir_img ['image_id'] != '.htaccess']
def get_num_cells (x):
a = x.split('_')
b = a[2]
num_cells = int (b[1:])
return num_cells
def check_for_mask (x):
if x in m_list:
return 'yes'
else:
return 'no'
dir_img ['has_mask'] = dir_img ['image_id'].apply (check_for_mask)
def get_blur_amt (x):
a = x.split('_')
b = a[3]
b_amt = int(b[1:])
return b_amt
dir_img.head(10)
mask_d = dir_img[dir_img['has_mask'] == 'yes']
mask_d['mask_id'] = mask_d['image_id']
mask_d.shape
mask_d.head()
tes_d = mask_d.sample (n_test, random_state = 101)
tes_d = tes_d.reset_index (drop=True)
test_images_list = list(tes_d ['image_id'])
mask_d = mask_d[~mask_d ['image_id'].isin (test_images_list)]
print(mask_d.shape)
print(tes_d.shape)
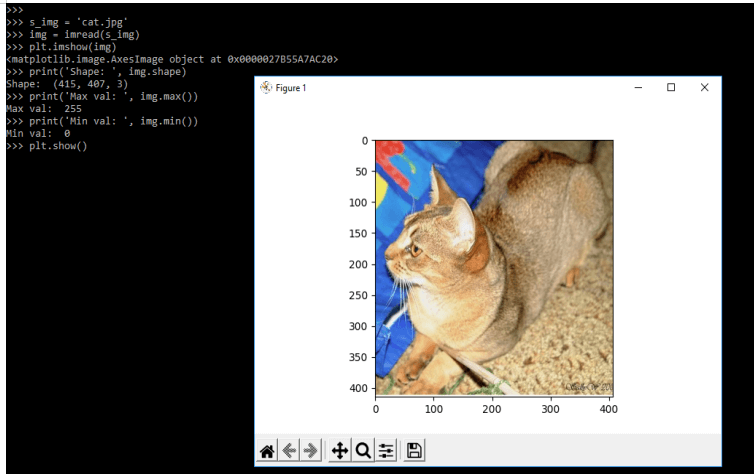
s_img = 'cat.jpg'
img = imread(s_img)
plt.imshow(img)
print('Shape: ', img.shape)
print('Max val: ', img.max())
print('Min val: ', img.min())
plt.show()
s_img = 'cat.jpg'
img = imread(s_img)
plt.imshow(img)Output:

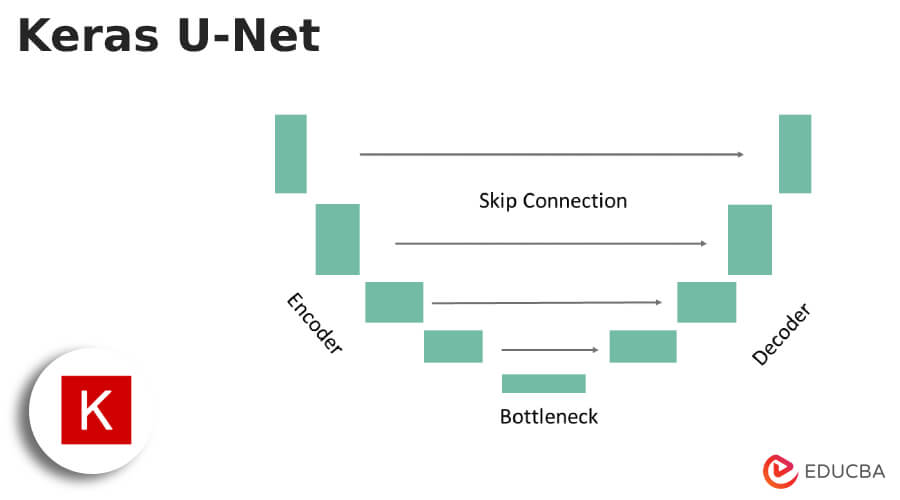
Keras U-Net Architecture
The shape of the architecture is in U form. While checking the structure and elements of the process is constructing the architechture, we can understand the build of the network is fully convolutional. We cannot use any other layer such as flatten or dense. We can show the visual representation of the contracting path which was followed by expanding path.

In the above architecture, we can see that the input image will pass through the model, and then it will be followed by using convolutional layers. We can see that image size in the u-net architechture is reducing from high to low. The reason for image reduction is that it uses the unpadded convolutions which were blocking the decoder block.
The encoded block will contain the image size constant reduction by using max pooling layers. We have repeated convolutional layers by using an increasing number of filters. While reaching the decoding aspect we can notice the number of filters in the convolutional layer.
Keras U-Net Dataset
To define the dataset in it we need to import the below module by using import.
Code:
import tensorflow as tf
……..
import numpy as np
Output:
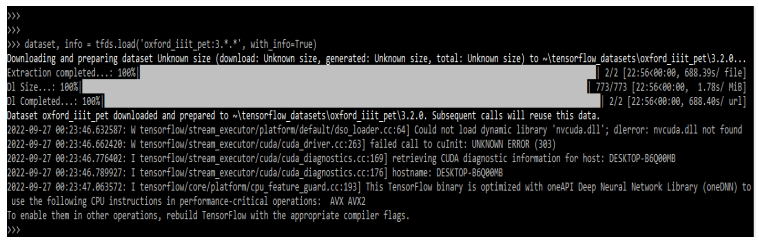
After importing the module now in the below step we are pet dataset which was available in the tensorflow dataset. We can easily load the same by tfds. The below example shows to load the pet module as follows.
Code:
dataset, info = tfds.load()Output:
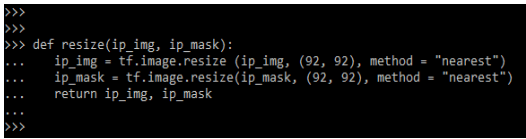
After loading the dataset now in the below steps we are resizing the mask and images as follows.
Code:
def resize(ip_img, ip_mask):
ip_img = tf.image.resize (ip_img, (92, 92), method = "nearest")
ip_mask = tf.image.resize(ip_mask, (92, 92), method = "nearest")
return ip_img, ip_mask
Output:
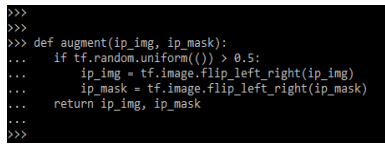
After resizing the image and mask now in this step we are creating the function to augment the dataset by flipping the same horizontally as follows.
Code:
def augment(ip_img, ip_mask):
if tf.random.uniform(()) > 0.5:
ip_img = tf.image.flip_left_right(ip_img)
ip_mask = tf.image.flip_left_right(ip_mask)
return ip_img, ip_mask
Output:
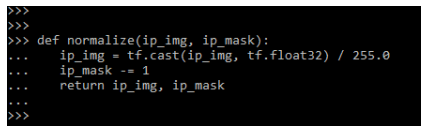
By creating the augment function now in this step, we are scaling the dataset to scale the range of image.
Code:
def normalize(ip_img, ip_mask):
ip_img = tf.cast (ip_img, tf.float32) / 255.0
ip_mask -= 1
return ip_img, ip_mask
Output:
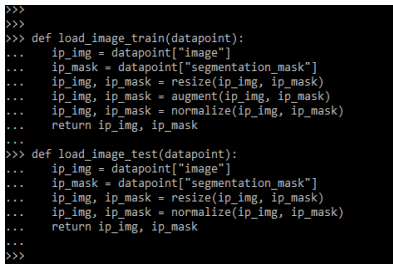
In the below example, we are creating the two functions for training and processing the dataset.
Code:
def load_image_train (datapoint):
ip_img = datapoint["image"]
ip_mask = datapoint["segmentation_mask"]
ip_img, ip_mask = resize(ip_img, ip_mask)
ip_img, ip_mask = augment(ip_img, ip_mask)
ip_img, ip_mask = normalize(ip_img, ip_mask)
return ip_img, ip_mask
def load_image_test(datapoint):
ip_img = datapoint["image"]
ip_mask = datapoint["segmentation_mask"]
ip_img, ip_mask = resize(ip_img, ip_mask)
ip_img, ip_mask = normalize(ip_img, ip_mask)
return ip_img, ip_mask
Output:
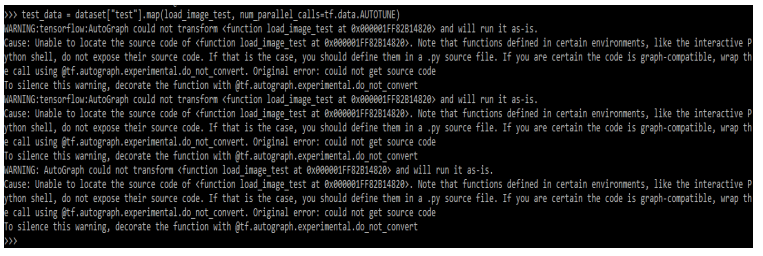
After creating the two functions now in this step we are building the pipeline by using the map function.
Code:
tr_data = dataset()
test_data = dataset()
Output:
After building the pipeline now in this step we are defining the batch size and buffer size as follows.
Code:
B_SIZE = 64
BUF_SIZE = 1000
val_batch = test_data.take()
test_batch = test_data.skip()
Output:
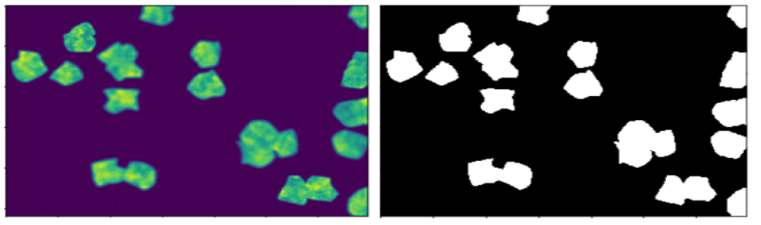
After defining the dataset now in this step, we are visualizing the sample image from the mask.
Code:
def display(display_list):
plt.figure(figsize=(20, 20))
img_name = []
for i in range(len(display_list)):
plt.subplot(1, len(display_list), i+1)
plt.img_name(img_name[i])
plt.imshow()
plt.axis("off")
plt.show()
Output:

FAQ
Given below are the FAQs mentioned:
Q1. What is the use of keras u-net?
Answer: It is segmentation model architecture that defines the image in a variants format.
Q2. Which libraries do we need to import while using keras u-net?
Answer: We need to import the keras, tensorflow, pandas, and numpy libraries at the time of working with it.
Q3. What is u-net model in keras?
Answer: Keras will define the u-net model. We are using three options for creating the u-net model i.e., functional API, model, and sequential API.
Conclusion
In keras u-net image segmentation of every pixel of an image is assigned to the class. As per application, classes contain different cell types. The architecture contains the segmentation of image sizes 512*512 and it was computed by using a modern GPU with a small time amount.
Recommended Articles
This is a guide to Keras U-Net. Here we discuss the introduction, and how to implement keras U-Net. architecture and dataset respectively. You may also have a look at the following articles to learn more –
