Updated March 16, 2023
Introduction to Keras EfficientNet
Keras efficientnet is an efficient model that reaches the state of art accuracy on common image classification and imagenet for transfer learning tasks. The keras smaller efficientnet model is similar to the Mnasnet which was reached to the SOTA which was a smaller model. It is providing multiple models, it will start from B0 and ends with B7 which represents the combination of accuracy and efficiency on scale variety.
Key Takeaways
- There are eight different types of functions available of keras efficientnet, it will be starting from B0 and ending with B7.
- While using it we need to install the package of efficientnet, after installing the package we need to import the same by using the import keyword in keras.
What is Keras EfficientNet?
The keras efficientnet function returns the model of keras image classification that was optionally loaded with weights and the same was pretrained with imagenet. Every keras application expects a specific kind of input preprocessing and for efficientnet preprocessing input is included as a part of the preprocessing. So, the efficientnet preprocessing input is passing through the function.
The model is expecting their inputs as pixels of float tensor with values ranging from 0 to 255. This function is used to return the keras model which was optionally loaded with weights. The model will optimize the efficiency and accuracy which was measured by floating point operation.
How to Define Keras EfficientNet Applications?
To define the keras efficientnet application we need to follow the below steps as follows:
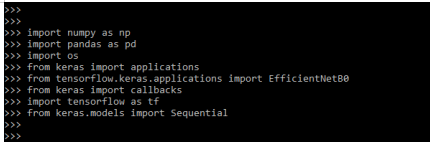
1. We are importing all the required libraries in the first step. We are importing the tensorflow, efficientnet, keras, os, numpy, matplotlib, and pandas libraries as follows.
Code:
import numpy as np
import pandas as pd
import os
from keras import applications
from tensorflow.keras.applications import EfficientNetB0
from keras import callbacks
import tensorflow as tf
from keras.models import Sequential
Output:
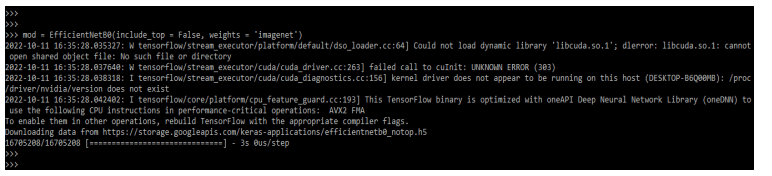
2. Now we are loading the efficientnet application model as B0, we are defining the include_top value as false.
Code:
mod = EfficientNetB0(include_top = False, weights = 'imagenet')Output:
3. Now in this step we are defining the image size and using try and except block, as follows.
Code:
IMG_SIZE = 224
try:
    tu = tf.distribute.cluster_resolver.TPUClusterResolver()
    print()
    tf.config.experimental_connect_to_cluster(tu)
    tf.tu.experimental.initialize_tpu_system(tu)
    strategy = tf.distribute.experimental.TPUStrategy(tu)
except ValueError:
    print("Not connected.")
    strategy = tf.distribute.MirroredStrategy()
Output:

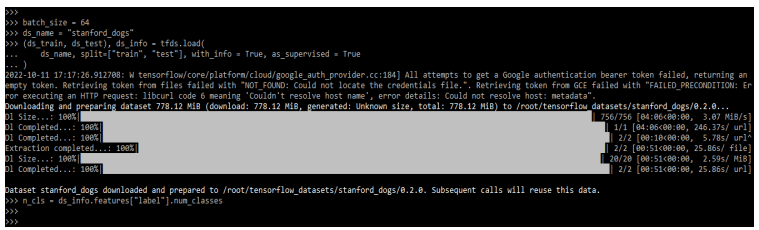
4. Now we are loading the dataset, for loading the dataset we are downloading the same as follows.
Code:
batch_size = 64
ds_name = "stanford_dogs"
(ds_train, ds_test), ds_info = tfds.load (
    ds_name, split= []
n_cls = ds_info.features ["label"].num_classes
Output:
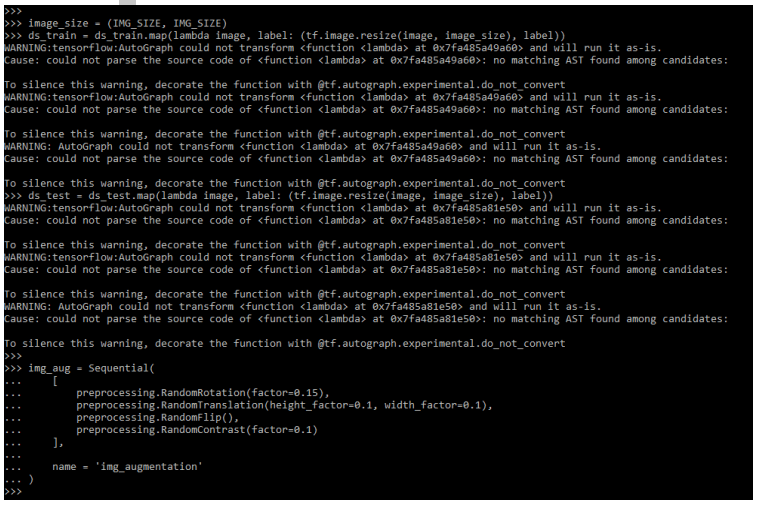
5. Now in this step we are defining the preprocessing of the image by using it.
Code:
image_size = (IMG_SIZE, IMG_SIZE)
ds_train = ds_train.map()
ds_test = ds_test.map ()
img_aug = Sequential(
    [
        preprocessing.RandomRotation (factor=0.15),
        preprocessing.RandomTranslation (),
        preprocessing.RandomFlip (),
        preprocessing.RandomContrast (factor=0.1)
    ],
    name = 'img_augmentation'
)
Output:
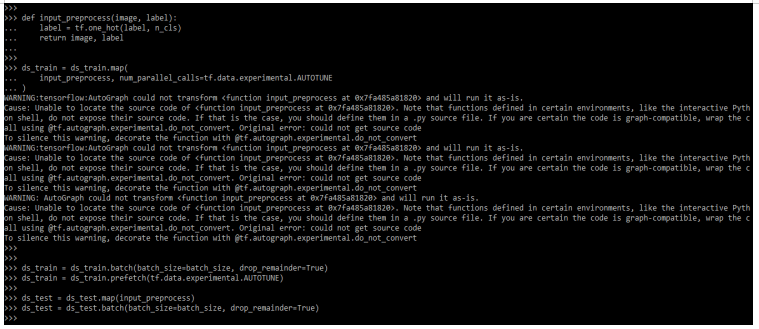
6. Below we are defining the image augmentation preprocessing of the image as follows.
Code:
def input_preprocess (image, label):
    label = tf.one_hot (label, n_cls)
    return image, label
ds_train = ds_train.map()
ds_train = ds_train.batch ()
ds_train = ds_train.prefetch ()
ds_test = ds_test.map (input_preprocess)
ds_test = ds_test.batch ()
Output:
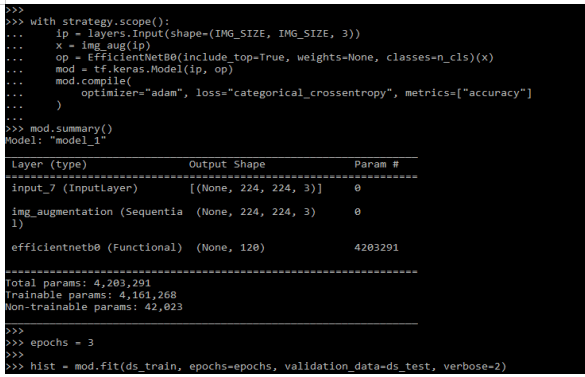
7. Now we are training our model. We are training the model by using it.
Code:
with strategy.scope():
    ip = layers.Input(shape=(IMG_SIZE, IMG_SIZE, 3))
    x = img_aug(ip)
    op = EfficientNetB0()
    mod = tf.keras.Model(ip, op)
    mod.compile(
…….
    )
mod.summary()
epochs = 3
hist = mod.fit ()
Output:
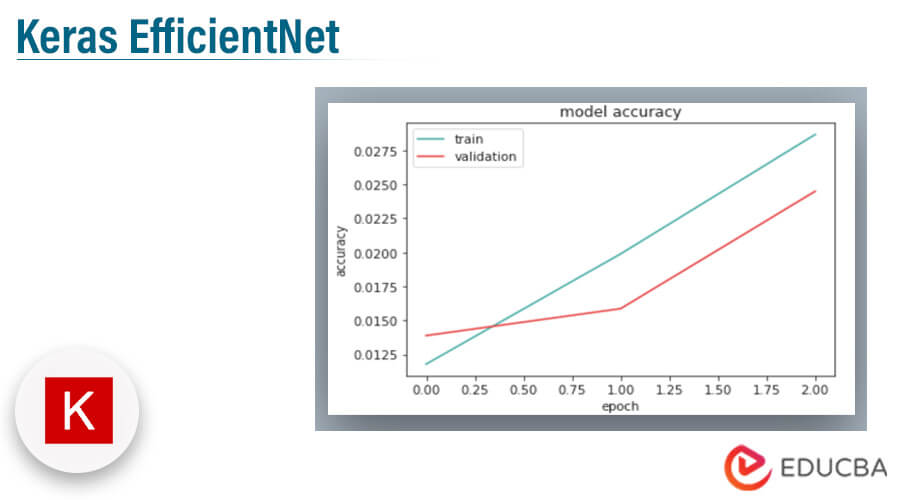
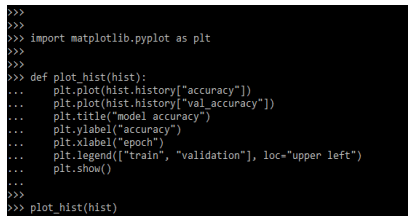
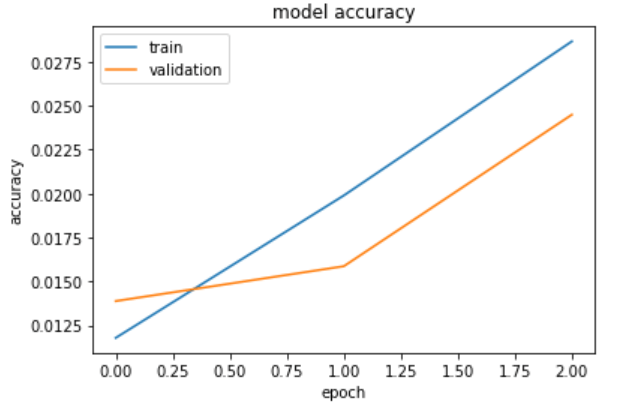
8. Now we are plotting the graph of accuracy by using it.
Code:
def plot_hist (hist):
    …….
    plt.show()
plot_hist(hist)
Output:
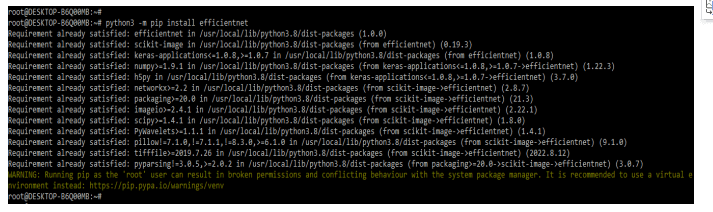
Installation
While using the efficientnet we need to install the same in our system. We can install the same by using the pip command. Also, we can use another command to install the same. In the below example, we are installing by using the pip command as follows.
Code:
python3 -m pip install efficientnetOutput:
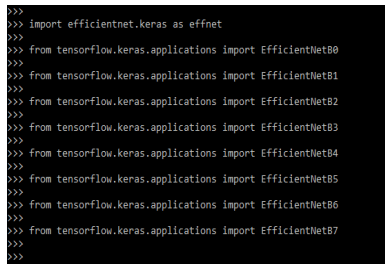
For checking the installation we need to login in python. In the below example, we are login into the python shell by using the python command.
Code:
> python3Output:

While login in the python shell now we are checking the installation of efficientnet by importing this module by using the import keyword as follows.
Code:
import efficientnet.keras as effnet
from tensorflow.keras.applications import EfficientNetB0
from tensorflow.keras.applications import EfficientNetB1
from tensorflow.keras.applications import EfficientNetB2
from tensorflow.keras.applications import EfficientNetB3
from tensorflow.keras.applications import EfficientNetB4
from tensorflow.keras.applications import EfficientNetB5
from tensorflow.keras.applications import EfficientNetB6
from tensorflow.keras.applications import EfficientNetB7
Output:
Keras Efficientnet Model
The model is a convolutional neural network architecture that defined the scaling method for depth and width resolution by using a compound coefficient. The scaling method of efficientnet is scaling the network width, as opposed to the conventional practice of arbitrarily scaling the factor.
The method of compound scaling is justified by using the intuition of input image is larger than the network needs to increase the receptive field and channels to capture the fine-grained pattern of the image.
Below is the keras efficientnet model as follows:
- EfficientnetB0
- EfficientnetB1
- EfficientnetB2
- EfficientnetB3
- EfficientnetB4
- EfficientnetB5
- EfficientnetB6
- EfficientnetB7
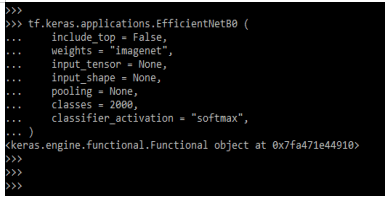
Below is an example of the keras efficientnet model as follows. We are using EfficientnetB0 model.
Code:
tf.keras.applications.EfficientNetB1(
    		include_top = False,
   		 weights = "imagenet",
    		input_tensor = None,
    		input_shape = None,
   		 pooling = None,
    		classes = 2000,
    		classifier_activation = "softmax",
)
Output:

Keras EfficientNet Arguments
Below are the arguments which were we are using with keras efficientnet. We need to use arguments while using efficientnet.
- include_top – This argument defines whether we are connecting to a fully connected layer at top of the network, the value of this argument is true.
- weights – This defines the path of the weights file which we are loading. The default value is imagenet.
- input_shape – We have only defined this parameter when we have defined the include_top parameter value as false.
- input_tensor – This argument is used to define the image input for the specified model.
- pooling – This defines the optional pooling mode for the feature extraction when we define the include_top arguments as false.
- classes – This defines the optional number of classes which is used to classify the image. This parameter specifies only if the include_top argument value as true.
- classifier_activation – The value of this argument is callable or str. The function of activation is used on the top layer.
Examples of Keras EfficientNet
Given below are the examples mentioned:
Example #1
In the below example, we are using efficientnetB0 function.
Code:
tf.keras.applications.EfficientNetB0 (
  			include_top = False,
   			weights = "imagenet",
   			 input_tensor = None,
   			 input_shape = None,
   			pooling = None,
   			 classes = 2000,
    			classifier_activation = "softmax",
)
Output:
Example #2
In the below example, we are using efficientnetB2 function.
Code:
tf.keras.applications.EfficientNetB2 (
  			  include_top = False,
   			weights = "imagenet",
   			 input_tensor = None,
   			 input_shape = None,
   			pooling = None,
   			 classes = 2000,
    			classifier_activation = "softmax",
)
Output:

Example #3
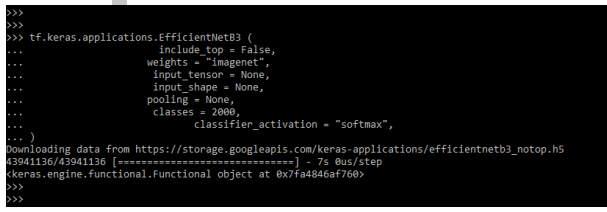
In the below example, we are using efficientnetB3 function.
Code:
tf.keras.applications.EfficientNetB3 (
  			  include_top = False,
   			weights = "imagenet",
   			 input_tensor = None,
   			 input_shape = None,
   			pooling = None,
   			 classes = 2000,
    			classifier_activation = "softmax",
)
Output:
Conclusion
The keras efficientnet function will return the model of keras image classification that has been pretrained with imagenet and optionally loaded with weights. It is a model that achieves state-of-the-art accuracy on common image classification and imagenet for transfer learning tasks.
Recommended Articles
This is a guide to Keras EfficientNet. Here we discuss the introduction, and how to define keras EfficientNet applications. installation, model, and examples. You may also have a look at the following articles to learn more –
