Updated July 4, 2023
Introduction to Keras Data Augmentation
Keras data augmentation is used to increase the diversity of the training set while applying random transformations such as the rotation of an image. We are applying data augmentation by using two ways. This technique was used to expand the training size by creating and modifying the versions of the dataset. Deep learning neural network multiple data will result in skillful models.
Key Takeaways
- In deep learning, the model’s performance is improving with the amount of data we are using for training the data.
- Data augmentation will increase the training set size while generating a new variant of the training set. It is a well-known technique.
What is Keras Data Augmentation?
The data augmentation technique is used to create variations of images that improve the ability of models to generalize what we have learned into new images. The neural network deep learning library allows you to fit models using image data augmentation and the class name as the image data generator.
It encompasses various techniques used to generate new training samples using random jitters. The primary goal of using data augmentation in Keras is to increase the generalizability of the specified model. At the time of testing, no data augmentation is used, and the trained network is executed.
Keras Data Augmentation Configure
We need to follow the steps below to use the data augmentation in Keras. We are importing the specified module.
1. In the first step, we import the module required to set up the data augmentation.
Code:
import tensorflow_datasets as tfds
from tensorflow.keras import layers
import matplotlib.pyplot as plt
import numpy as np
import tensorflow as tf
Output:

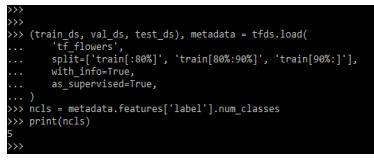
2. We download the following dataset After importing the module in this step.
Code:
(train_ds, val_ds, test_ds), metadata = tfds.load(
'tf_flowers',
split=['train[:80%]', 'train[80%:90%]', 'train[90%:]'],
with_info=True,
as_supervised=True,
)
ncls = metadata.features ['label'].num_classes
print(ncls)
Output:
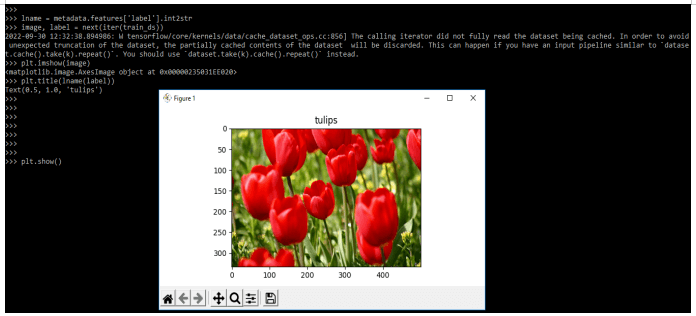
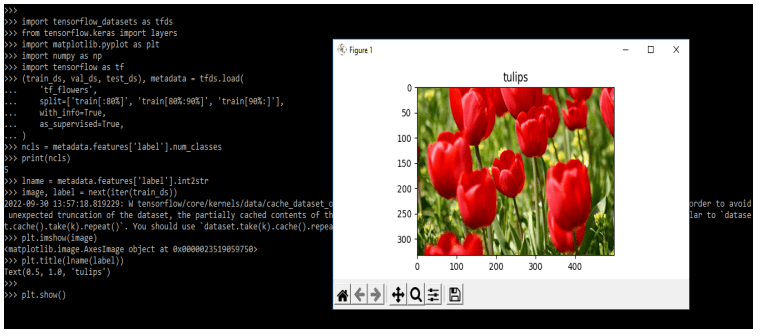
3. After loading the dataset now, in this step, we are retrieving the image from the dataset and demonstrate the augmentation.
Code:
lname = metadata.features['label'].int2str
image, label = next(iter(train_ds))
plt.imshow(image)
plt.title(lname(label))
plt.show()
Output:
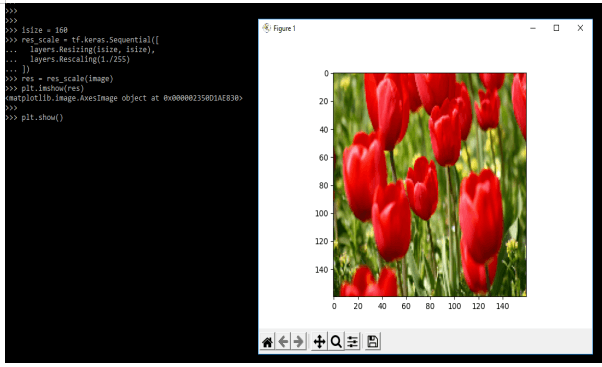
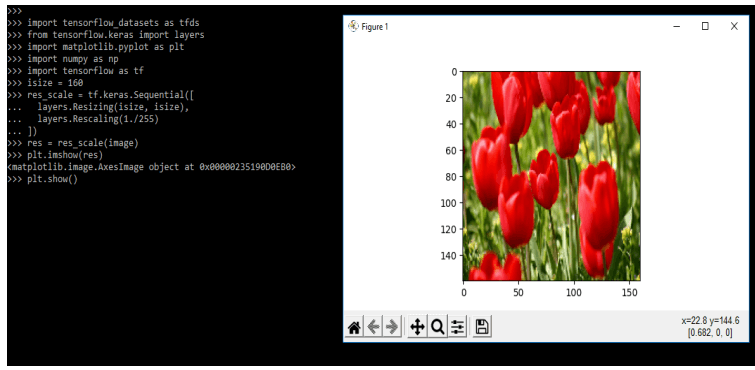
4. After retrieving the image from the dataset now, we are using Keras processing layers in this step.
Code:
isize = 160
res_scale = tf.keras.Sequential([
layers.Resizing(isize, isize),
layers.Rescaling(1./255)
])
res = res_scale(image)
plt.imshow(res)
Output:
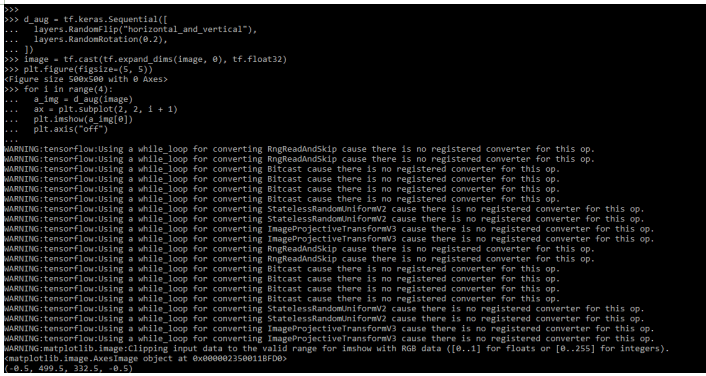
After using the Keras preprocessing layers, we are now defining the data augmentation in this step.
Code:
d_aug = tf.keras.Sequential([
layers.RandomFlip("horizontal_and_vertical"),
layers.RandomRotation(0.2),
])
image = tf.cast(tf.expand_dims(image, 0), tf.float32)
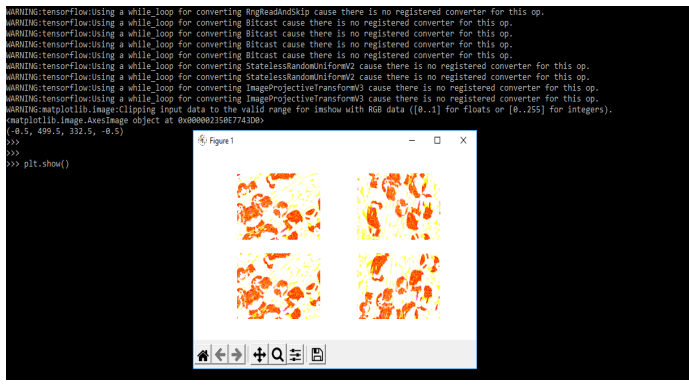
plt.figure(figsize=(5, 5))
for i in range(4):
a_img = d_aug(image)
ax = plt.subplot(2, 2, i + 1)
plt.imshow(a_img[0])
plt.axis("off")
plt.show()Output:
How to Use Image Augmentation in Keras?
The image generator class of Keras provides a quick and easy way to augment our images. It provides different augmentation techniques. The keras provides the image data generator class, which defines the configuration for image data preparation.
This includes the following capabilities:
- Save augmented images to the disk
- Feature-wise standardization
- Sample wise standardization
- ZCA whitening
- Dimension reordering
- Random rotation, shifts, flips, and shears
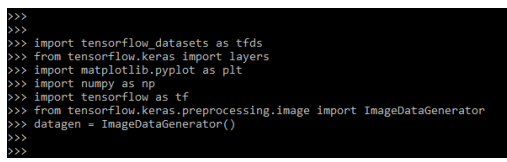
We need to import the modules below to use the image augmentation in Keras. We import the same using the import keyword.
Code:
import tensorflow_datasets as tfds
from tensorflow.keras import layers
import matplotlib.pyplot as plt
import numpy as np
import tensorflow as tf
from tensorflow.keras.preprocessing.image import ImageDataGenerator
datagen = ImageDataGenerator()
Output:
After importing the module in this step, we load the training dataset.
Code:
(X_train ….) = mnist.load_data()Output:
![]()
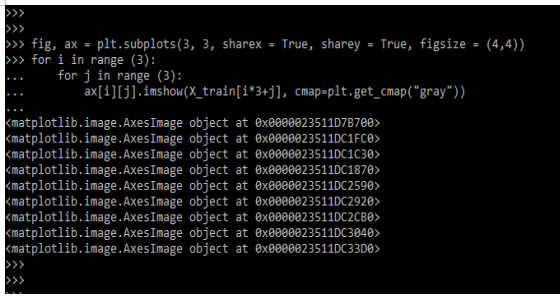
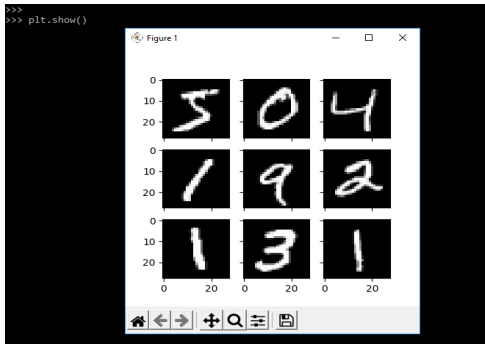
After loading the dataset in this step, we create the grid of 3*3 images.
Code:
fig, ax = plt.subplots()
for i in range (3):
for j in range (3):
ax[i][j].imshow()
Output:
After creating the grid of images, now in this step, we are displaying the image.
Code:
plt.show()Output:
Keras Dataset Augmentation Layers
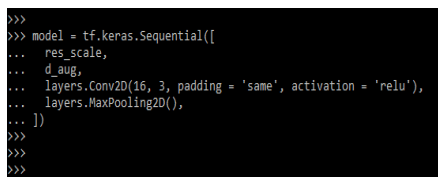
There are two ways of using Keras preprocessing layers in Keras dataset augmentation. The first way to use the Keras dataset augmentation layer is to make the preprocessing layer part of our model.
Code:
model = tf.keras.Sequential([
res_scale,
d_aug,
layers.Conv2D(),
layers.MaxPooling2D(),
])
Output:
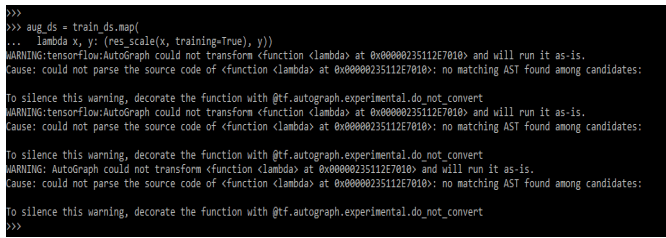
The second method we need to use is the preprocessing layer in our dataset.
Code:
aug_ds = train_ds.map(
lambda x, y: (res_scale(x, training=True), y))
Output:
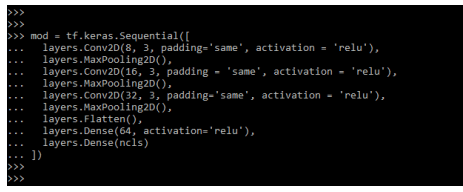
In the example below, we apply all the layers using the sequential model.
Code:
mod = tf.keras.Sequential([
…..
layers.MaxPooling2D(),
…..
layers.MaxPooling2D(),
…..
layers.MaxPooling2D(),
layers.Flatten(),
layers.Dense(64, activation = 'relu'),
layers.Dense(ncls)
])
Output:
Horizontal and Vertical Shift – Keras Data Augmentation
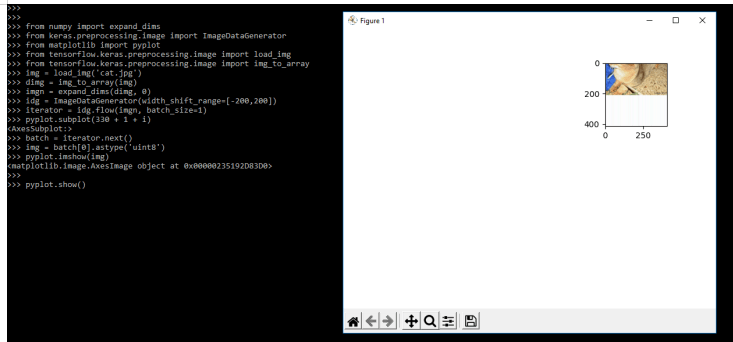
There are two types of Keras data augmentation i.e., vertical shift and horizontal shift. The horizontal shift augmentation means the pixels of the image will shift horizontally without changing the image dimension.
The below example shows how we can shift the image horizontally as follows:
Code:
from numpy import expand_dims
from keras.preprocessing.image import ImageDataGenerator
from matplotlib import pyplot
from tensorflow.keras.preprocessing.image import load_img
from tensorflow.keras.preprocessing.image import img_to_array
img = load_img('cat.jpg')
dimg = img_to_array(img)
imgn = expand_dims(dimg, 0)
idg = ImageDataGenerator(width_shift_range = [-200,200])
iterator = idg.flow (imgn, batch_size=1)
pyplot.subplot(330 + 1 + i)
batch = iterator.next()
img = batch[0].astype('uint8')
pyplot.imshow (img)
pyplot.show()
Output:
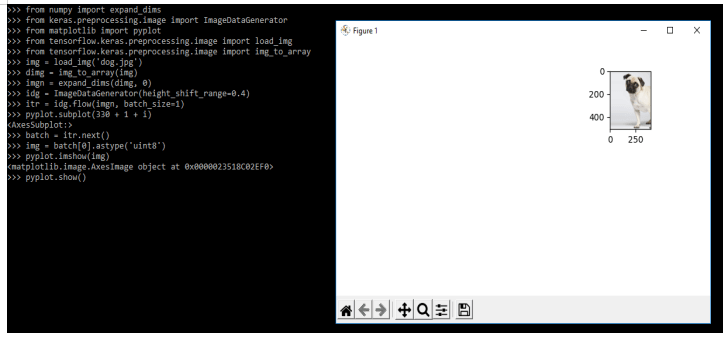
The below example shows how we can shift the image vertically. We are using a percentage value for shifting an image.
Code:
from numpy import expand_dims
from keras.preprocessing.image import ImageDataGenerator
from matplotlib import pyplot
from tensorflow.keras.preprocessing.image import load_img
from tensorflow.keras.preprocessing.image import img_to_array
img = load_img('dog.jpg')
dimg = img_to_array(img)
imgn = expand_dims(dimg, 0)
idg = ImageDataGenerator(height_shift_range=0.4)
itr = idg.flow(imgn, batch_size=1)
pyplot.subplot(330 + 1 + i)
batch = itr.next()
img = batch[0].astype('uint8')
pyplot.imshow(img)
pyplot.show()
Output:
Examples
Given below are the examples mentioned:
Example #1
In the below example, we are defining data augmentation.
Code:
import tensorflow_datasets as tfds
from tensorflow.keras import layers
import matplotlib.pyplot as plt
import numpy as np
import tensorflow as tf
(train_ds, val_ds, test_ds), metadata = tfds.load(
'tf_flowers',
split=['train[:80%]', 'train[80%:90%]', 'train[90%:]'],
with_info=True,
as_supervised=True,
)
ncls = metadata.features['label'].num_classes
print(ncls)
lname = metadata.features['label'].int2str
image, label = next(iter(train_ds))
plt.imshow(image)
plt.title(lname(label))
plt.show()
Output:
Example #2
In the below example, we are using layers of data augmentation.
Code:
import tensorflow_datasets as tfds
from tensorflow.keras import layers
import matplotlib.pyplot as plt
import numpy as np
import tensorflow as tf
isize = 160
res_scale = tf.keras.Sequential([
layers.Resizing(isize, isize),
layers.Rescaling(1./255)
])
res = res_scale(image)
plt.imshow(res)
plt.show()
Output:
FAQs
Given below are the FAQs mentioned:
Q1. What is the use of Keras data augmentation?
Answer: It is used to increase the diversity of our training set by applying random transformations.
Q2. Which module do we need to import when using Keras data augmentation?
Answer: We need to import the Keras, tensorflow, numpy, and pyplot module when using it.
Q3. What is vertical and horizontal shifting in keras augmentation?
Answer: There are two types of shifting available in Keras data augmentation. Horizontal shifting means image pixels are shifting vertically. Whereas vertical shifting means images of pixels are shifting vertically.
Conclusion
It will encompass the wide range of techniques used in generating new training samples by applying random jitters. Keras data augmentation is used to increase the diversity of the training set while applying random transformations such as the rotation of an image.
Recommended Articles
We hope that this EDUCBA information on “Keras Data Augmentation” was beneficial to you. You can view EDUCBA’s recommended articles for more information.
