Updated June 19, 2023
Definition of Java Projects in Eclipse
Java projects in Eclipse are defined as creating a new project using Eclipse. We can create a new Java project by using eclipse IDE and open the existing java project to the modification in the project code. We can run, compile and edit java projects by using eclipse IDE. When creating a project with eclipse, it gathers all the project information.
Key Takeaways
- We can create a new java project by using eclipse; we can also edit the existing project by using eclipse IDE.
- Eclipse IDE contains multiple features; it will know about the common transformations of programmers that they will apply in code one by one step.
What are Java Projects in Eclipse?
In Eclipse, every java project contains its directory under the workspace that we have defined. Also, we can change the location as per our choice. Eclipse reflects the understanding of java language in our project. Eclipse java editor contains the java editor feature that will speed up the development of our project. When typing the code, it continues to check the errors.
All the compilation errors of java are flagged when we commit them instead of waiting for compilation to build the project. At the time of reading unfamiliar code and understanding the same, the eclipse helps us navigate the same project. If we select the function of a variable name, then eclipse will take care of the code we have declared.
How to Create a New Java Project in Eclipse?
We can create a new java project by using eclipse.
The below steps show how we can create a new java project by using eclipse IDE:
1. To create the java project, first, we need to download the Eclipse IDE package. Below we are downloading the eclipse package as follows.

2. After downloading the eclipse package in this step, we open the same as follows. We are opening an eclipse in the Windows operating system. When opening first, it will ask for the workspace location we are defining default workspace location.

3. After defining the workspace location, we need to click the launch button to open the eclipse as follows.

4. After opening the eclipse IDE, we now need to create a new project; to create a new project from the file option, we need to select new and then need to select the project option. After opening the project, the following page will open.
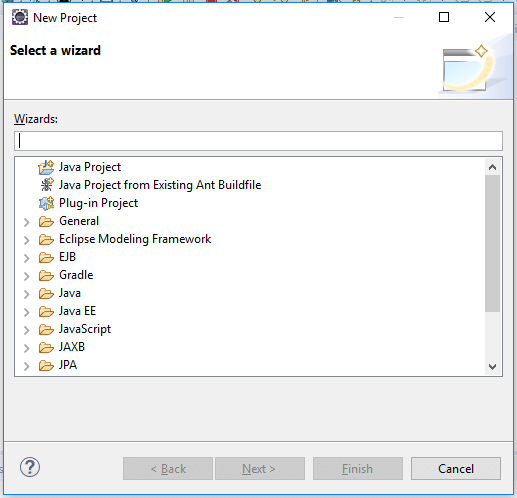
5. After opening the above window, we need to select java project and click on the next button.

6. After selecting the java project, the below screen will occur in that we need to select the java project name; in the below example, we have selected the project name as java_test as follows.
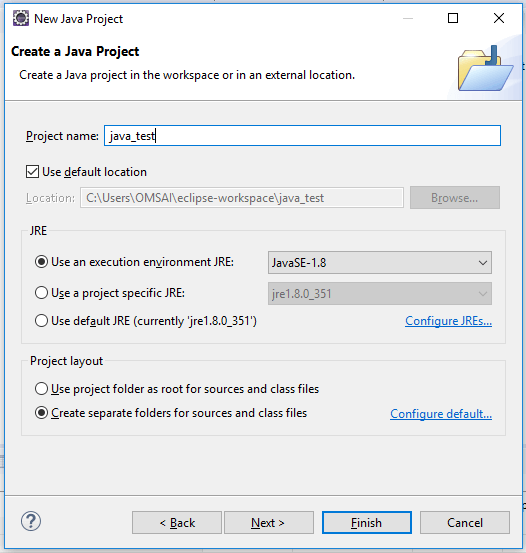
7. After giving the new name of the project then, we need to click on the next button. It will open the below page where we need to define additional sources.
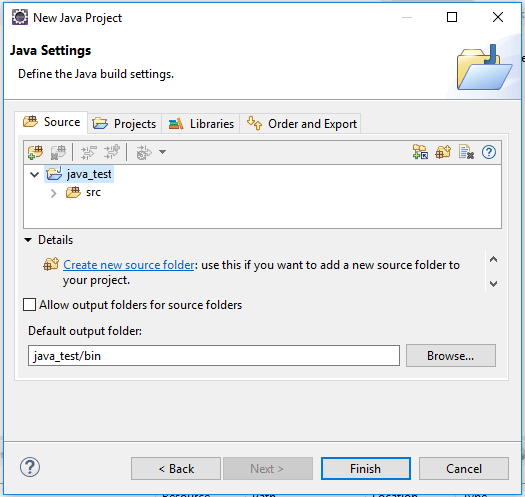
8. After opening the above page, we need to click on the libraries tab to add the external libraries to our project.
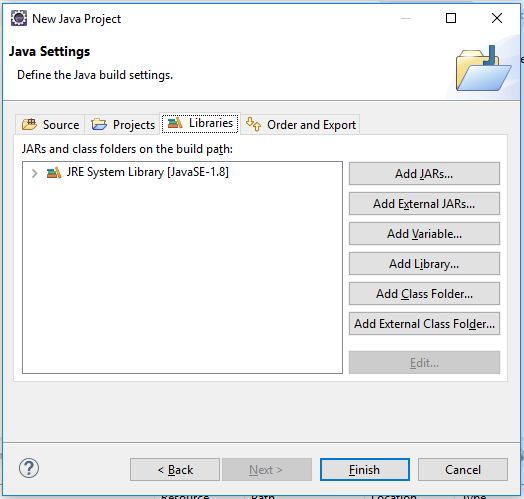
9. Adding the external libraries and clicking the finish button will create a new java project.

How to Import Java Projects in Eclipse?
We can import the existing project into the eclipse IDE by using the following steps as follows:
We are importing the java _test project as follows.
1. To import the existing project into the eclipse IDE, we need to open eclipse as follows. Below we are opening an eclipse.
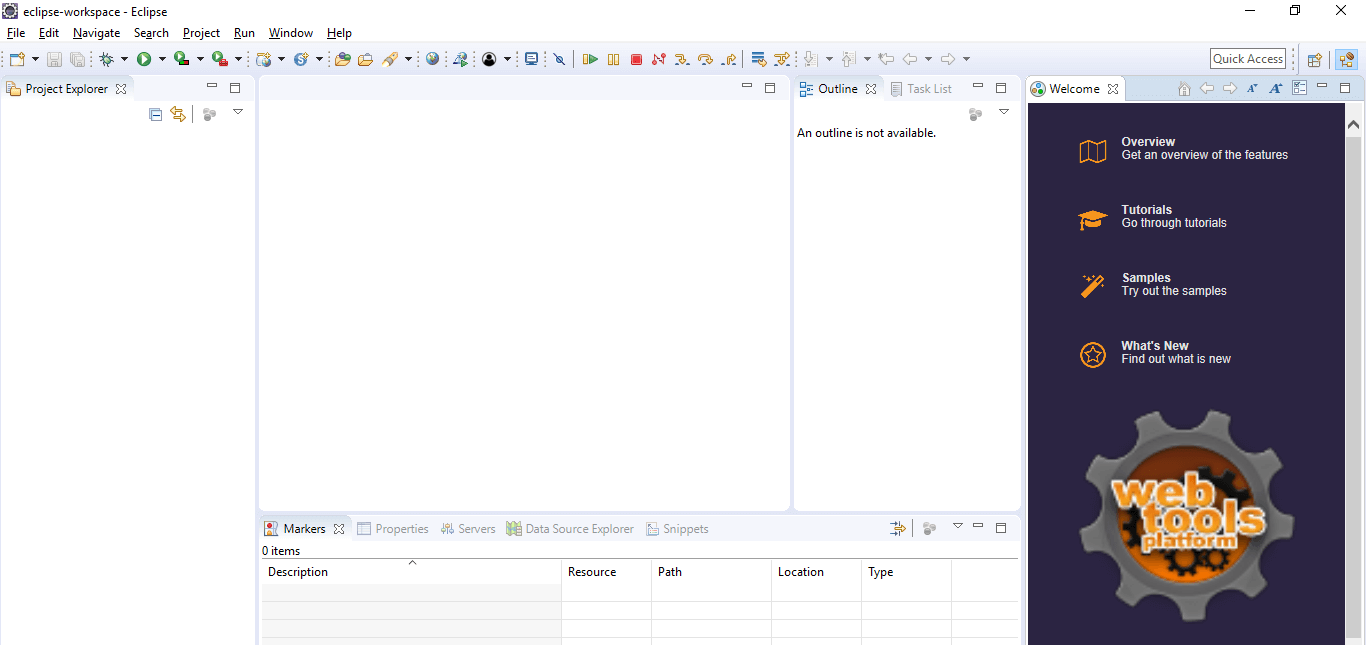
2. After opening the eclipse, now this step is for importing the java_test project in a desktop location. For importing a project, we need to click on the file, then need to click on the import option.
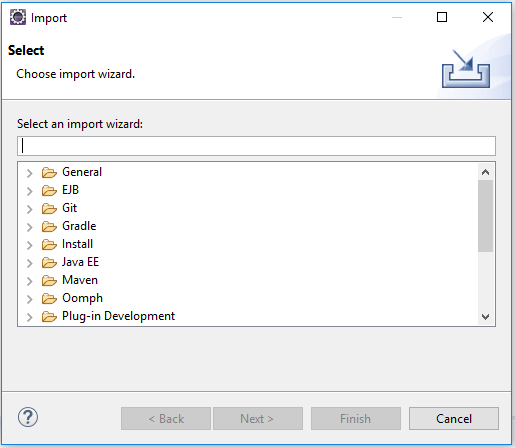
3. After clicking on import, the above screen will open in the general section. We need to select the existing project for the workspace.
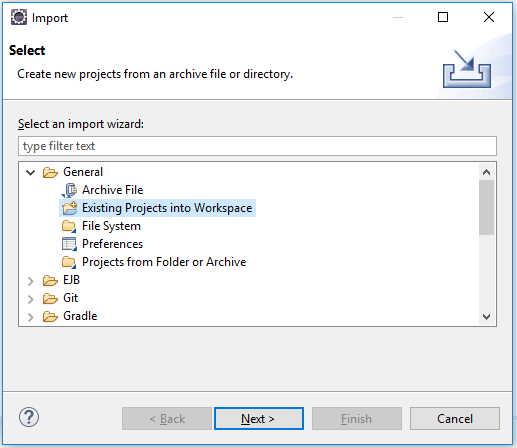
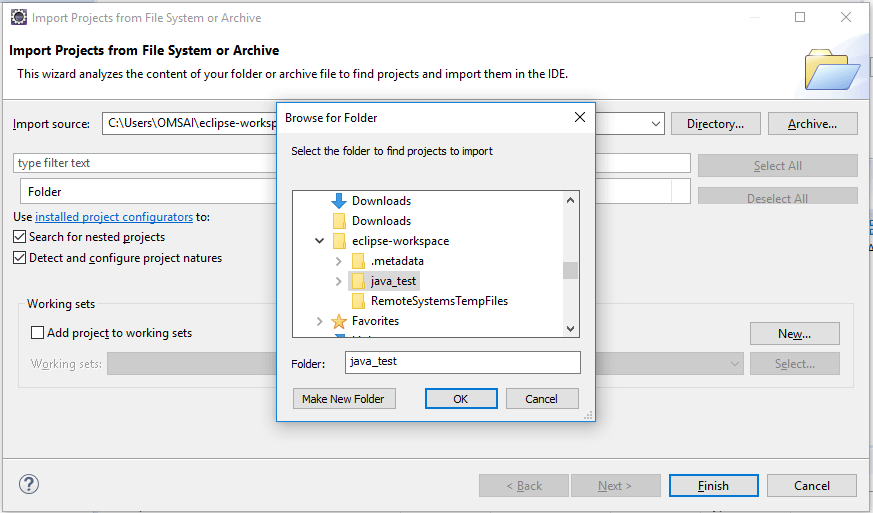
4. After selecting the option, we must click the following button. Then, the below window will open in that we need to select the project to import as follows.
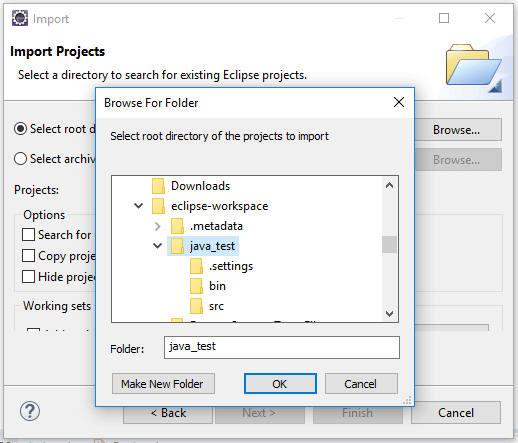
5. After selecting the project to import, we need to click the “ok” button to see if the project will appear in the root directory.
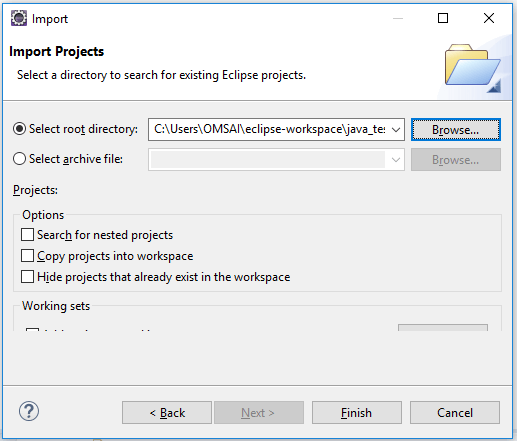
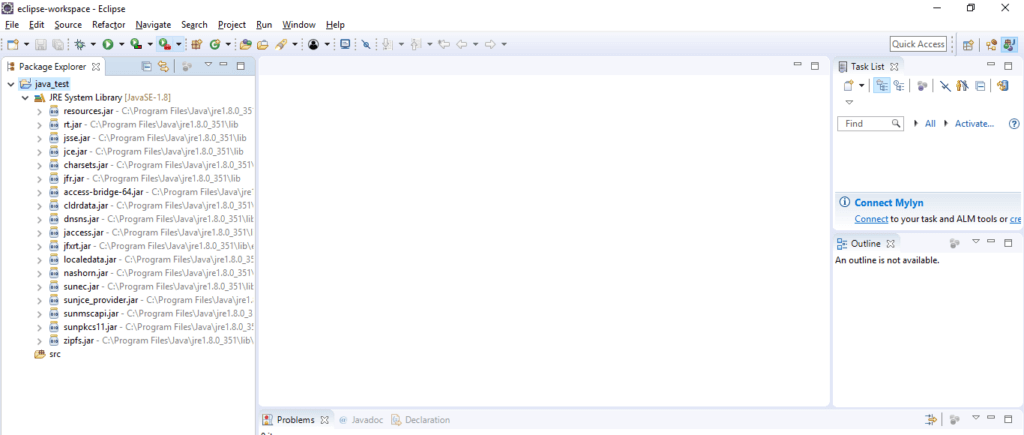
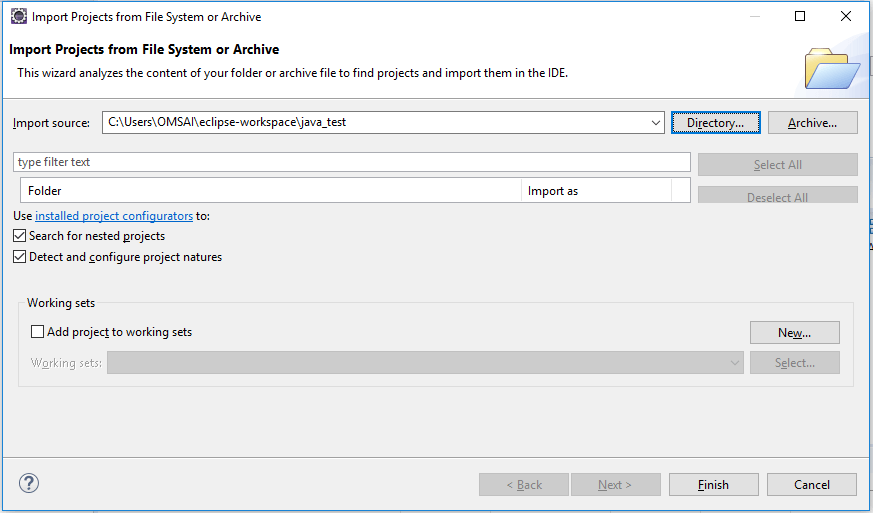
6. After opening the project, we need to click the finish button to see that the project is imported successfully in Eclipse.
Open Java Project in Eclipse
We can open the existing java project in eclipse as below steps. We are opening the java_test project as follows.
1. To open the existing java project into the eclipse IDE, we need to open eclipse as follows.

2. After opening the eclipse, to open the project, we need to click on the file and then click on an open project from the file system; the below window will appear.
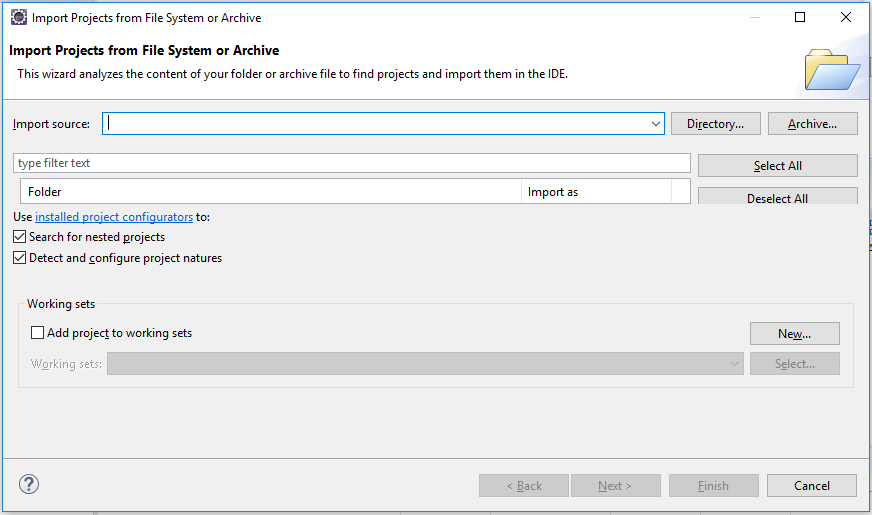
3. After opening the above window, we must select the project from the directory. We are selecting the java_test project as follows.
4. After selecting the project, we need to click on the ok button to select the project as follows, then click on the finish button to open the project.
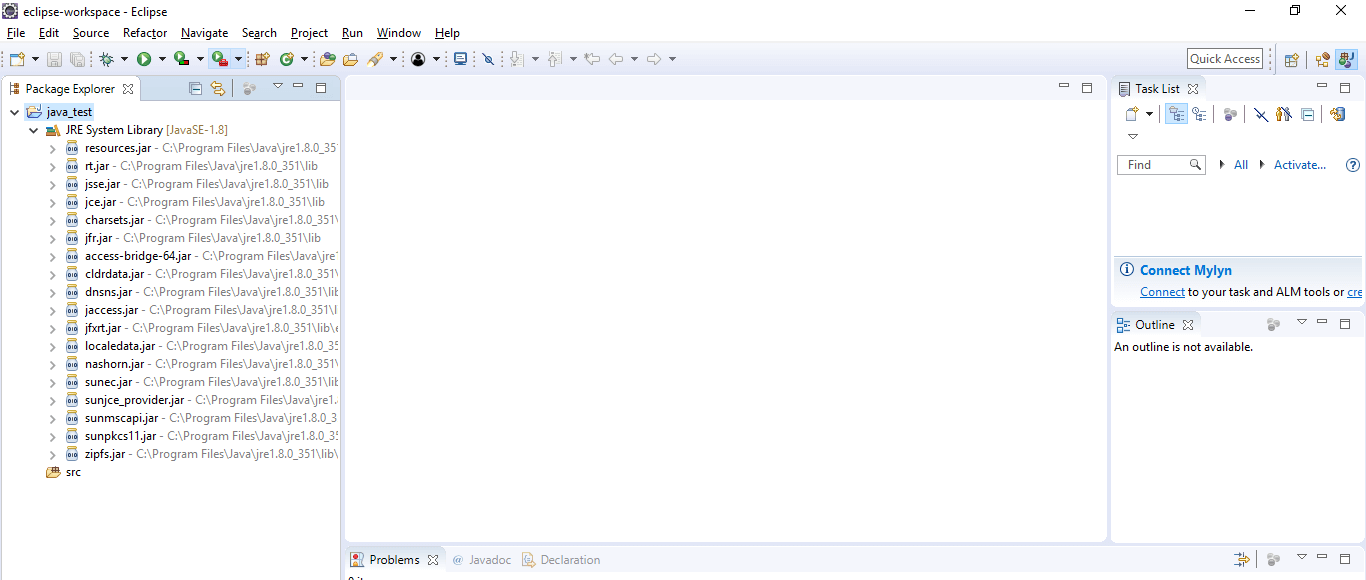
5. After clicking the finish button, we see the project opened successfully in Eclipse.

Jar File Generating in Eclipse
The below steps show how we can generate the jar file of the Java project as follows. We need to open the project when creating the java file.
1. While generating the jar file, first, we need to open the project. In the below example, we are opening the java_test project.
2. After opening the project, to export the project into a jar, we need to click on the file, then need to click on export.

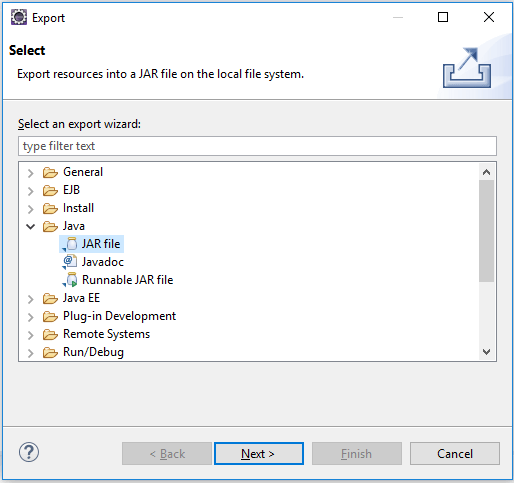
3. After clicking on export above window will open in that we need to select the java the need to select the jar file.
4. After selecting the jar file, click the following button. We need to select the Java project and the location of the jar file where we are keeping that file.
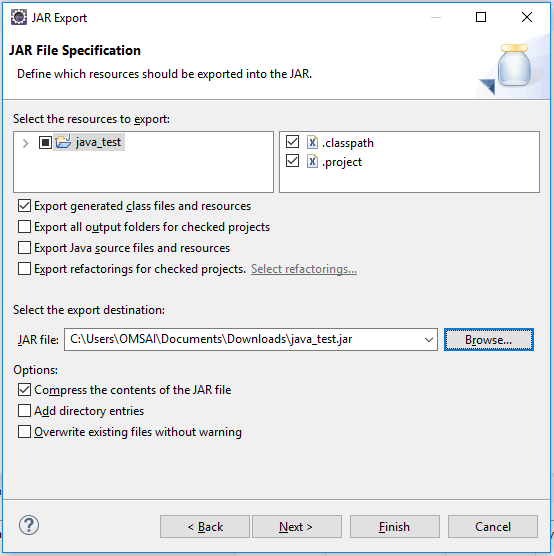
5. After selecting the path of the jar file, we need to select the jar packaging options as follows.
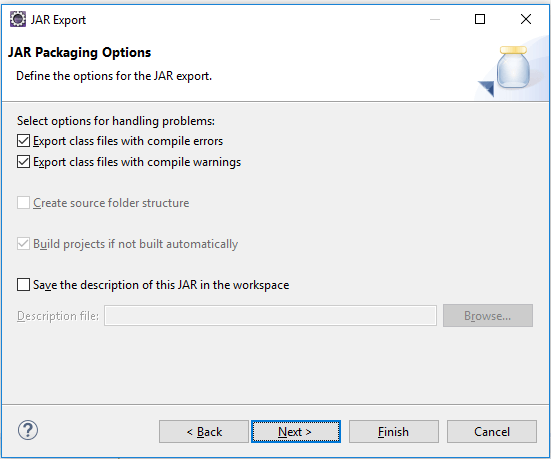
6. we must specify the jar manifest specification after selecting the jar packaging options.
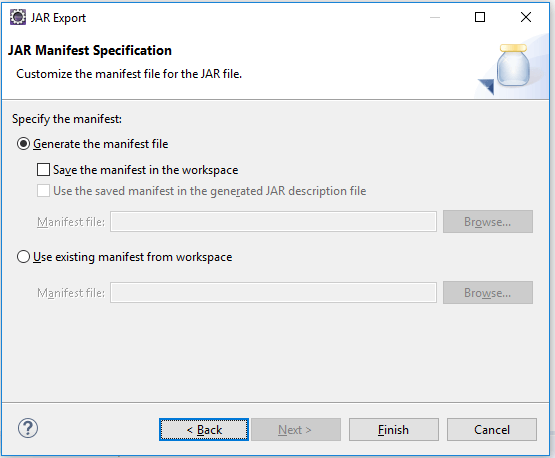
7. After defining the manifest specification, we need to click the finish button to create a jar file.

FAQs
Given below are the FAQs mentioned:
Q1. What is the use of Eclipse IDE in Java?
Answer: We are using Eclipse IDE to create a new java project. We can also modify and edit the existing project by using eclipse IDE.
Q2. Can we import the existing project into eclipse IDE?
Answer: Yes, we can import the existing project in eclipse IDE. We can also import the project from the file system. Also, we can import the jar file of the project.
Q3. Can we create a jar file of the java project in eclipse?
Answer: Yes, we can create the jar file of the java project in eclipse. We can create the jar file when exporting the existing project.
Conclusion
In eclipse, every java project contains its directory under the workspace that we have defined. Also, we can change the location as per our choice. We can create a new java project by using eclipse IDE and open the existing java project to modify the project code.
Recommended Articles
We hope that this EDUCBA information on “Java Projects in Eclipse” was beneficial to you. You can view EDUCBA’s recommended articles for more information.

