Updated September 16, 2023
Introduction to Extrude in Blender
Blender is an amazing application for creating 3D animations using computer graphics and comes with all the attribution such as extrude, which allows the users to create modeling complex shapes and structures in less time for Floor plans, layout, and other 3D and 2D designs can be created upon using this option and work in a smarter way to get the required output in time as planned and is preferred by several MNCs, gaming studios, VFX studios, animation artists etc. for conveying their concept in 3D form.
How to Perform Extrude in Blender?
Extruding is one of the essential and most frequently used tools in the modeling phase of a blender. Extrusion is used to duplicate properties such as points, lines, and polygons, also called vertices, edges, and faces. This option helps in modeling to continue the creation of the model easily instead of taking new shapes and snapping them to the existing model.
The geometry will be connected to itself upon extruding; we need to keep the blender environment in Edit mode to use this option. Below are a few references to get extrude enabled.
References:
- Mode: Edit Mode
- Panel: Toolbar -> Tools -> Mesh Tools -> Add: Extrude Region
- Menu: Mesh -> Extrude -> Extrude Region
- Shortcut key: E (From keyboard)
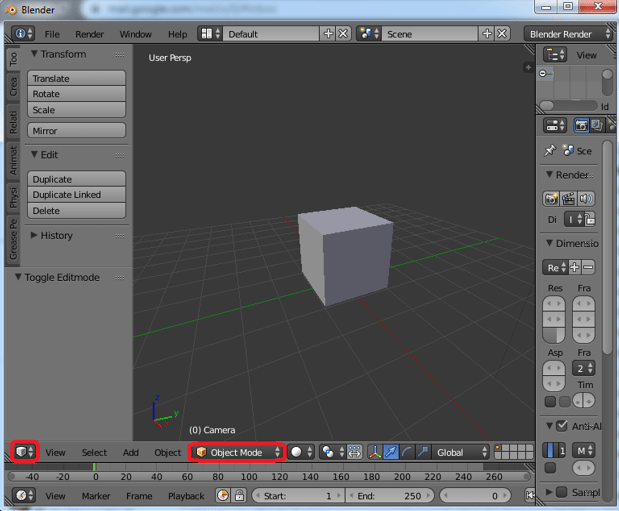
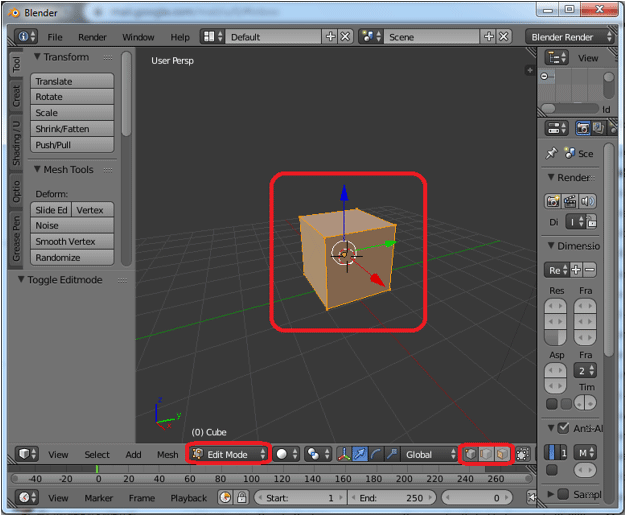
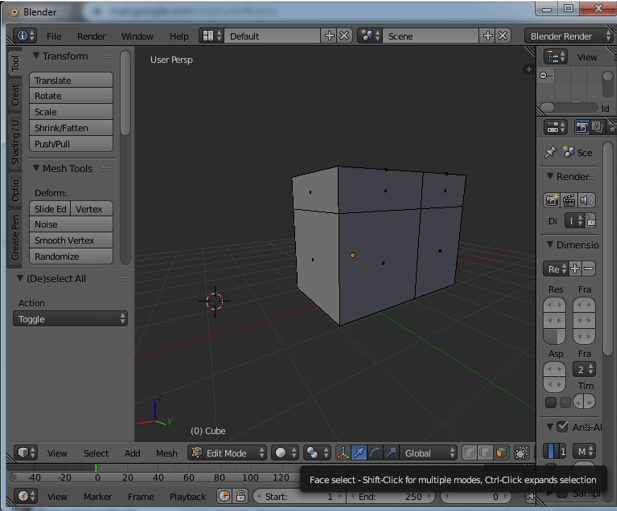
Step 1: Edit Mode Enables
Open Blender and set the view to 3D, and change the environment from object to edit mode to perform edits. On the same bar, we also have radio buttons for Vertices, Edge, and Face while working; we can switch between these modes based on creation requirements.
Step 2: Extruding Vertices
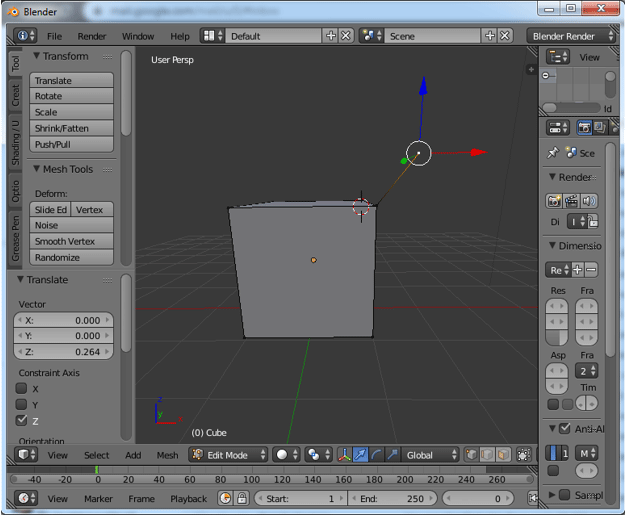
Set the model to edit and select the first option from the radio buttons; by this, we can start editing vertices within the model. Select the vertices to click hotkey “E” for extruding the vertices and use the cursor arrows to set the location of the new vertices.
The old vertices and new vertices are connected by an edge between them, as shown in the below image. The newly created vertices can be placed using cursers.
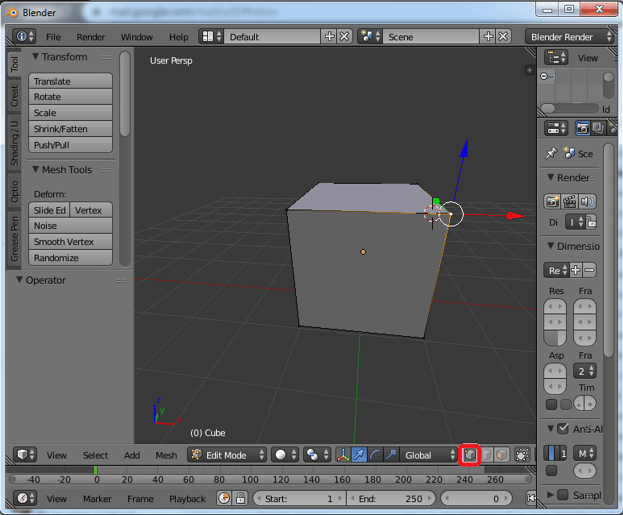
Step 3: Extruding edge
Change the radio button from vertices to edge, and then we can start editing edges. Select the edge which must be extruded and click “E” from the keyboard new edge will be created op on the existing one. Move the new edge using the cursers.
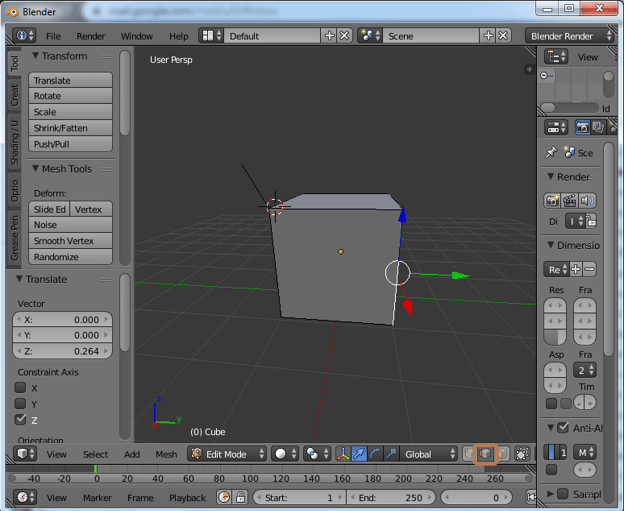
Upon extruding the edge, a new face is created, which will be connecting both edges old and new once. We can use Flip Normal to change the direction of the face base on geometry visibility.
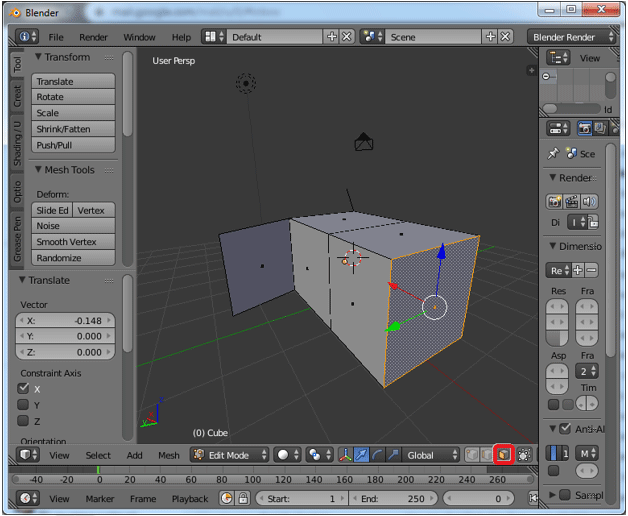
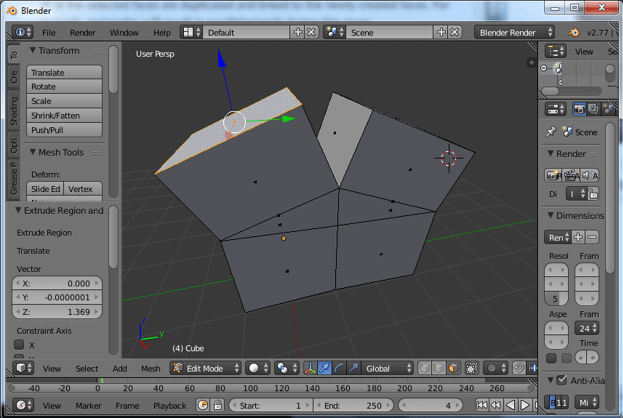
Step 4: Extruding face
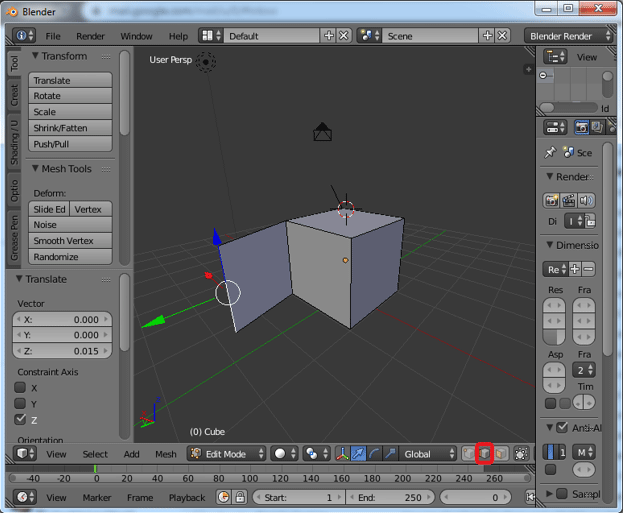
Change the radio button to face and click on “E” to extrude; using a mouse courser we can place the newly excluded face as its desired geometry location.
By extruding the face, the connected edges will also create faces to be connected from all sides with the extruding geometry, as shown in the image. The surrounding 4 faces on each side ( left, right, top and bottom) will be created along with the extrude of the new face.
Step 5: Both vertices and edge extrude together
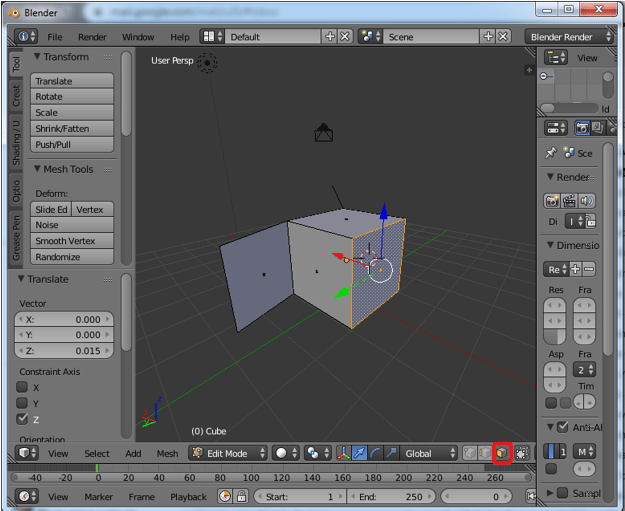
In vertices, mode holds the alt key to select an edge and its connecting vertices on both sides to extrude all at once. by this selection, we can extrude 2 vertices and 1 edge connecting them and position them as required.
Above, we have selected the respective edge and vertices. Click on “E” to exclude and move them to the location using a mouse courser as shown in the below image.
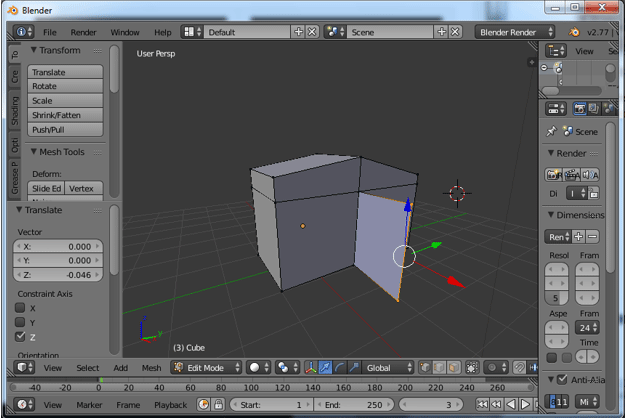
Step 6: Extruding Individually
We can select individual vertices or edge or face to get their individual projections separately. This takes time and also depends on the project requirements.
When we extrude individual faces as selected, there is a chance to have a gap between them as they both are extruded and projected individuals, as shown in the image.
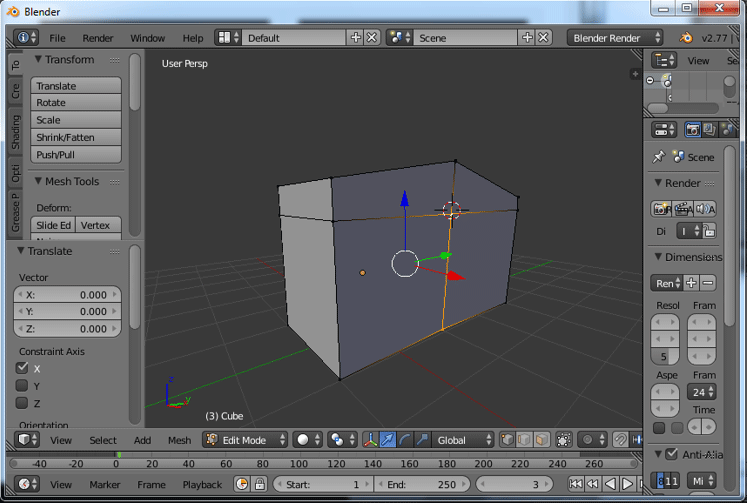
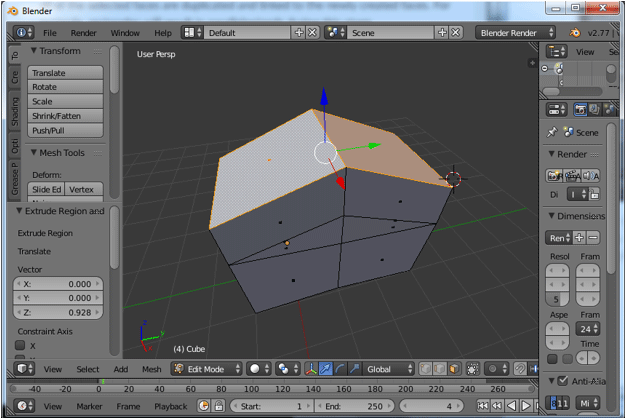
Step 7: Extruding together
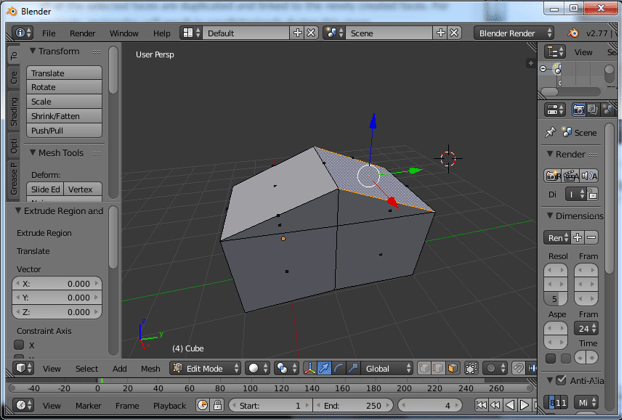
We can select multiple vertices or edges or face and extrude them at once to select multiple use shift key from keyboards. Here we have selected the top two faces for extruding “E”.

We can see both of them are extruded together without any gap between each other. We can apply for uniform extrude of multiple vertices or edges or faces.
Step 8: Extruding directions
Extrude can be done in any directions x, y, and z. Press the E key to activate and move the extruded properties by giving the location for them and the Z key to free it. Press “2” to manually change the height of the new extrusion based on calculated heights of design or model.
Tab key can be used to change modes from Edit to Object.
Conclusion
Extrude options helps in modeling complex shapes easily in less time. Floor plans, layout, and other 3D and 2D designs can be created upon using this option. Multiple objects extruding at once, and this practice avoid gaps between vertices, edge, and face. Continuous practice and creation of models help fresher to habituate with the environment. By selecting easy and simple models at an initial level for models can be done and promote them through YouTube and other platforms. We can create a simple logo and animations for titles etc. Detail modeling contains more polygons that are created upon extruding. All the very best to the learners.
Recommended Articles
This has been a guide to the Extrude in Blender. Here we discuss the Concept and step by step explanation of how to create Extrude in Blender. You can also go through our other suggested articles to learn more –
