


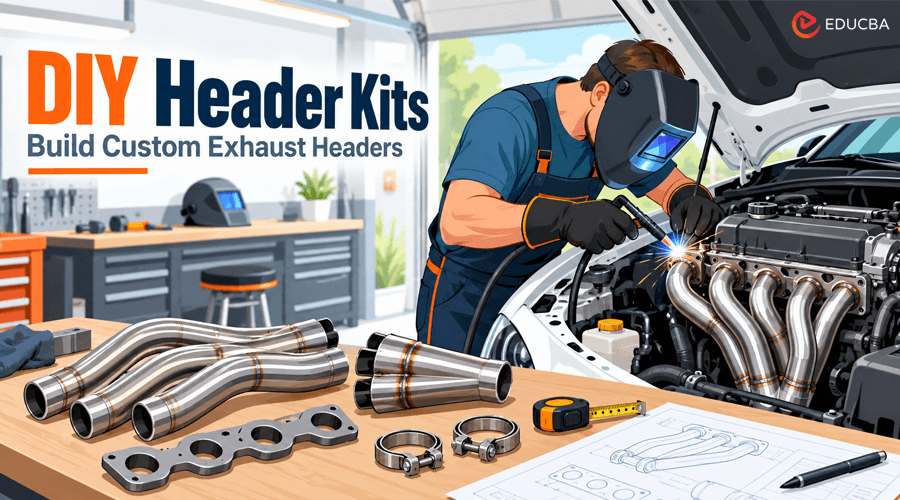
Heading into 2026, home mechanics have more practical ways to build exhaust systems around their vehicles, budgets, and fabrication skills. DIY header kits reduce guesswork by combining compatible tubing, bends, flanges, and positioning aids. The result is a project you can measure, adjust, and test before final welding. With careful planning, builders can improve clearance, preserve service access, and create a system suited to an engine’s firing order and intended use.
Start With the Engine and Chassis
Many builders begin with a bare engine bay, where every tube path must clear steering shafts, brake lines, spark plugs, and the vehicle’s frame. A complete DIY header kit package can provide bends, flanges, and joining points that establish a workable starting layout. That structure helps mechanics compare tube lengths, mark cut lines, and revise placement before permanent fabrication begins. The engine’s cylinder count, exhaust port spacing, and outlet position should guide the initial plan.
A four-cylinder layout may need different collector placement than a V8 arrangement. Clearance also changes with engine mounts, suspension movement, and steering travel. Measurements should be taken with the engine installed at ride height. Builders need space for spark plug removal, oil filter access, starter service, and transmission work. A tube that fits during assembly may block an essential component later.
Choose Tube Size With Purpose
Tube diameter affects gas speed, clearance, weight, and the engine’s power range. Larger tubing may support high output, yet it can reduce space and weaken low-speed response when poorly matched. Smaller tubing can improve packaging, but it may limit flow at higher engine speeds. A practical choice begins with the engine’s displacement, expected operating range, and cylinder head flow. Street vehicles often benefit from a balanced diameter that supports usable torque.
Competition projects may accept larger tubes because peak power matters more than easy street manners. Header length also influences the result. Equal-length primary tubes can support consistent pulse timing, while compact unequal-length routes may suit tight engine bays. The best choice depends on available room and the vehicle’s main purpose.
Mock Up DIY Header Kits Before Welding
Temporary assembly is one of the most valuable stages in a header project. A band saw jig, clamps, and tack welds let you reposition each tube without wasting finished material. Builders can confirm collector height, flange alignment, and access around nearby components. Each bend should be labeled before cutting. A simple layout plan reduces mistakes and shows how much material remains for later corrections.
Small gaps between sections are easier to manage than forced joints that create sharp internal steps. Mock-up work should include the exhaust connection, oxygen sensor position, and heat shielding area. The system must also allow enough movement for engine torque and chassis flex. Checking those points early prevents expensive rework after final welding.
Plan for Heat and Service Access
Exhaust tubing transfers substantial heat into the engine bay. Tight routing near wiring, hoses, paint, or fluid reservoirs can create failures long after installation. Heat shields, insulating sleeves, and controlled spacing help protect vulnerable parts. Flanges should sit square against their mating surfaces. Uneven alignment can produce leaks and place stress on fasteners.
Spring connections or flexible sections may help manage vibration, especially on vehicles with longer exhaust runs. Service access deserves equal attention. Mechanics should be able to reach fasteners, remove sensors, and inspect welds without removing half the engine bay. A few extra minutes spent checking tool clearance can prevent hours of future labor.
Check the Finished System
After welding, inspect the header for cracks, distortion, and incomplete penetration. A low-pressure air test with soapy water can reveal small leaks before installation. Also check the flange face for flatness. Once fitted, the system needs clearance from moving parts throughout the suspension range. Retorque fasteners after the first heat cycle, when metal expansion may reveal loose joints.
Any unusual noise, odor, or discoloration deserves immediate attention. Documentation adds value to the project. Recording tube sizes, collector placement, and sensor locations helps with future repairs. It also gives builders a reference for changes after tuning or engine upgrades.
Final Thoughts
DIY header kits give home mechanics a practical middle path between buying a finished exhaust and fabricating every piece from raw stock. A sound project starts with measured clearances, suitable tube diameter, accurate flange placement, and controlled welding.
By mocking up each route, checking access, and reviewing engine data, builders can enter 2026 with more control over fit, cost, and performance, while gaining useful fabrication skills that support future repairs and upgrades.
Recommended Articles
We hope this guide helps you understand DIY Header Kits and how they can simplify custom exhaust fabrication, fitment, and installation. Explore our recommended articles for more insights on exhaust systems, header fabrication, automotive performance, engine upgrades, and DIY car projects.