Crop Images in Adobe Illustrator
Adobe Illustrator is used as software for creating drawings, artwork, illustrations, etc. It was developed in 1987 and nowadays maintained by the Adobe system. It is a part of Adobe Creative Cloud in the present and is widely used by professional illustrators; crop in Illustrator is widely used by web designers and graphic designers for making their work very easy and effective. There are many types of drawing tools in Adobe Illustrator used while making illustrations, artwork, etc. Crop in Illustrator is the basic tool of Adobe Illustrator and is used for cropping an image according to our requirements.
Steps for Cropping an Image in Adobe Illustrator
Cropping is an interesting work in adobe illustrator. Let’s take a look at Cropping images in Adobe Illustrator with a few examples in a step by step manner.
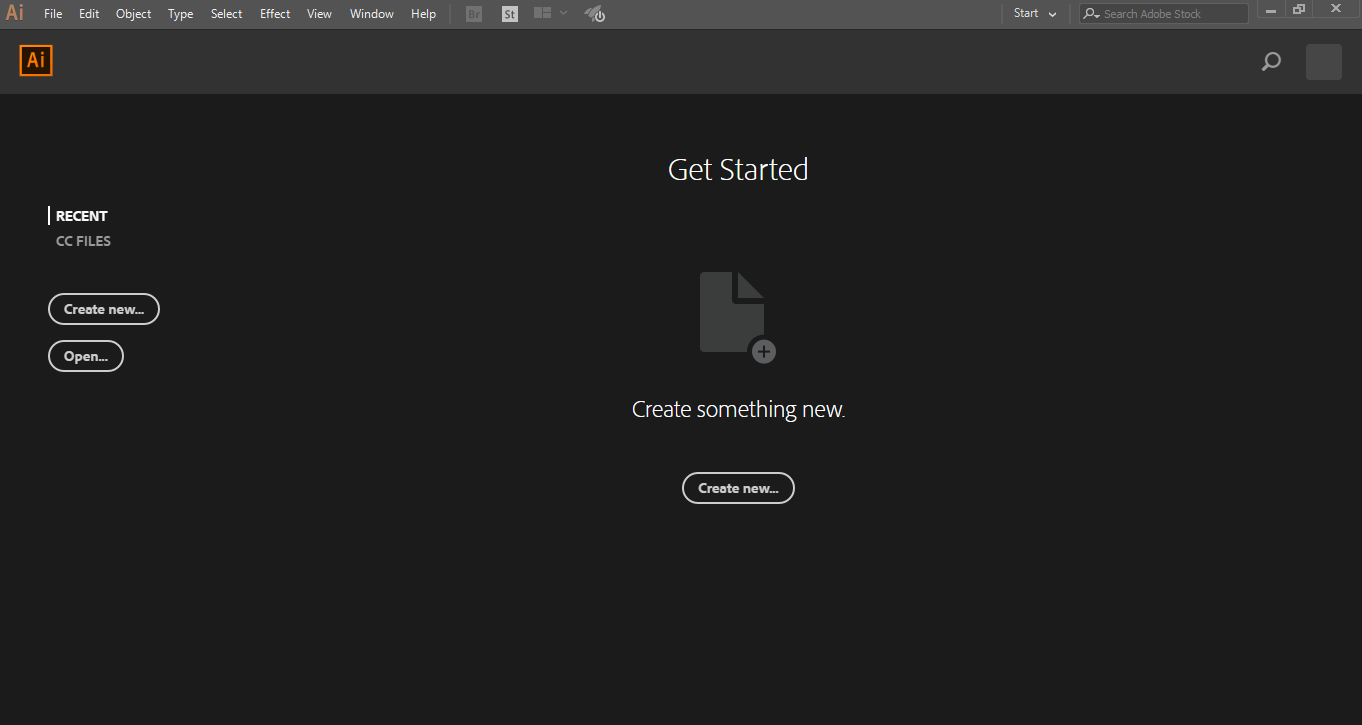
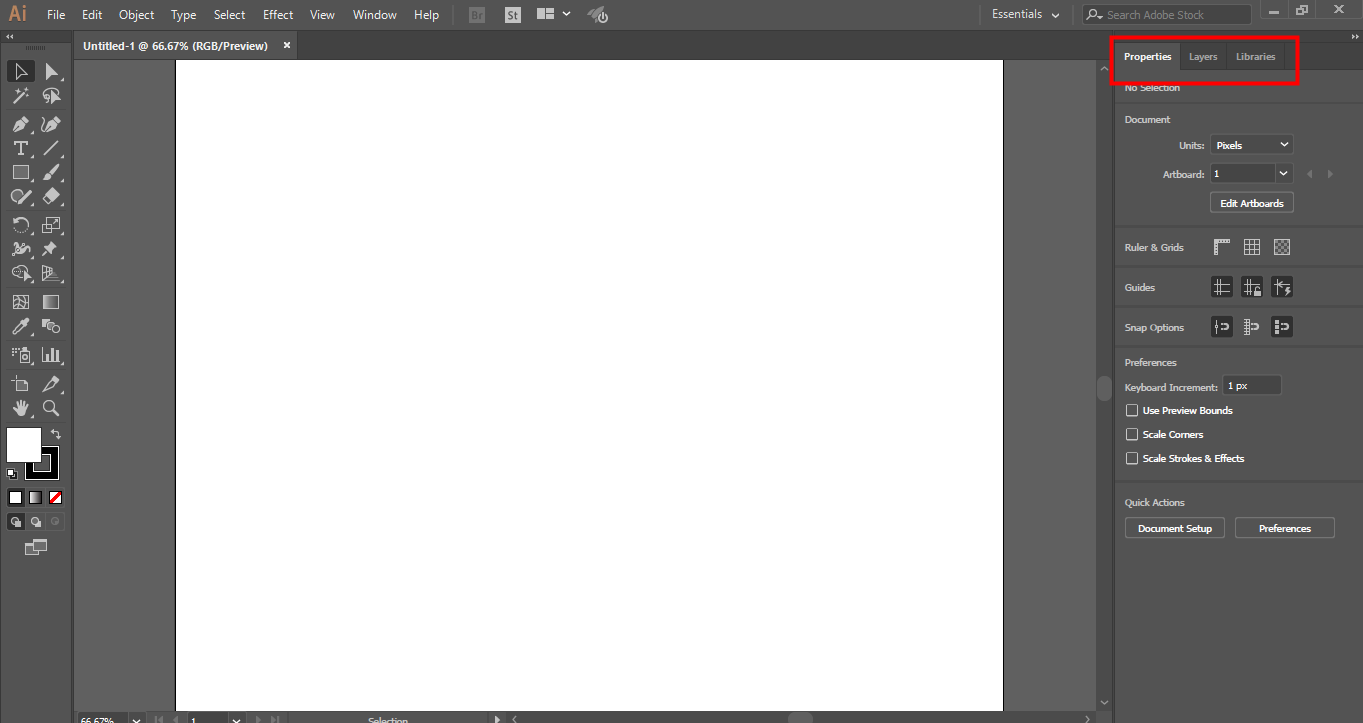
Step 1: Before starting, we will see some basics of Adobe Illustrator. This is the User Interface of Adobe Illustrator.
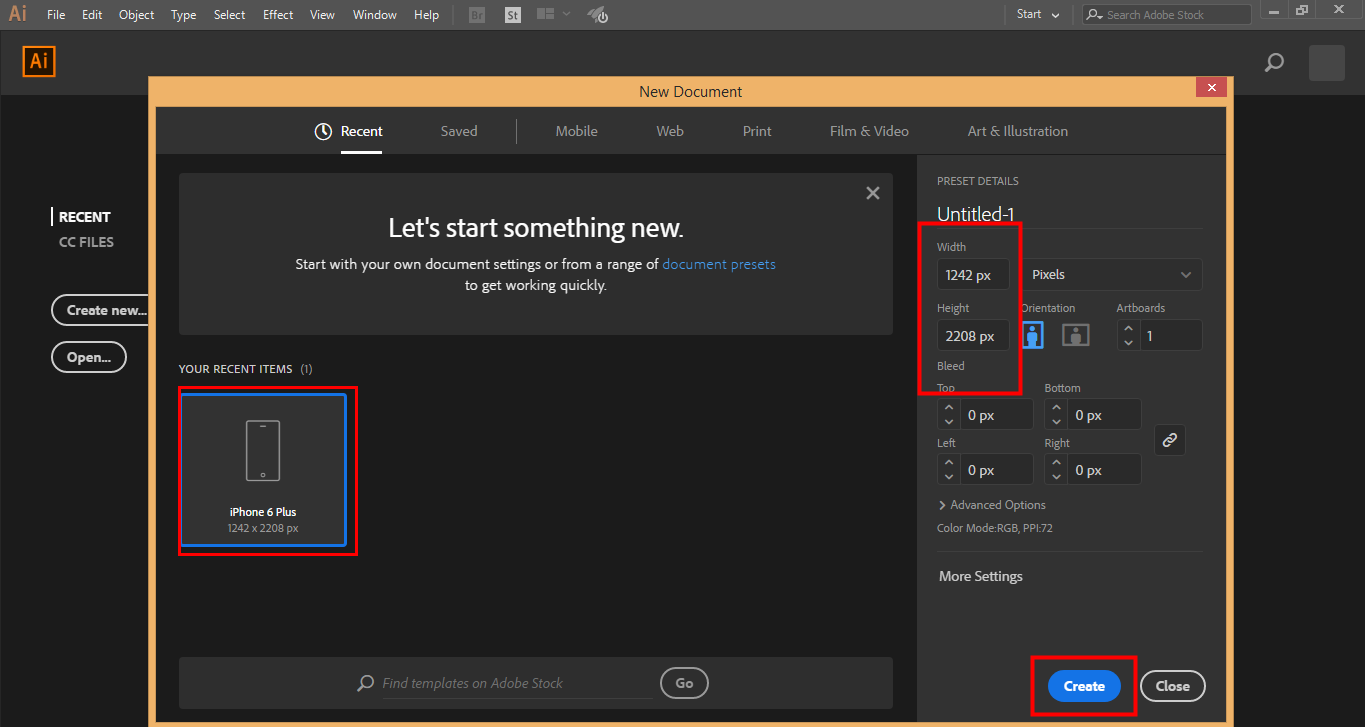
Step 2: Here, you can create a New Document or open your pre-drawing object by clicking on the open tab of this interface. When you click on Create, a Dialog box will open. Here you can set the height, width, orientation and another parameter of the page. And click on create a Tab of this dialog box.
Step 3: Here, we have the Tool panel on the left-hand side of the workspace of Adobe Illustrator.
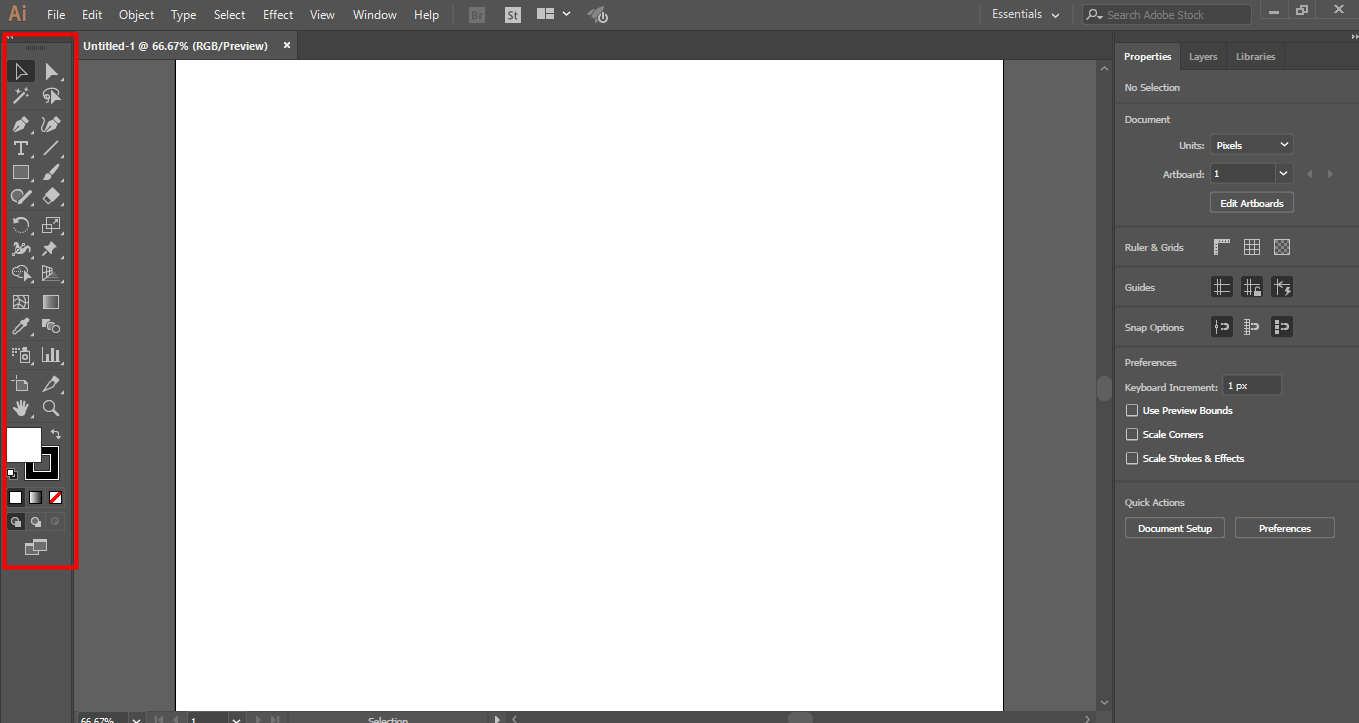
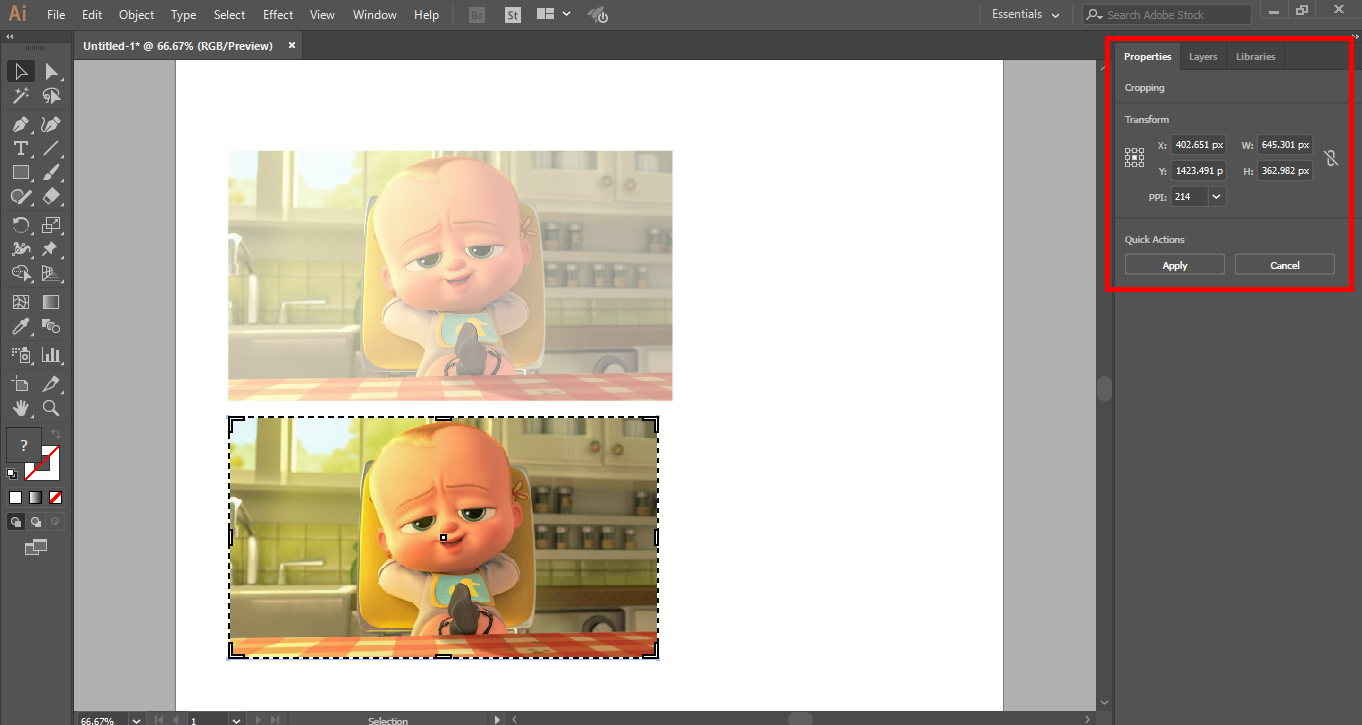
Step 4: On the right-hand side, we have Properties and Layers tabs. In properties, we can see the properties of the selected object, and in layers, we can see the number of the layers we have been used in our project; you can learn all this thing from our different tutorials.
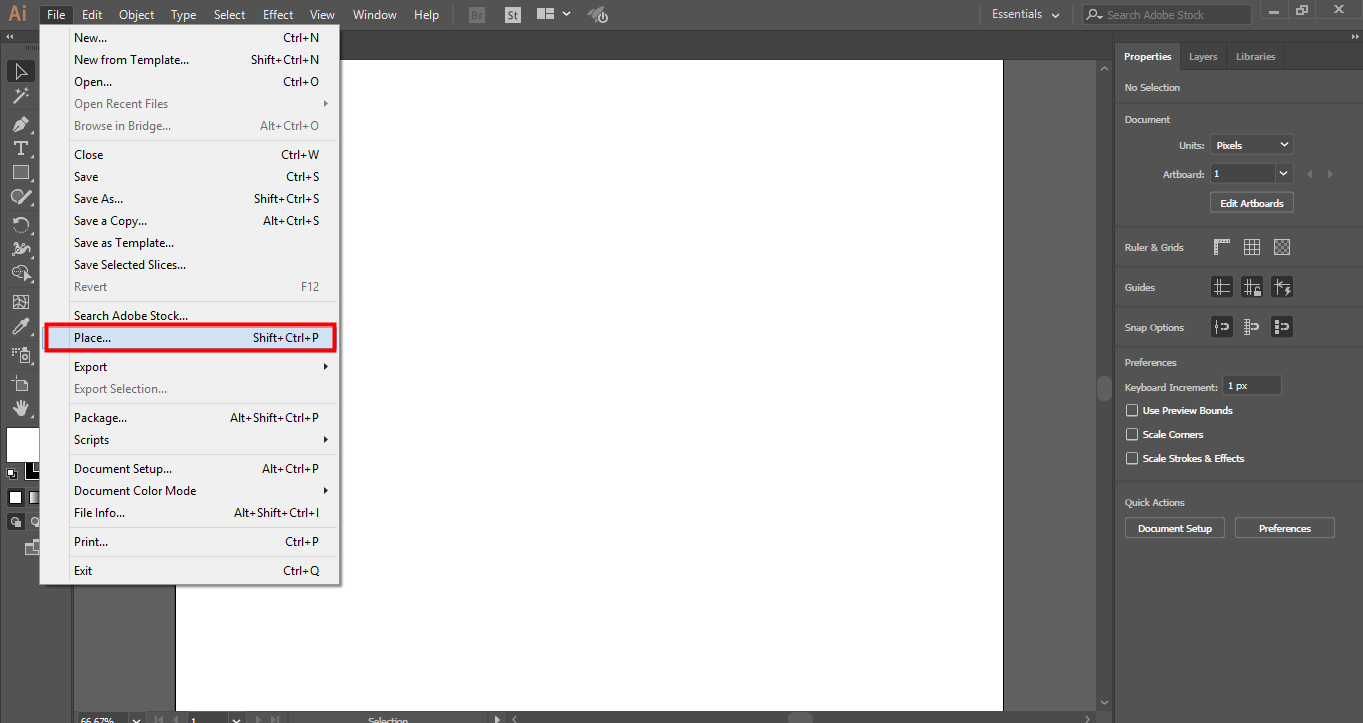
Step 5: Here, we will import or place an image in the work area; you can import many images as you want to import at a time. We have two methods for importing an image in Adobe Illustrator. First, go to the File menu and click on it; a drop-down list will open. Now click on the Place option for importing an image in your work area.
Step 6: Or second is a shortcut method. For the shortcut method, press the Shift + Ctrl + P button on the keyboard. A dialog box will open. Go to that folder of your PC where you have saved the image you want to crop. You can crop a downloaded image from the internet or your personal image taken by camera or other electronic media.
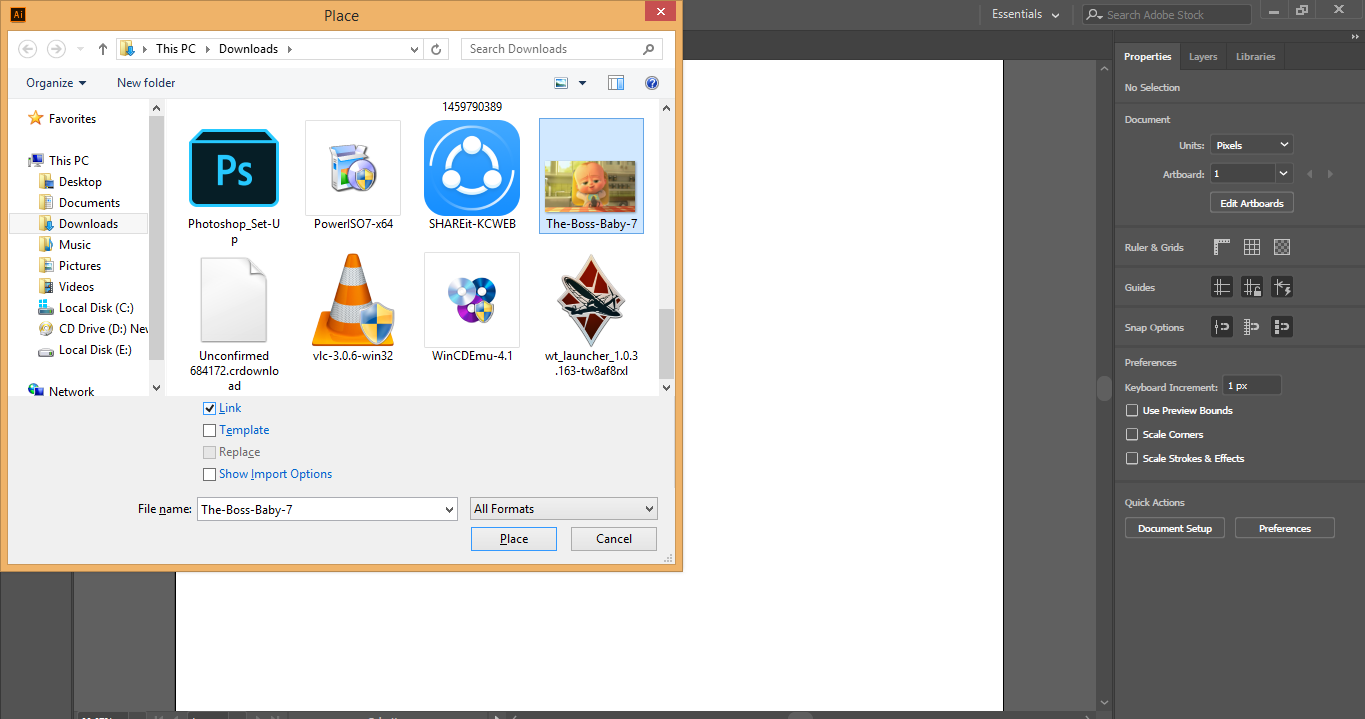
Step 7: Here, you have some parameters in this dialog box when you import any image. Here is the Link option; we must uncheck the Link option because the image with the link option will not display when we use this edited image on other PC.
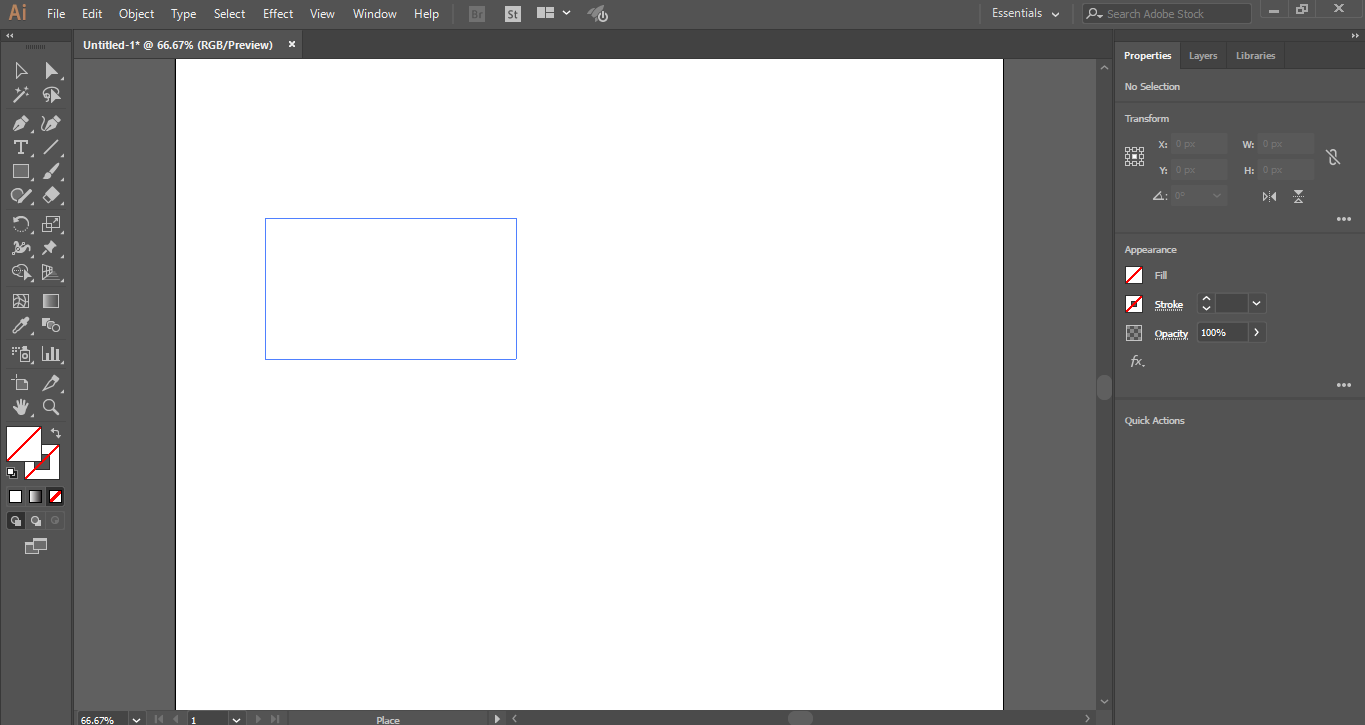
Step 8: Now click on this dialogue box’s place tab for placing the image in your work area. An icon of the image will open. Click anywhere in the work area and drag the mouse pointer for placing the image with the desired shape and size.
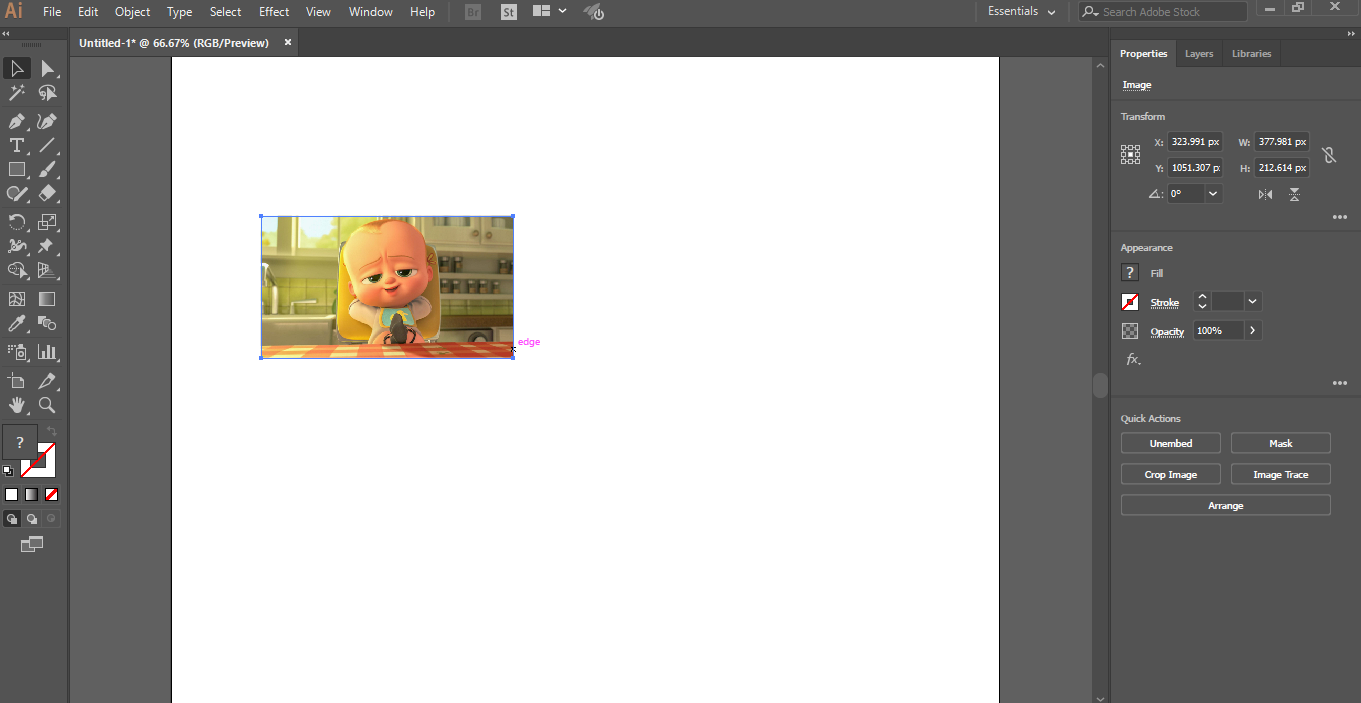
Step 9: When you import the image with a link option, the image will show with a cross box.
Step 10: Uncheck the link option, and the image with no cross box will indicate the image is not linked. There is a major difference when you crop linked images and unlinked images. We will see both of them one by one.
Step 11: First, we will see the cropping in the unlinked image. Here is the Crop Image option on the right corner of the workspace of Adobe Illustrator.
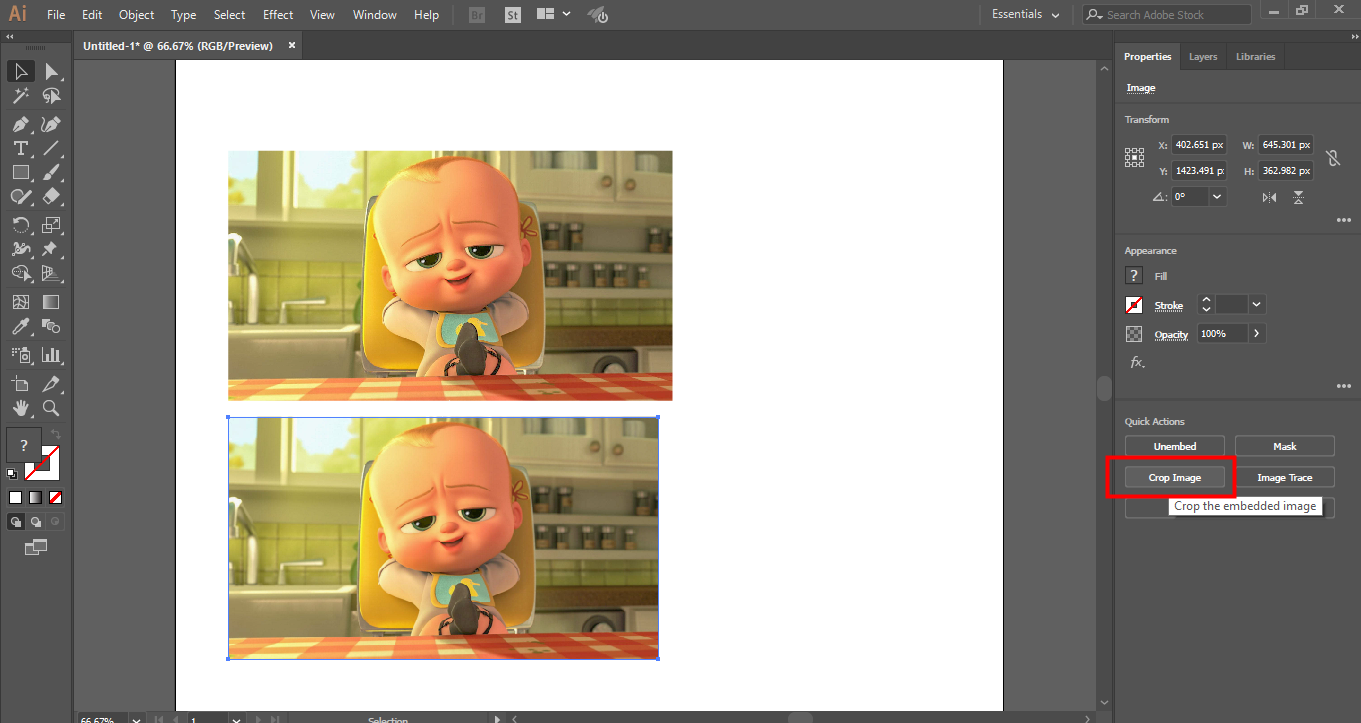
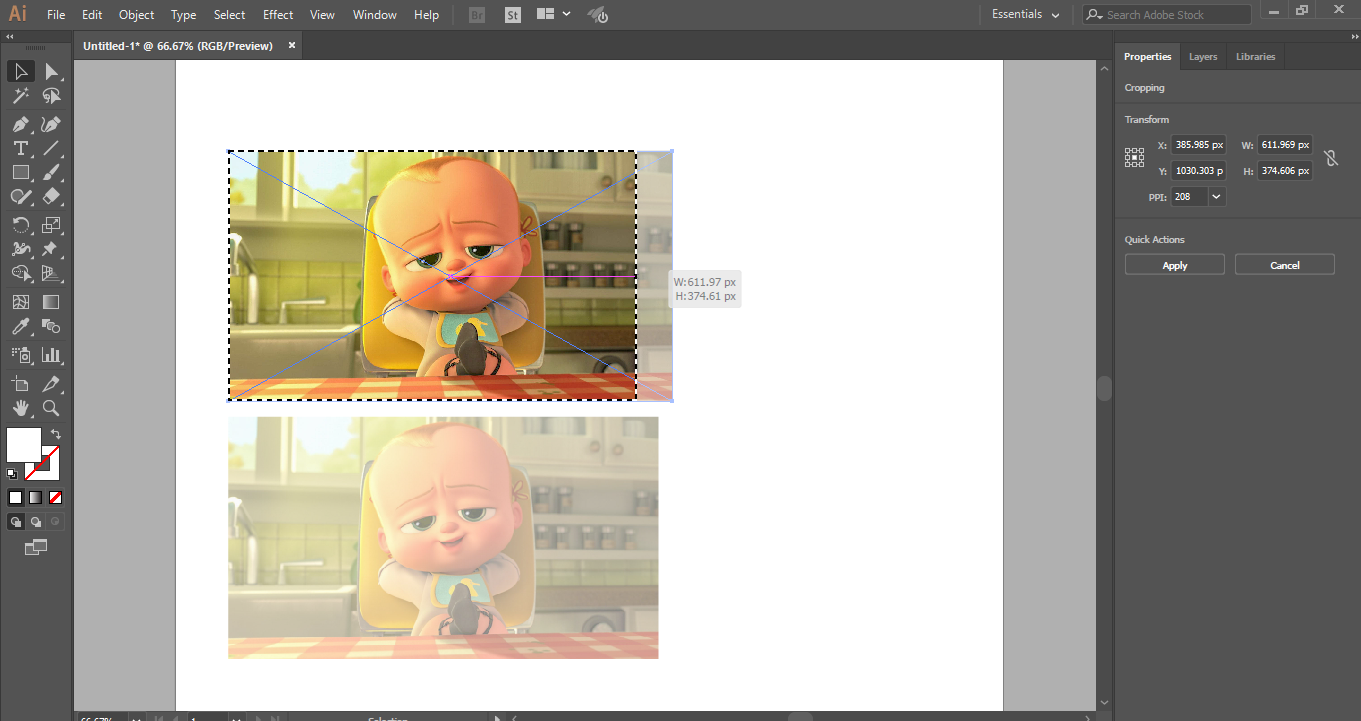
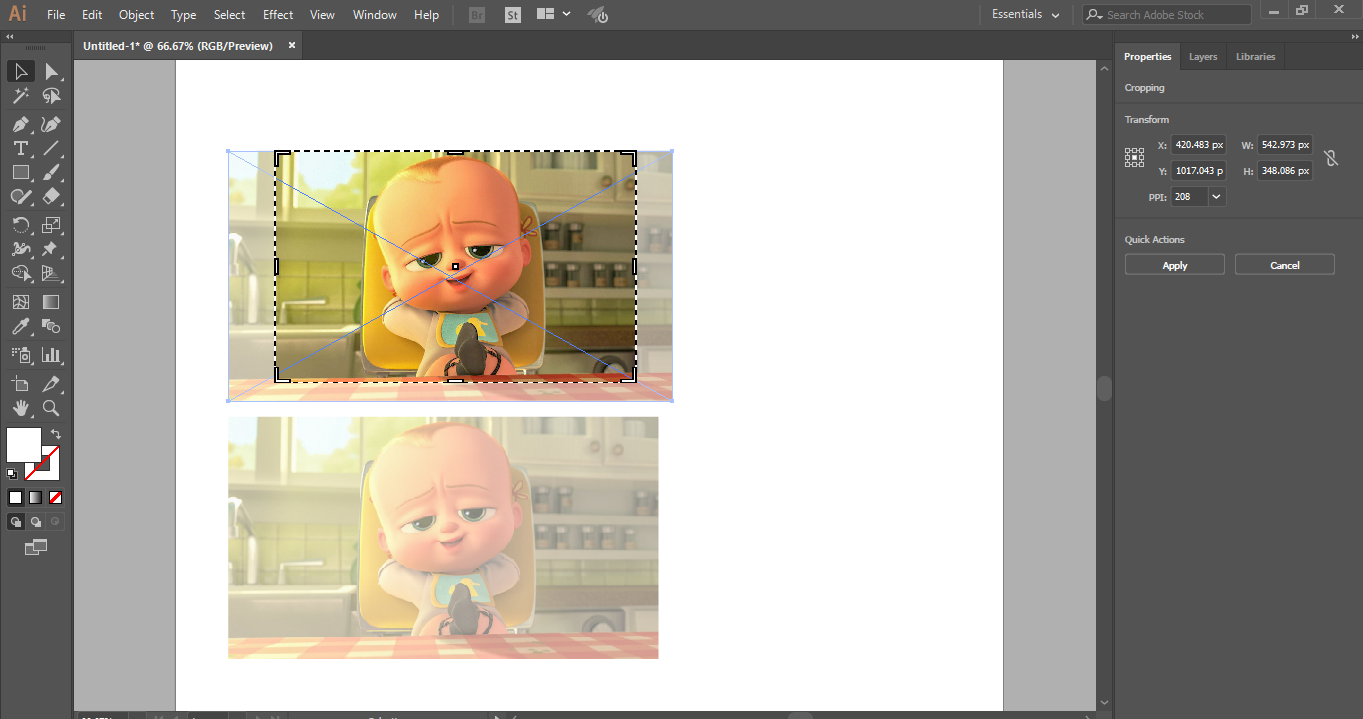
Step 12: For cropping the image, select the image by clicking on it and then click on the Crop image tab – A dotted rectangle will be created around the selected image.
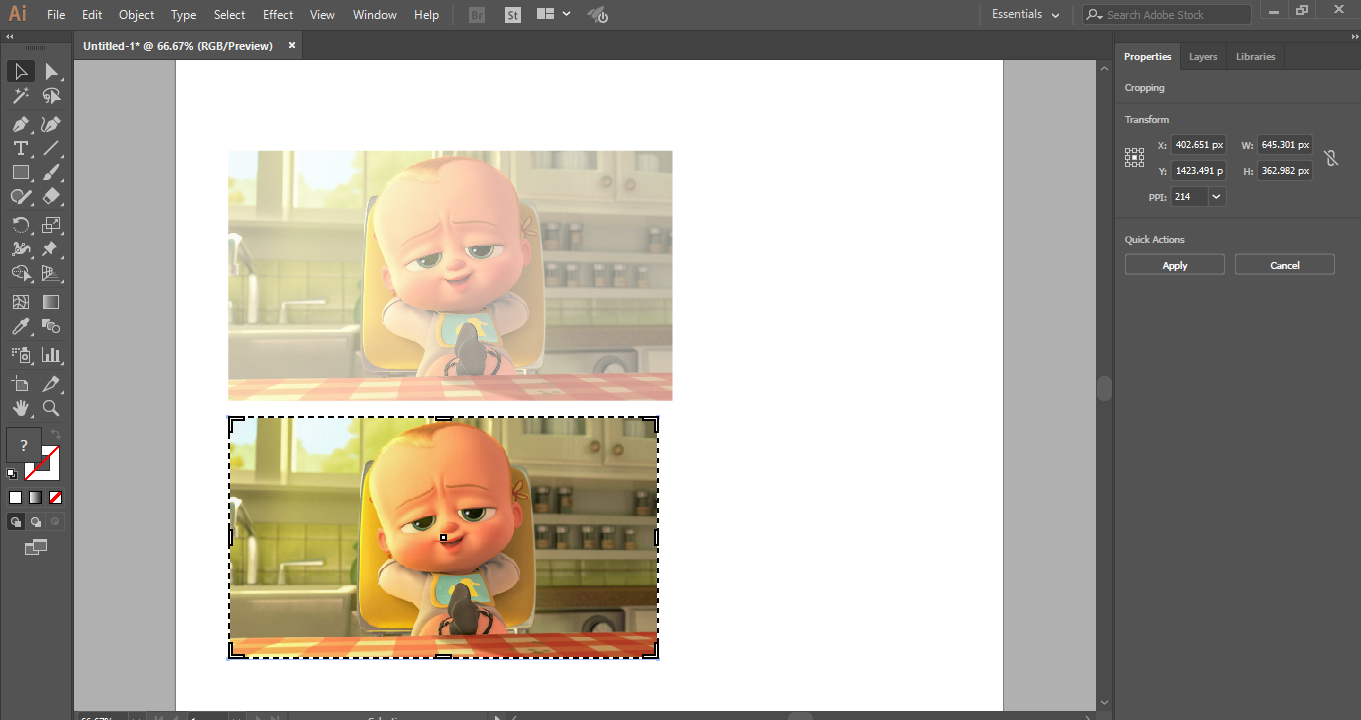
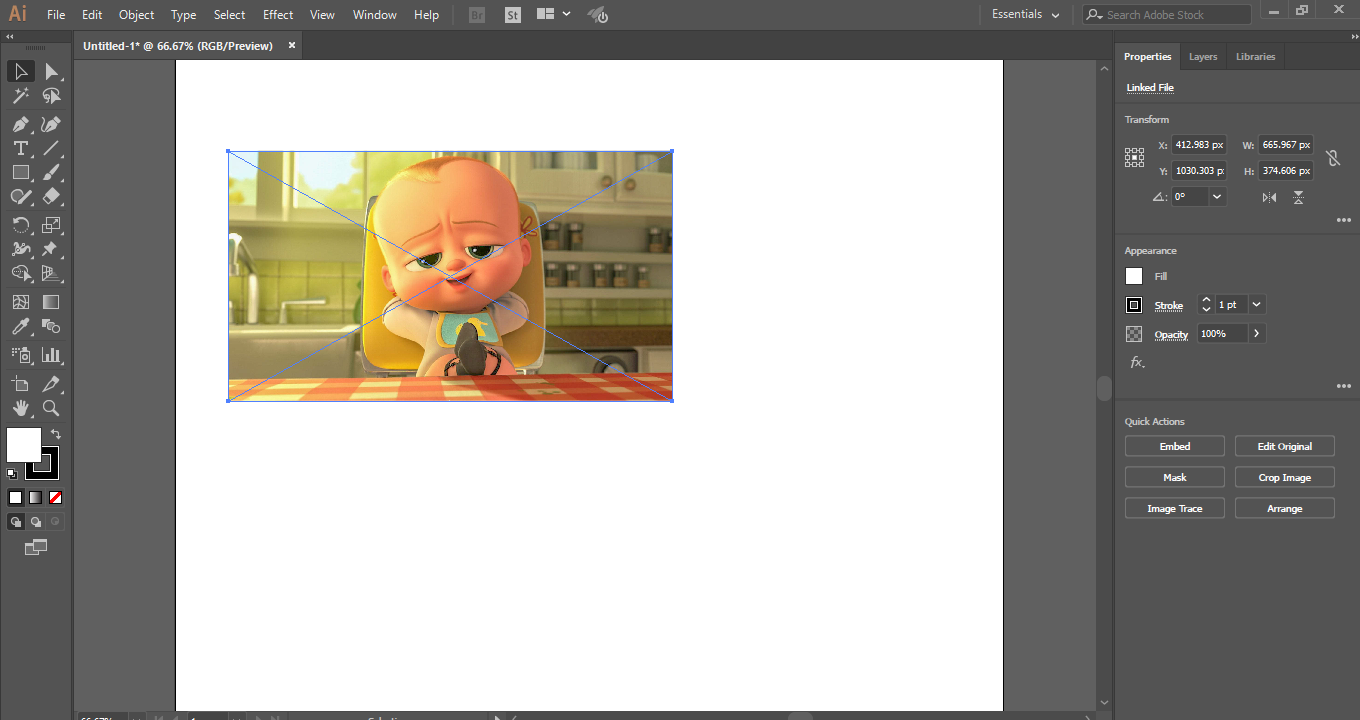
Step 13: You can give custom parameters to crop according to you from the cropping parameter at the top right corner.
Step 14: Take your mouse cursor at the border area, and you will see a Drag pointer will be generated. Drag this pointer by holding the left click button of the mouse for cropping the image.

Step 15: You can crop in the lengthwise direction or widthwise direction of the image or in both directions according to your requirement.
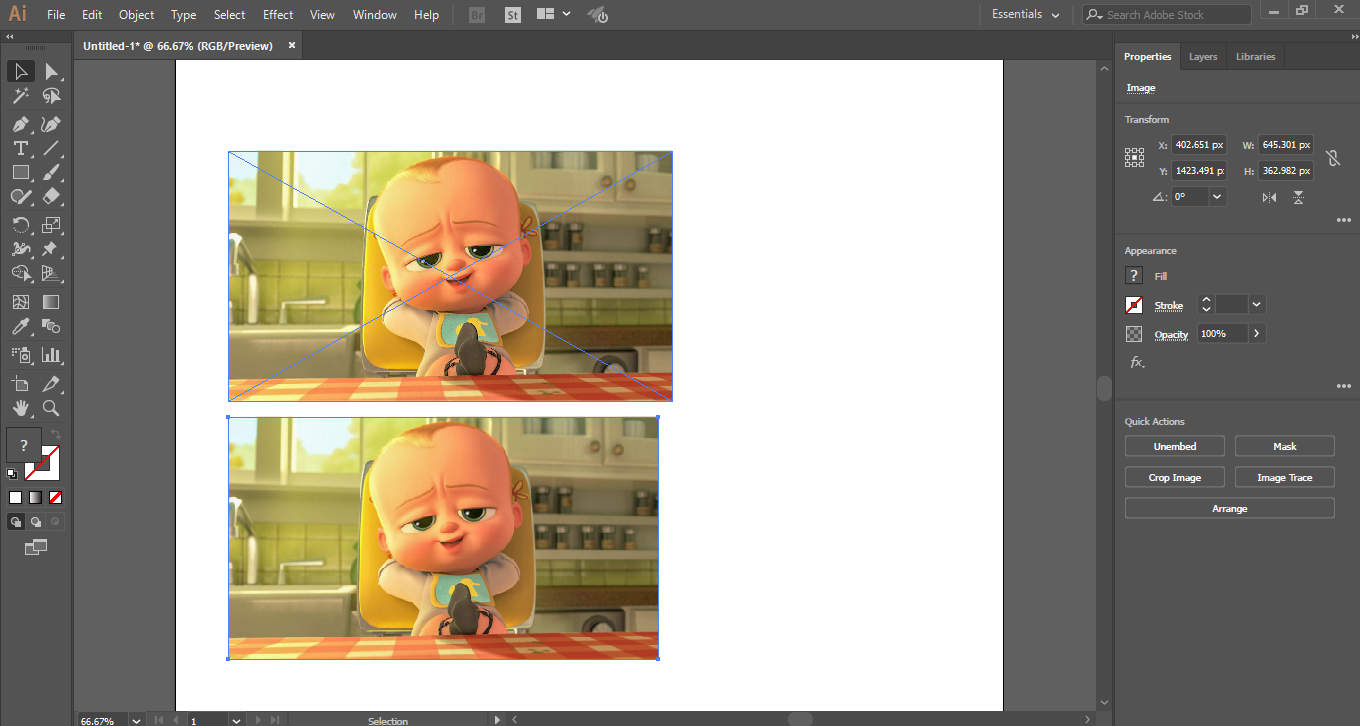
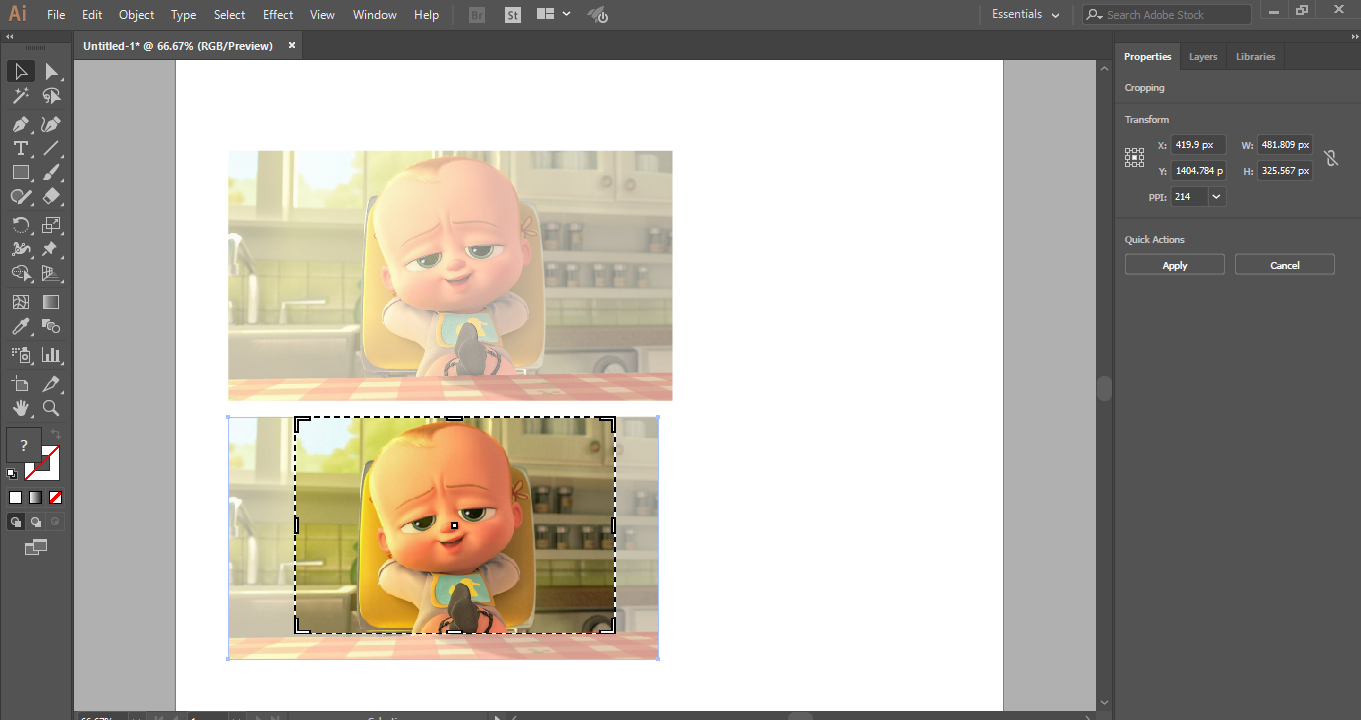 Step 16: Now click on the Apply tab button, which is present on the top right corner of the cropping section of the work area of Adobe Illustrator or press the Enter key on the keyboard to crop the selected image.
Cropping in the Linked Image
You can easily crop in the linked image by following the below steps.
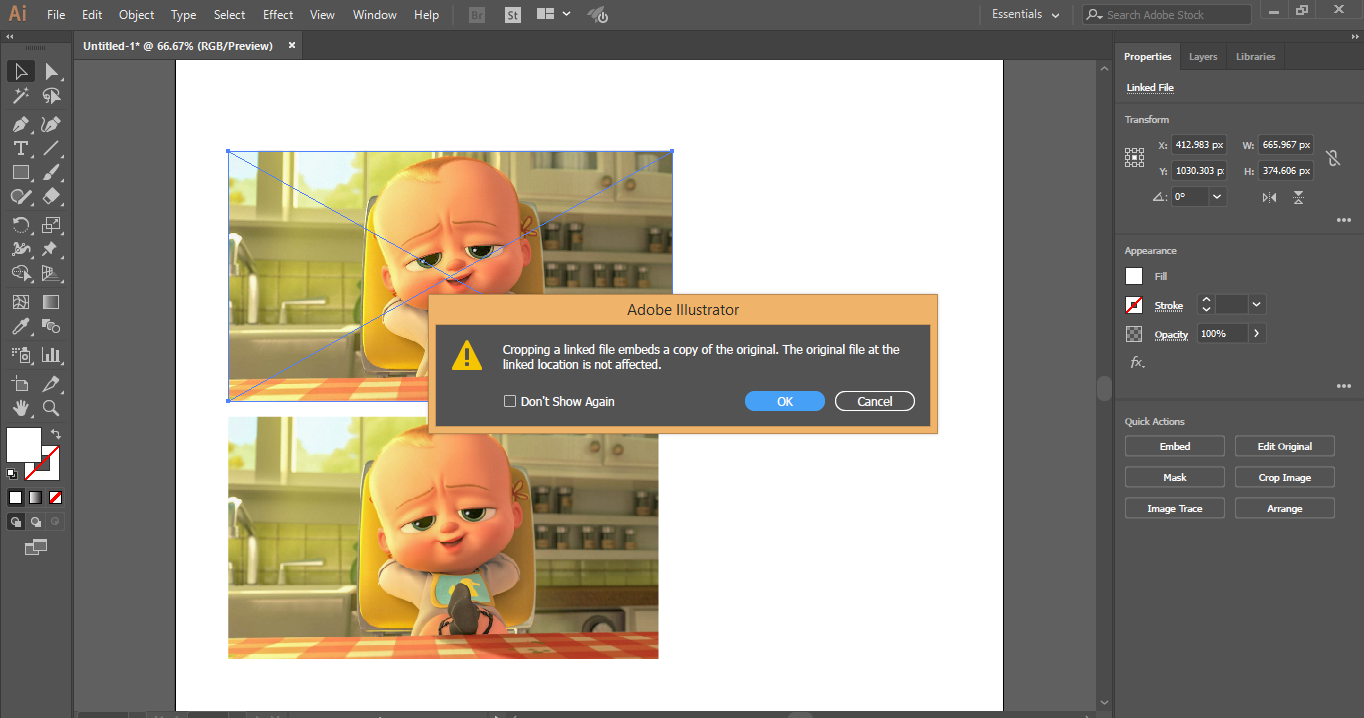
Step 1: For cropping the linked image, select the linked image by clicking on it. Then click on the crop tab at the right corner of the workspace of Adobe Illustrator. A dialog box will open; click on the Ok tab. This dialog box shows that the original file of this image will not be affected when you crop this image, and changes will remain in the cropped image only.
Step 2: Again, take your mouse cursor at the border area, and you will see a drag pointer will be generated, now drag this pointer by holding the left click button of the mouse for cropping the image.
Step 3: Again, you can crop in the lengthwise direction or widthwise direction of the image or in both directions according to your requirement.
Step 4: Now click on the Apply tab button, which is present on the top right corner of the cropping section of the work area of Adobe Illustrator, or press Enter key on the keyboard to crop the selected linked image.
In this easy and simple way, you can crop any image for your illustration work and make your illustration more and more effective.
Conclusion – Crop in Illustrator
Here you see that how we can crop the image in adobe illustrator. After learning how to crop the image in Adobe Illustrator or Crop in Illustrator, you can easily embed your image with your drawing and make it more effective for the viewer. It will help you to take any section of the image for your project work.
Recommended Articles
This is a guide to Crop in Illustrator. Here we discussed step by step instructions to crop an image in Adobe Illustrator. You can also go through our other related articles to learn more-
