


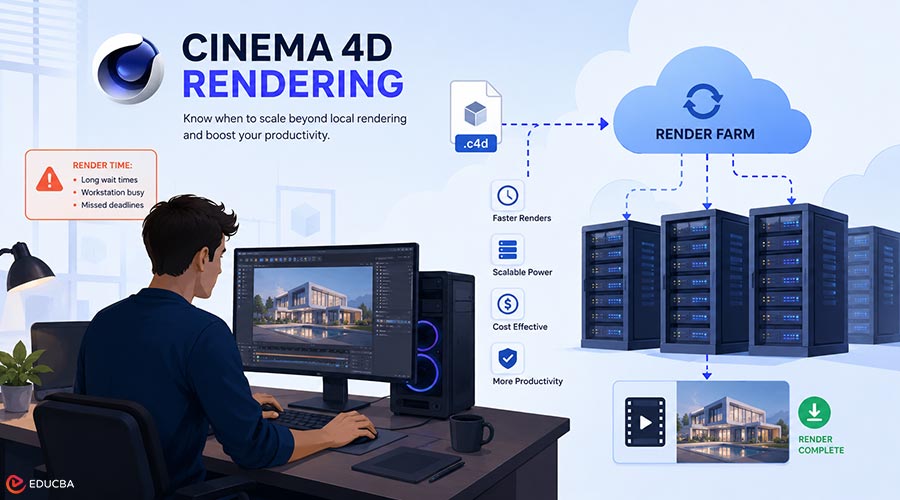
Local Cinema 4D rendering is an effective way to produce quality previews, still images, and animations. However, this is only true if your local hardware can keep up with the demands of your projects. Otherwise, you are presented with poor quality and reduced productivity. For renders that your local hardware can not handle, you can use a Cinema 4D render farm. In this guide, you will learn when local rendering is no longer practical, which offloading options are available, and how to test them with minimal risk. By the end, you will understand which offloading option fits your workflow and how to evaluate it with minimal risk.
Signs Local Cinema 4D Rendering is Starting To Break The Workflow
Your day-to-day rendering Cinema 4D workflow is no longer practical when:
- Render times are making you fall behind schedule.
- Even previews have unnecessarily long wait times.
- Final renders are making your workstation unusable for other important work.
- You still miss morning deadlines even after overnight renders.
Usual causes of the above issues are:
- More revisions than usual
- Projects require more versions
- Higher resolution, heavier lighting, and longer animations
- Parallel projects
These issues tend to grow faster than a small workstation setup can handle.
Why Workstation Upgrades Stop Solving The Problem?
Hardware upgrades can solve your current workstation limitations, but they are not always the most cost-effective long-term solution.
Here is why:
- Upgrading one component often requires upgrading others (CPU, GPU, RAM, PSU, cooling)
- Even high-end systems still have a fixed performance ceiling
- As the workload increases, jobs queue up and create bottlenecks
- Hardware investments become costly without proportional productivity gains
Instead of repeatedly upgrading local machines, many studios transition to a Cinema 4D render farm for elastic, on-demand scalability.
Four Practical Ways To Render Cinema 4D Projects
Here are three rendering methods built into Cinema 4D, and how they compare with using a render farm Cinema 4D:
| Feature | Team Render | Team Render Server | Command Line Rendering | Cinema 4D Render Farm |
| Setup Effort | Low | Medium | High | Low |
| Extra Licensing | Required per node | Required per node | Required | Usually included |
| Scalability | Limited to hardware | Limited to hardware | Moderate | High |
| Job Queue | Basic | Built-in queue system | External render management tools | Advanced |
| Version Control | Manual | Manual | Manual | Managed / Standardized |
| Scene Validation | Minimal | Basic | Depends on the pipeline | Strong |
| Workstation Access | Often tied up | Free during rendering | Free | Fully free |
| Upload Requirement | None | None | None | Required |
1. Team Render On A Local Network
Team Render uses the combined power of workstations on the same local network to render scene frames. It functions like a small-scale render farm, but runs entirely on your own machines and locally. While convenient, it comes with the same limitations. Workstations can get tied up during renders, queue control is minimal, and performance depends heavily on network stability. You may also need separate licenses for each node. It is best suited for small teams or individuals with only a few workstations who want a reliable way to speed up Cinema 4D rendering.
2. Team Render Server With A Queue
Team Render Server uses a Maxon standalone app that lets teams queue, manage, and distribute renders across connected nodes via a web-based interface, so artists do not need to keep Cinema 4D open to submit or monitor jobs. It improves scheduling and coordination, but it still shares the same fixed-capacity limitation as Team Render.
3. Command Line Rendering For Automated Pipelines
Command Line Rendering is a standalone application without a graphical interface, designed to automate and manage renders. It is often integrated with third-party render managers like Deadline, with all interactions handled via scripts or the render manager. This approach is well-suited for teams that want to maximize node performance by removing UI overhead, efficiently managing high-volume tasks, and leveraging existing scripting and automation skills. It offers powerful control but requires technical knowledge to set up, maintain, and ensure consistent results across all nodes.
4. Cinema 4D Render Farm for On-Demand Capacity
A render farm provides access to remote rendering capacity without requiring additional hardware purchases or maintenance on your end. You upload your scene to the render farm, it distributes frames across nodes for rendering, and then you download the finished output. The cost of rendering on a farm is pay-as-you-go. You only pay for what you render. However, this approach depends on stable internet access, and upload times can increase if assets are not packaged cleanly.
Cinema 4D Requirements That Make Or Break Off-Site Rendering
Look for an off-site rendering service that supports more than just Cinema 4D. Look for one that also supports your existing plugins, render engines, scene settings, and software versions. For the best results, your chosen service should be able to reproduce your local setup.
1. Takes MoGraph And Cache Consistency
Offsite rendering must fully support Takes workflows, especially for multiple scene versions or variations. Equally important is reliable caching, as inconsistencies can cause flickering, jumping simulations, and mismatched frames.
2. Render Engines And Plugin Compatibility
Find a Cinema 4D cloud rendering solution that supports the render engines and plugins you use before committing. It is also important that you check version support, as any version mismatch can cause failed jobs or unexpected output differences.
3. Choosing CPU Or GPU Capacity Based On The Engine
Pick hardware based on your engine’s needs (CPU or GPU-intensive), then optimize for speed and cost second. Using the wrong type can slow rendering or increase expenses without benefit.
Cinema 4D Cloud Rendering Costs and Predictability
Using render farms is actually more predictable in terms of cost, thanks to their pay-as-you-go pricing model. You only pay for what you use. A safe estimating and budgeting habit is to always run a test render first. This helps estimate per-frame render time and likely total cost before scaling up. This gives you an idea of the actual cost of the entire render. Remember, expenses can add up quickly and go over budget without proper monitoring, especially due to unnecessary rerenders.
Cinema 4D Rendering Prep Checklist
Here are things you should remember before running a Cinema 4D Render:
- Collect and pack textures
- Verify paths
- Include caches
- Confirm output settings
- Test frames across the timeline
These are necessary to optimize rendering Cinema 4D projects, reduce rerenders, and ultimately lower costs. If large scenes make testing difficult, consider multipass rendering or breaking delivery into smaller render segments.
How To Test And Choose Without Wasting Time?
All four methods mentioned above have their pros and cons and can all be practical choices in specific situations. Here is how you can determine which one fits your needs:
First, decide which factors you will measure.
- End-to-end time
- Upload friction
- Output consistency
- Queue visibility
- Error clarity
Support response
- Run a test render.
- Define success criteria such as correct output, no missing assets, and predictable render time. These signals should help you avoid overcommitting resources in the future.
- Pick the method that removes bottlenecks but adds the least workflow pain.
The Next Step When Local Cinema 4D Rendering Becomes A Bottleneck
When local rendering starts affecting your productivity, you have likely hit a practical ceiling. At this point, offloading rendering is not just helpful, but a smarter workflow choice. The best course of action is to run a small pilot with representative scenes using all available methods of offloading work.
Document what works, which option reduces workflow friction, and whether the output remains consistent with your local results. Sometimes, encountering bottlenecks is a sign that your operations are growing. Offloading is just a smart way of scaling your operations. It is a necessary move.
Final Thoughts
Local rendering works well until project complexity grows beyond hardware limits. A Cinema 4D rendering farm provides scalable, on-demand performance, removing bottlenecks and keeping production moving efficiently. Choosing the right approach is not just about speed, but also about maintaining a stable, predictable workflow as your projects grow.
Author Bio:

Ali Izhar is a skilled content writer who enjoys crafting clear, insightful, and engaging articles. He focuses on simplifying complex ideas and delivering knowledge across a wide range of topics.
Recommended Articles
We hope this comprehensive guide to Cinema 4D rendering helps you better understand when to scale beyond local workflows and optimize your rendering process. Check out these recommended articles for more insights and strategies to improve your 3D production efficiency and workflow performance.