Updated June 8, 2023
Introduction to AutoCAD Stretch
AutoCAD is computer-aided design software graphics professionals use to make 2d drawings and 3d models of different types of architectural, mechanical, and other works. Auto CAD has a bunch of commands for making its work easy. Stretch is one of those commands. We can use the Stretch command for stretching any particular section of any 2d shape of drawing in Auto CAD software. Here in this article, we will understand Stretch’s command through a 2d shape of this software, and we will also understand the technique of using this command so that there will be no problem during our work in this software. So let us start our discussion.
How to Use Stretch in AutoCAD?
We can use the Stretch command in this software, making our work easy and saving us time. We will understand it through a few steps of learning, but before this, let us look at the user interface of this software to understand this topic throughout this article better.
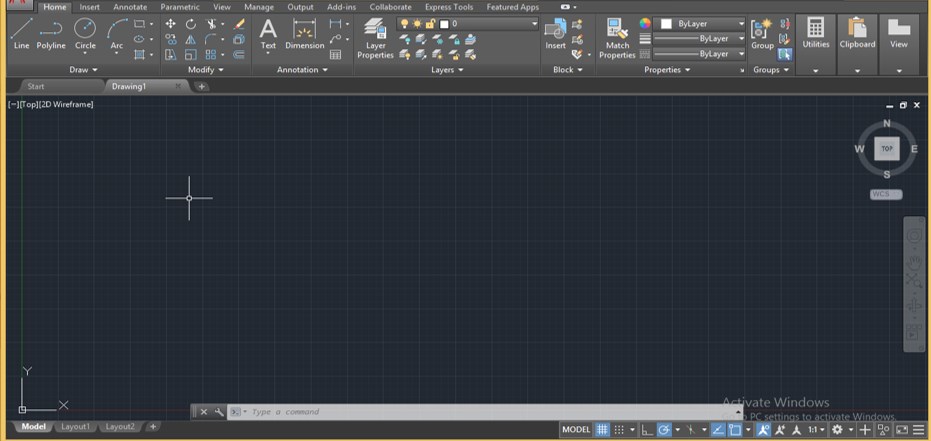
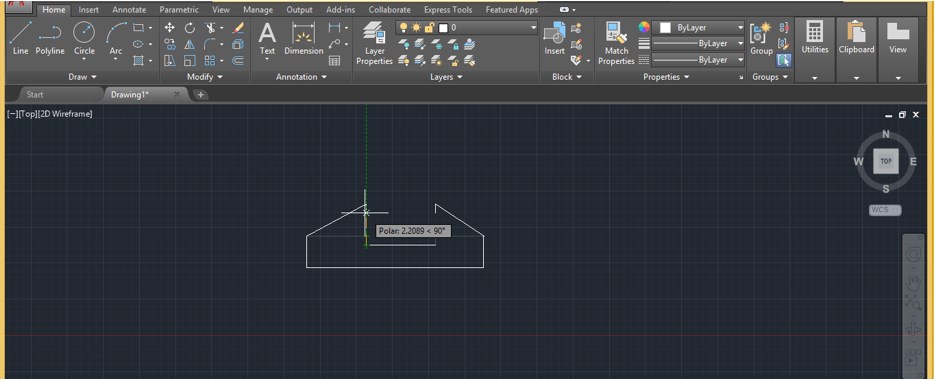
Step 1: At the top of this software, some tabs have different type of command and handling parameters for managing and making drawing in AutoCAD software; below this, there is working windows in which we can see our drawn object on the right side of this window we have a direction indicator cum viewport cube through which you can manage views of your drawing these views may be a top view, front view, left view, below this window at the bottom of this software we have some navigation tab for handling the working window of this software.
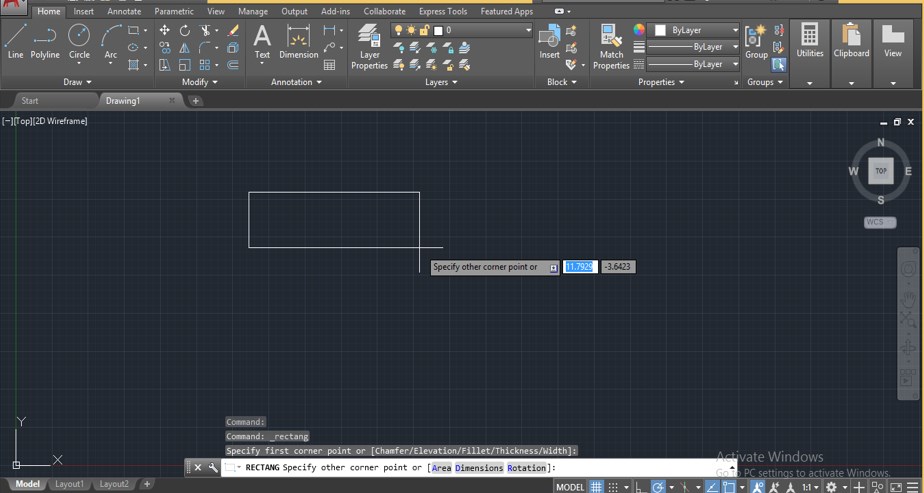
Step 2: Let us have a Rectangle command for our learning. For the rectangle command, go to commands of the Draw menu of the Home tab and click the Rectangle command icon with a mouse button.

Step 3: Now, draw a rectangle by specifying the first point and dragging it to your desired length with the mouse cursor, or you can enter your desired value in the value enter the box with the help of keyboard buttons, then press Enter button of the keyboard for applying the parameters of this rectangle shape.
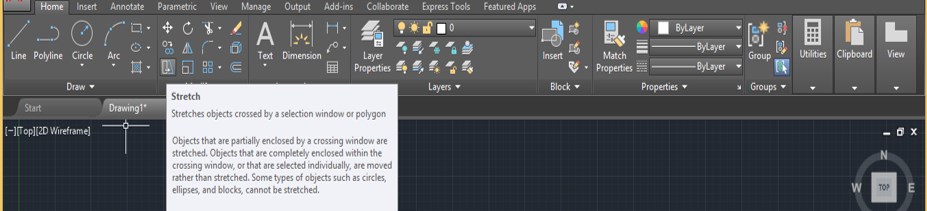
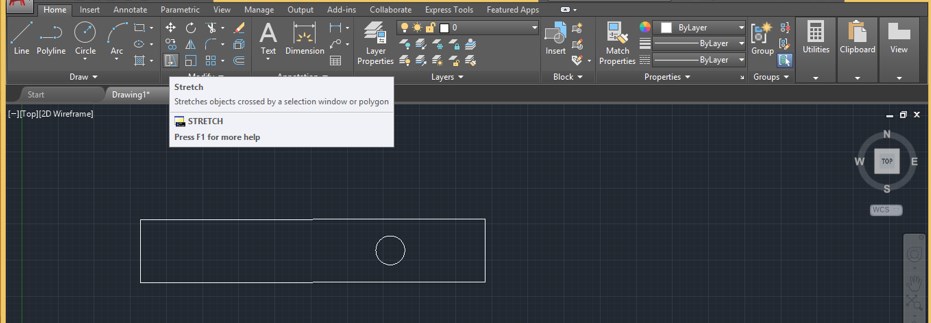
Step 4: Now, let us move to the Stretch command of this software. You can take it from the Modify menu of the Home tab by clicking on the stretch command icon.
Step 5: Or you can press the ‘S’ button from the keyboard and then press Enter for having activated the Stretch command.
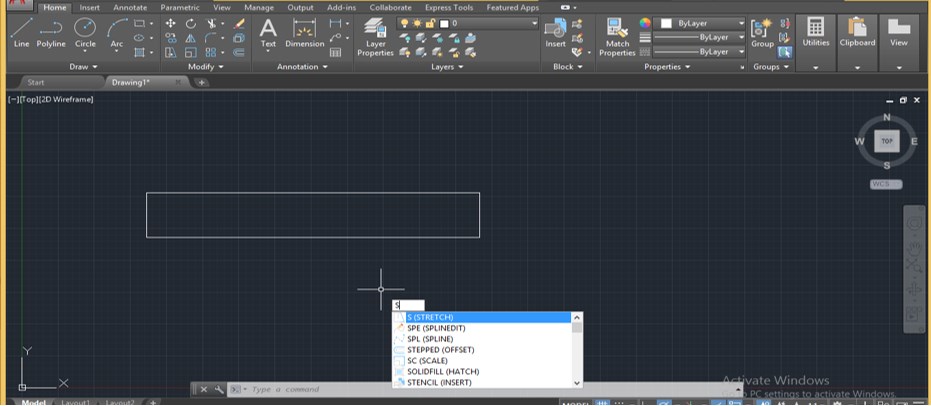
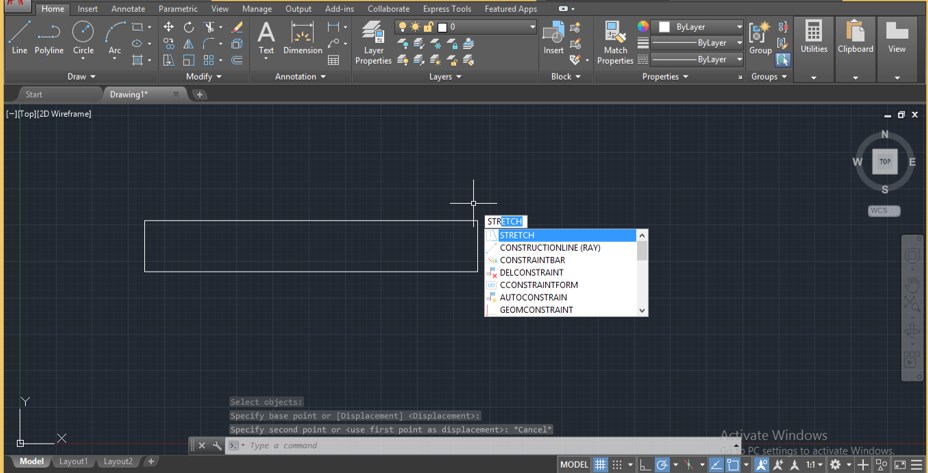
Step 6: Or you can type ‘STR’ from the keyboard and choose the Stretch command from the opened drop-down list of commands.
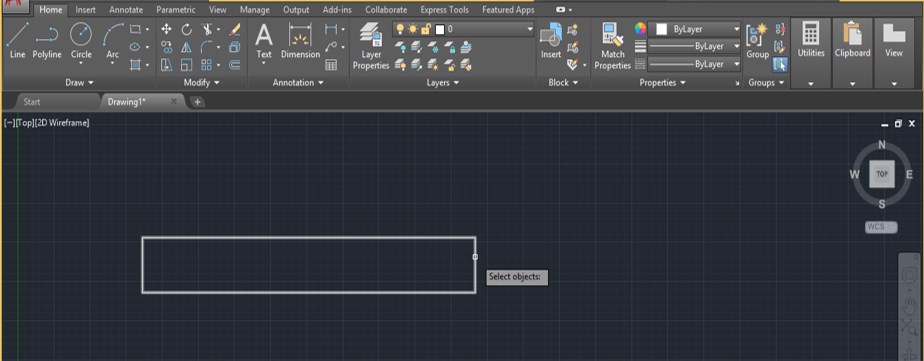
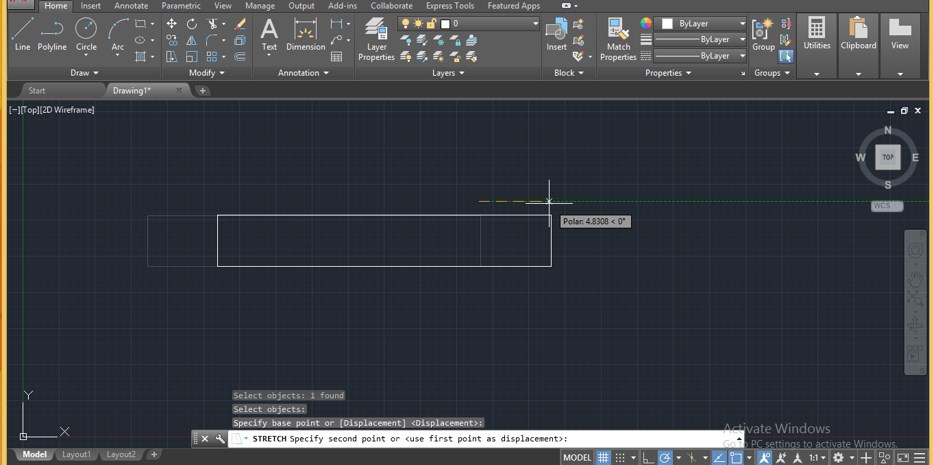
Step 7: Now, this command will ask you to select an object, so select an object by clicking on that object with a square shape mouse cursor.
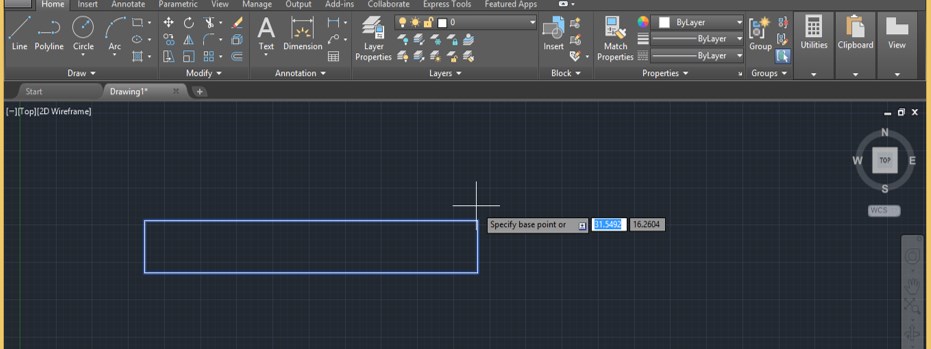
Step 8: Now, it will ask you to specify the point you want to stretch. Choose that point; this point may be inside or outside the object, according to your choice.
Step 9: Now, when you stretch your object, it will not stretch; it will move only like this because the selection of an object with the stretch command is different from other commands. So you must know the proper technique of selecting an object for using the stretch command on any object. So let us discuss that technique.
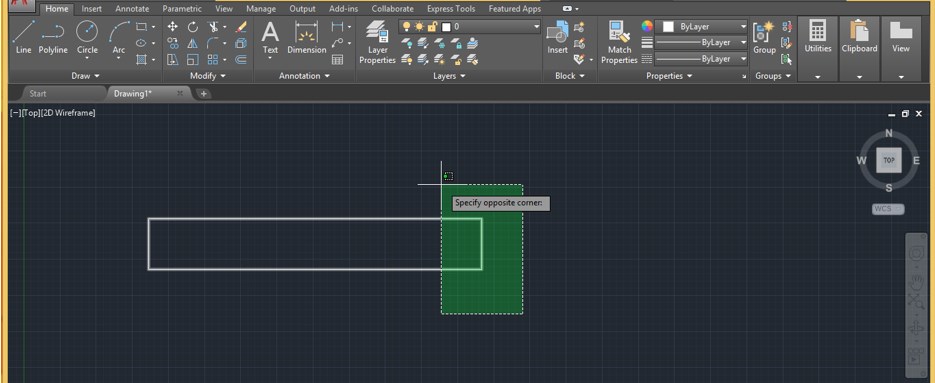
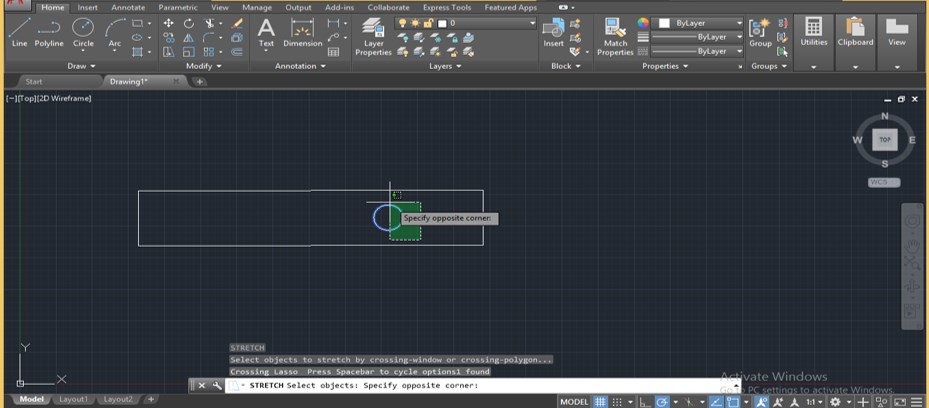
Step 10: Take the Stretch command by pressing the ‘S’ button of the keyboard, then press the ‘Enter’ button. Use a square selection box to select that section of the object you want to stretch with the Stretch command. Make sure you drag the selection square box from bottom to top like this. Now press the ‘Enter’ button from the keyboard after selecting an object.
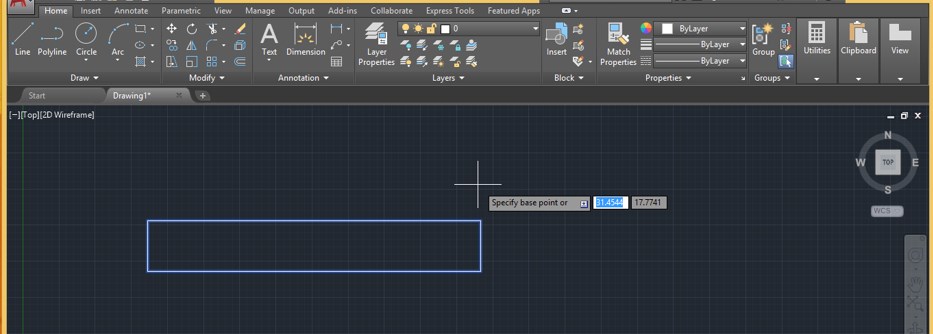
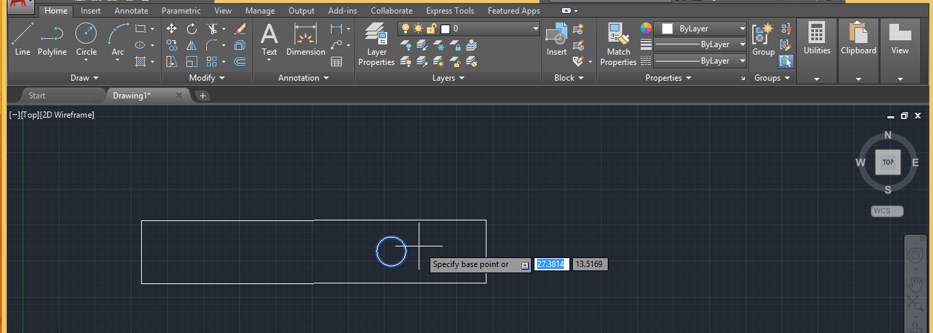
Step 11: Now specify the point around which you want to stretch the section of your object. You can choose any point inside or outside of the object or give any value for that point through keyboard entry.
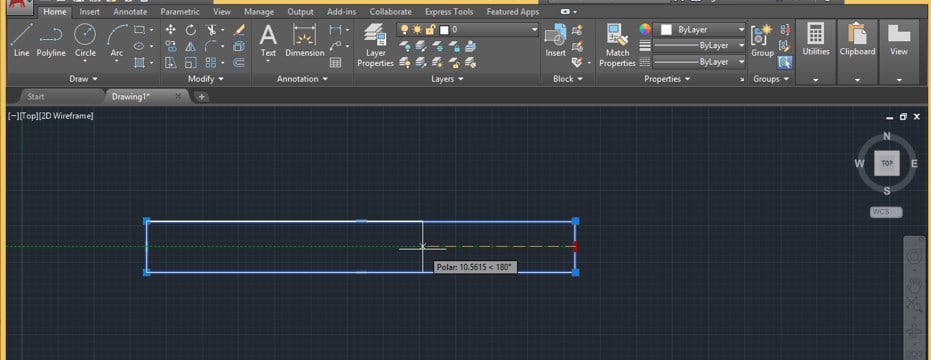
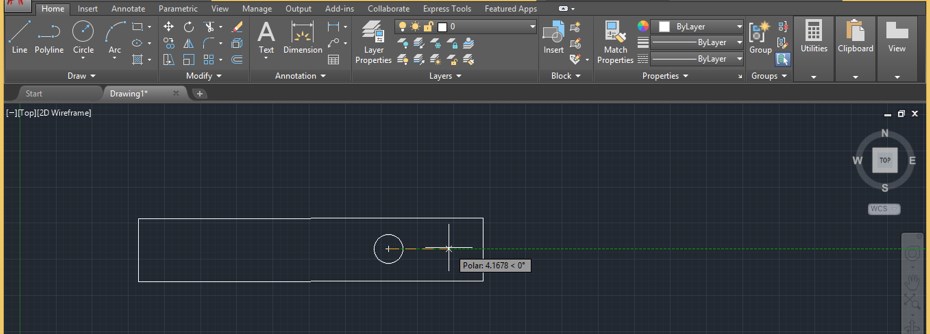
Step 12: Now drag the sections you want to stretch. You can stretch it outward toward a selected object like this.
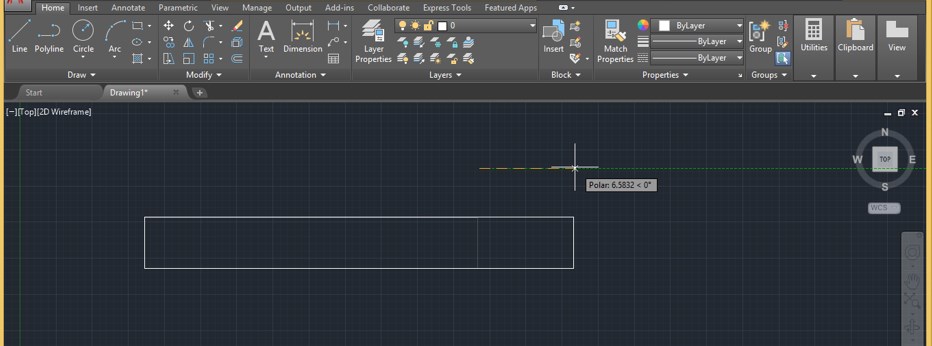
Step 13: Or inward directions of a selected object like this by dragging the mouse cursor in that direction.
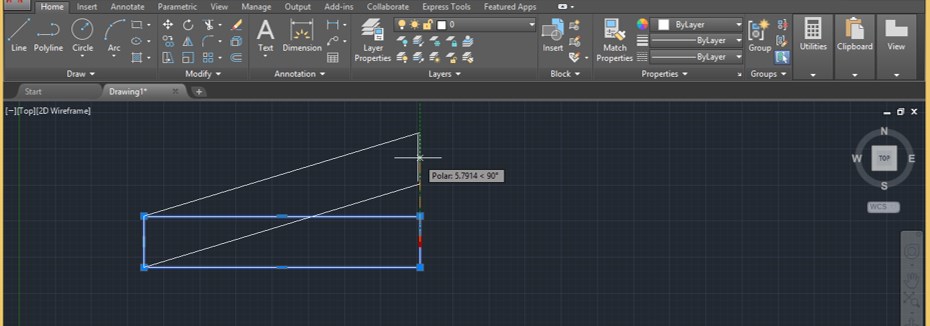
Step 14: You can also stretch this particular section at any particular angle like this, or you can enter the value of that angle through a keyboard entry in which you want to incline it.
Step 15: Now, let us see, ‘Can we use the stretch command on the circle?’ For this, let us take a Circle command from the commands list of the Draw menu of the Home tab of this software by clicking on the icon of the Circle command.

Step 16: Now, draw a circle like this of any radius.
Step 17: Now again, take the Stretch command from modifying the menu of the Home tab or press the ‘S’ button, then Enter button from the keyboard.
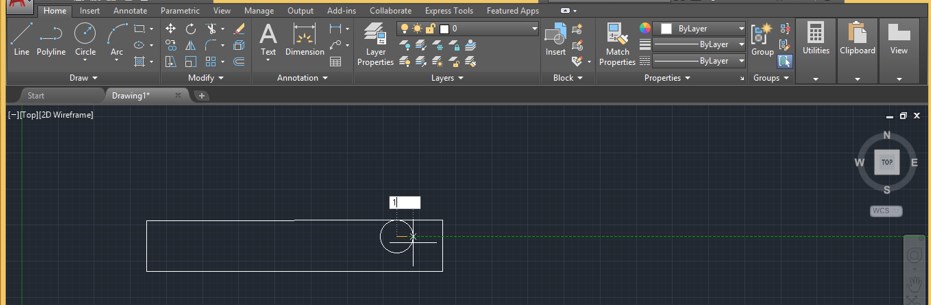
Step 18: Now select this circle with this stretch command using a square selection box and press the Enter button from the keyboard.
Step 19: Now specify where you want to stretch this circle. You can take any point or input value of that point through a keyboard entry inside or outside this circle.
Step 20: When you move the mouse cursor to stretch this circle, it will only move like this. So this command will not work on the circle shape.
Step 21: You can stretch only the same section of any 2d shape. For stretching only the same section, again take the stretch command by pressing the ‘S’ and Enter buttons on the keyboard, then select the section which you want to stretch by the square selection box like this and press Enter button from the keyboard.
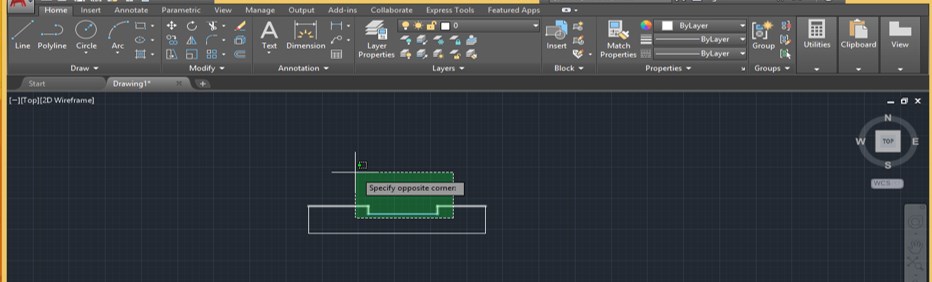
Step 22: Now drag the mouse cursor in which direction you want to stretch it like this.
Conclusion – AutoCAD Stretch
In this way, you can use the Stretch command in AutoCAD software and make a professional drawing. You can also save time with this exciting command of Auto CAD. Now, after this article, you can understand ‘what is Stretch command in the context of AutoCAD software?’ and ‘how you can use it for editing any 2d shape design?’ You can have a good command of the Stretch feature of AutoCAD software once you start practicing with this command on the drawing project of AutoCAD Software.
Recommended Articles
This is a guide to AutoCAD Stretch. Here we discuss the introduction and how to use AutoCAD Stretch stepwise. You can also go through our other related articles to learn more –
