Updated May 10, 2023
AutoFormat Feature in Excel
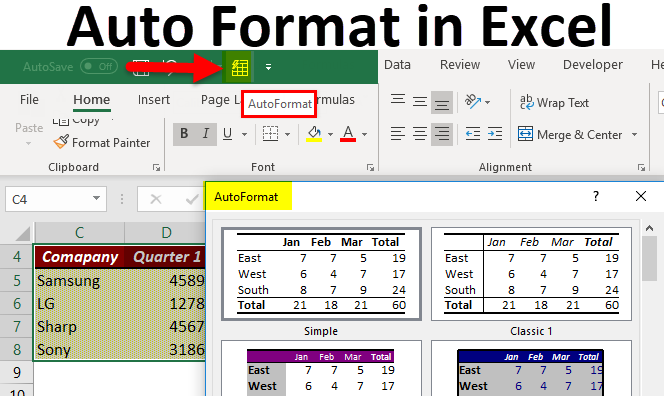
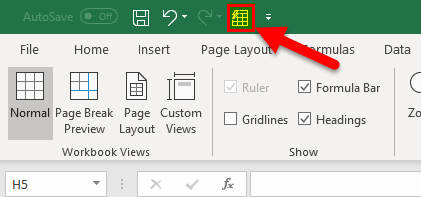
Auto Format in Excel is use to change the format of Excel content in one go, saving good time in doing this activity multiple times. To create an autoformat setting, go to Customize Ribbon either from the File menu Option or click right on the menu bar and select Customize Ribbon option from the All Commands category and select AutoFormat. Once the command is added to the list, click on AutoFormat icon from the title bar. Upon selecting any dataset, this will show the list of all the already built formats available.
Formatting is done to make your work look good and affects six major formatting components from the 17 pre-defined AutoFormat styles available in Excel. These six major formatting components are as follows:
- Number Formatting
- Borders
- Fonts Style
- Patterns and background-color
- Text Alignment
- Column and Row size
Adding AutoFormat in Excel
AutoFormat option was available in the previous versions of Excel. In the versions of 2007 Excel and onwards, this option must be added manually, as it is not in any of the tabs option or on the Quick Access Toolbar. The steps to be followed to add AutoFormat function in Excel are as follows:
- Right-click on any of the tabs available or shown on the Quick Access Toolbar.
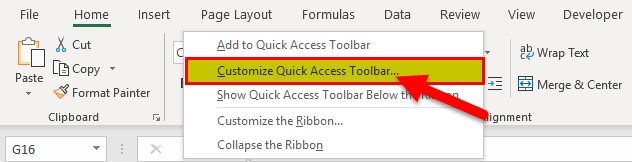
- From the options shown, click on the ‘Customize Quick Access Toolbar. After clicking on the ‘Customize Quick Access Toolbar option, an Excel options dialog box will appear. Click on the drop-down of the ‘Choose commands from’ option.
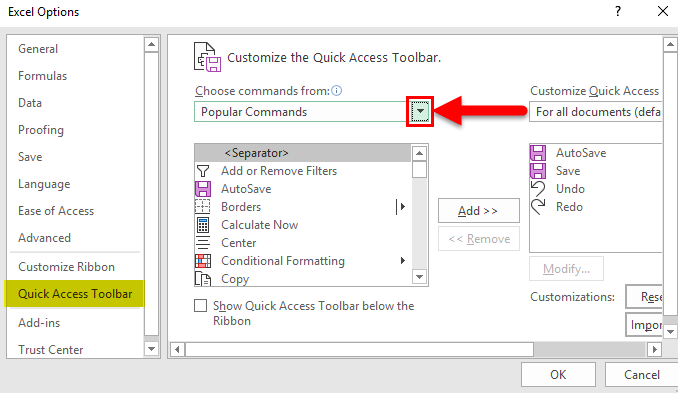
- From the options dropped down, click on ‘All Commands’.
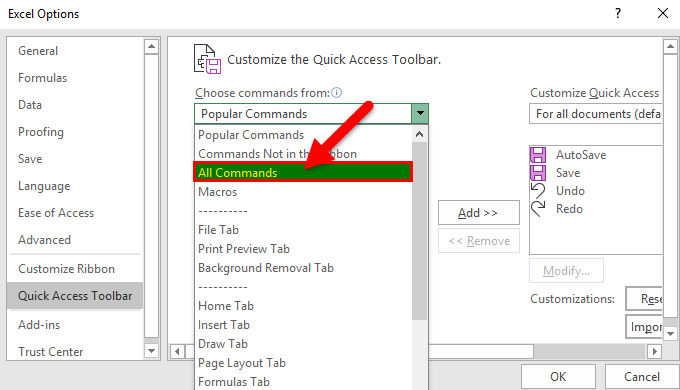
- After selecting all commands, another list will drop down. From this list, scroll down, select ‘AutoFormat’, and click the Add button.

- After adding the AutoFormat option, click on OK.

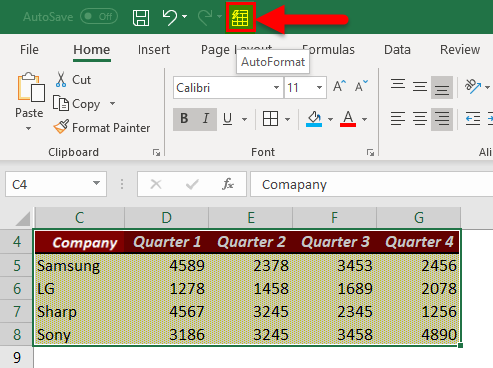
- An Auto format option is seen at the top of Excel.
How to Use Auto Format in Excel?
This AutoFormat is very simple and easy to use. Let us now see how to use AutoFormat in Excel with the help of some examples.
Example #1
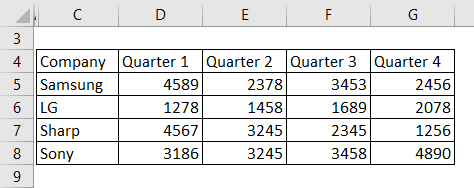
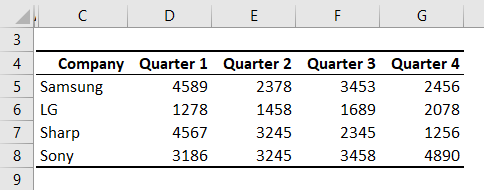
Consider the data table shown below, which shows the quarterly revenue in USD Million of few companies.
In order to use the AutoFormat function, follow the below steps:
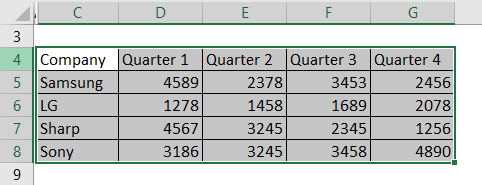
- Select the entire data as shown.
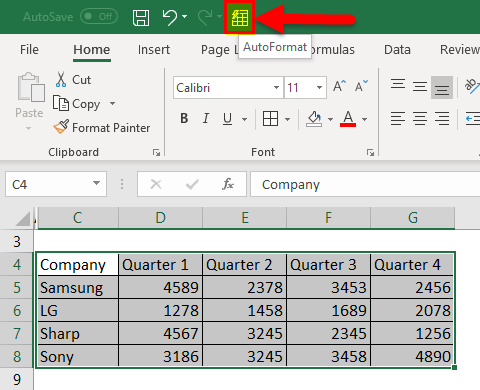
- After selecting the entire data, click on the AutoFormat option.
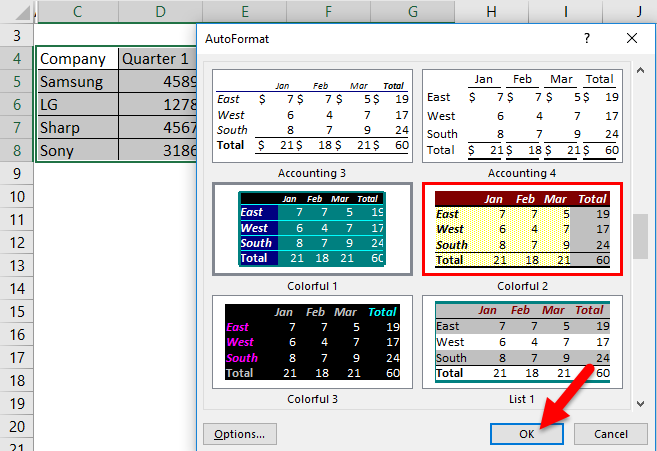
- An autoformat dialog box will appear, which will display 16 different formatting styles.
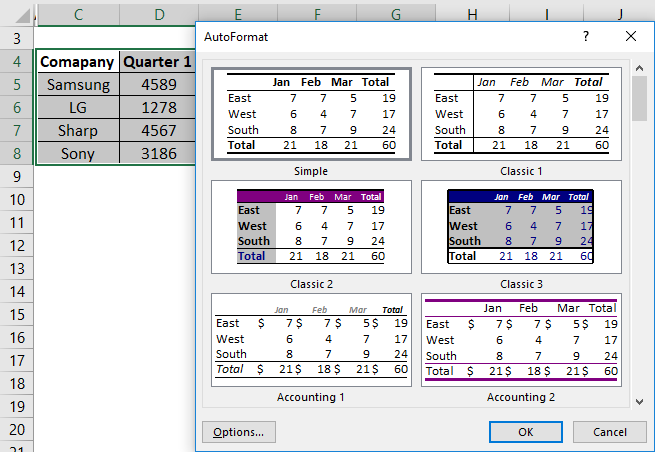
- Select any formatting style; click OK.
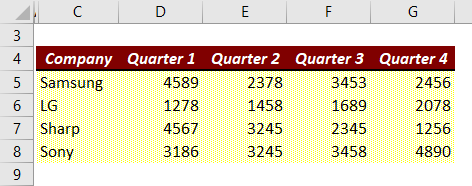
The output is given below:-
Example #2
How to Modify the Formatting Design in AutoFormat?
To modify the formatted design in AutoFormat, there are only 6 limited formatting components, as mentioned earlier, which can be added or removed with a combination of 6 different or single components.
Follow the below steps to modify the formatting design while using AutoFormat function.
- Select your data and click on the ‘AutoFormat’ option.
- An autoformat dialog box will appear. From that dialog box, click on ‘Options’.
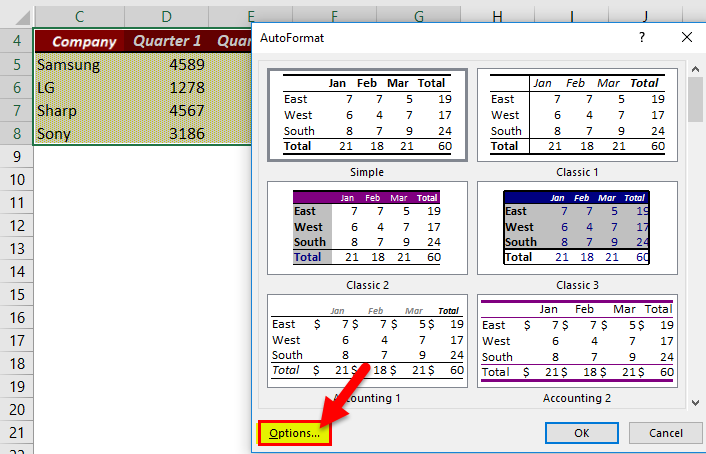
- Add or delete the formatting design options as per your preference which you want to apply for your selected data, and Click OK.
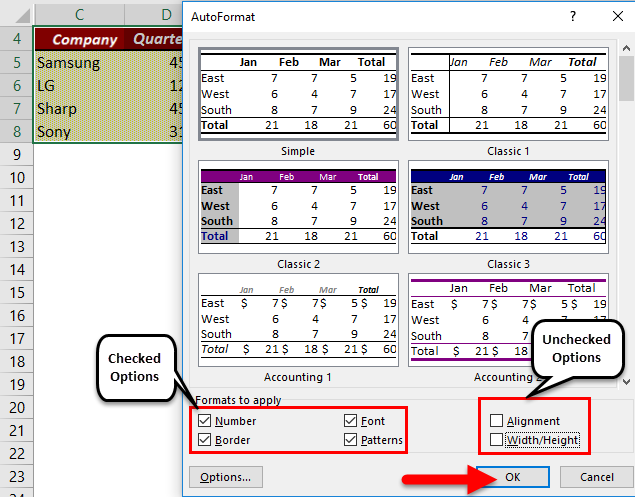
In the above figure, alignment and width/height formatting components are not ticked, and number, font, border, and patterns are selected. And the selected formatting style is highlighted as well.
Auto Format in Excel
How to remove the formatting done to your data set?
The formatting done to your dataset can remove by using the AutoFormat function. There are two ways to do this, but it completely depends on your choice where you need to select which formatting needs to be removed.
The two ways or method to this is as follows:
- Removing individual formatting components.
For example, consider the below figure, which shows where the pattern formatting option was chosen to be removed.
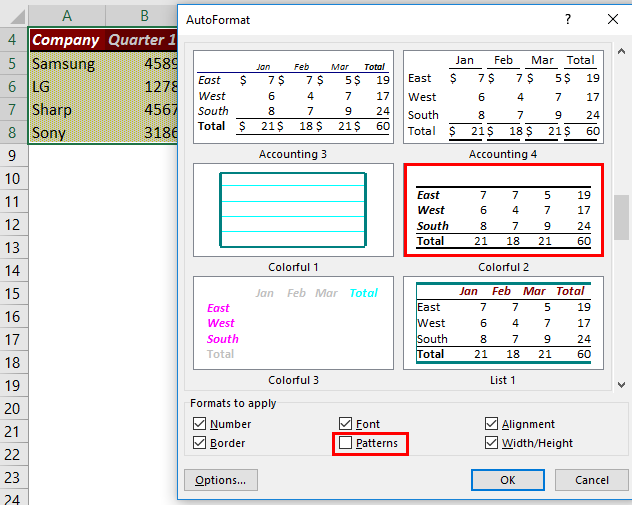
The above figure shows that the highlighted formatting style is selected from the list of 16 different formatting styles, and the ‘Patterns’ formatting option is removed.
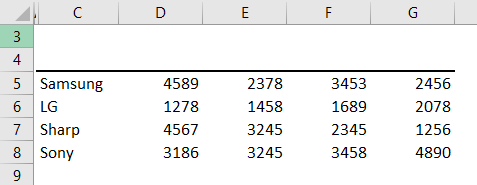
The figure above shows the effect of removing the pattern formatting option.
- Removing all the formatting components.
You can also remove all the formatting components by selecting the entire data set and later clicking on AutoFormat option, and out of the 16 different formatting styles, select the ‘None’ formatting style option. The figure will illustrate this step.
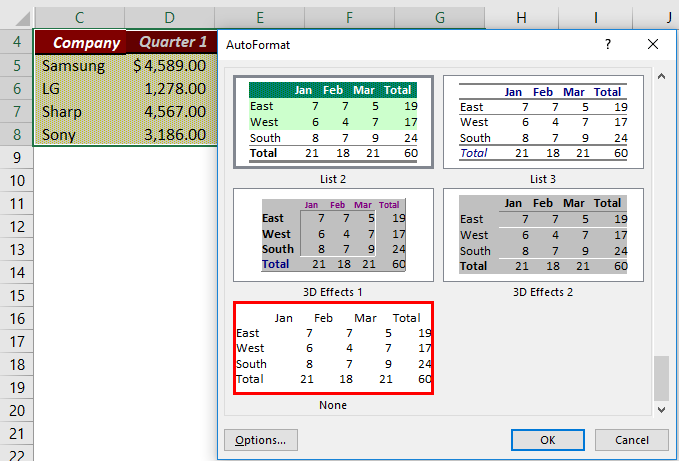
The figure above shows the highlighted formatted style is the selected formatted style, which removes all the formatting components.
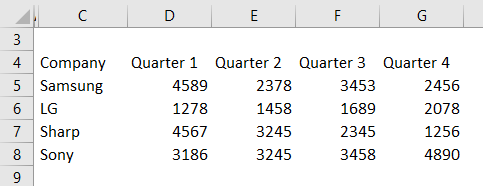
In this figure, all the formatting is removed, and we get the original data set back.
Limitations of AutoFormat in Excel
There are many another formatting/design options available in the ribbon of the excel toolbar; hence the utilization of AutoFormat function is reduced.
Things to Remember
- It will ignore the formatting when you try to perform formatting on the data set which is already formatted; it will apply the new formatting which you selected.
- There should be at least two cells with data to perform the AutoFormat function.
- The data table set should have one header row and a header column.
Recommended Articles
This has been a guide on Auto Format in excel. Here we discuss how to Auto Format in Excel along with excel examples and downloadable excel templates. You may also look at these useful functions in excel –
