Introduction to Animation in GIMP
The animation is a sequence of different frames of any particular image which changes with the fraction of time and gives motion to the objects of that image. Animation can be anything that has motion, such as flowing water, moving person, waving leaves of the tree or anything whatever on which you can apply motion as well as effect. In gimp, we will do animation by using a free plugin software which is GMIC. We will give motion to the water of the river so that it will look like flowing water, and during this, we will understand the all-important aspect of this plugin for having good animation.
How to create animation in GIMP?
We can create a good animation in gimp by using GMIC plugin software. There are more ways through which we can create animation in gimp, but today we learn animation by GMIC plugin software. So let us start our discussion.
The very first thing you have to do take an image in which you want to create animation. For having an image open folder where you have your image saved and pick it from there, then drag it into gimp’s user interface. You can go with our ‘GIMP Import image’ article for learning about more ways of placing images in gimp.
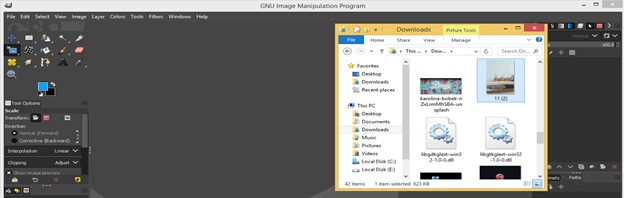
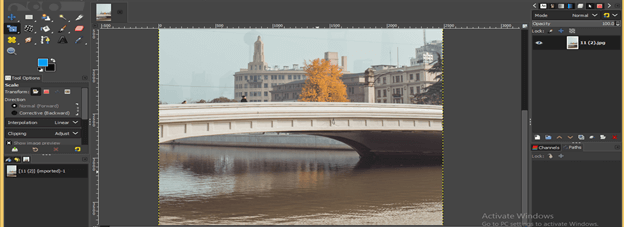
I will import this image, and I will animate the water of this river into flowing water.
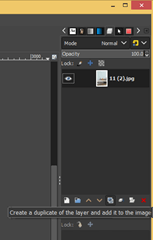
Now go to the Layers panel and make a duplicate layer of this layer by click on the ‘create a duplicate layer’ button.
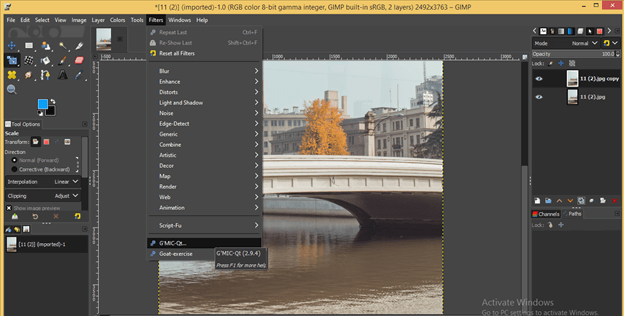
Now go to the Filters menu of the menu bar, which is at the top of the user screen and click on it. Click on the G’MIC option of the scroll-down list, which is the GIMC plugin. You will have this option in this list only when you installed this plugin on your computer.
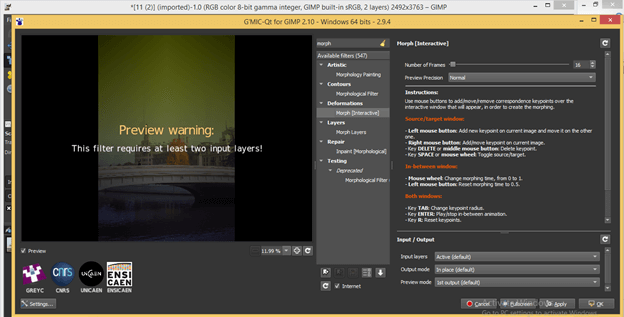
Once you click on it, a window of this plugin will open like this.
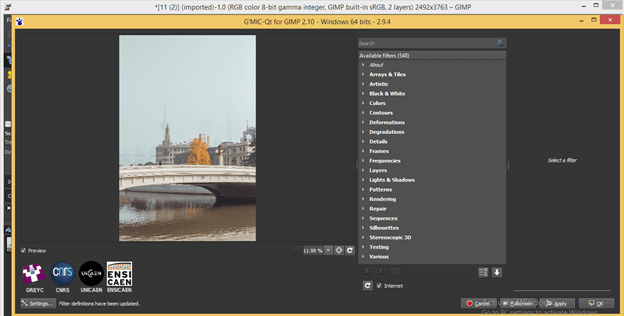
Now search ‘morph’ in the search box of this dialog box.
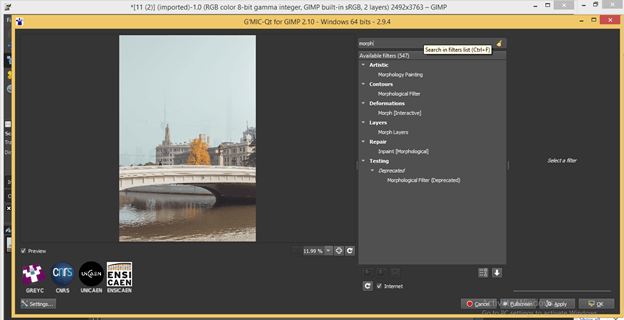
And click on the Morph [Interactive] option of the Deformations filter.
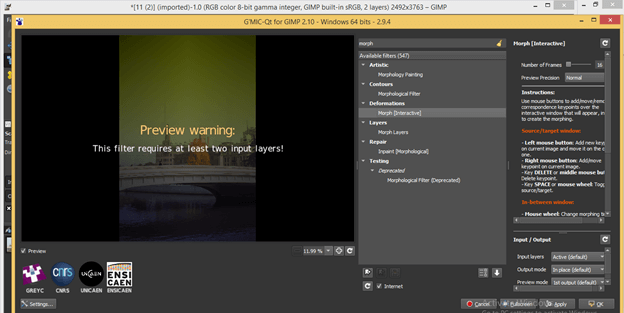
Once you click on this option, the parameters of this option will open on the left side of this window.
The preview of the image is disabled because of its need for two images selected for creating animation, so choose Input mode from this dialogue box’s input option. Choose the ‘Active and below’ layer option if the other layer is below your selected layer.

Or choose the ‘Active and above layer’ option if another layer is above your selected layer.
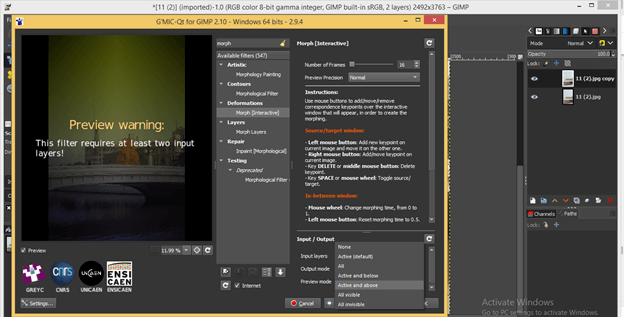
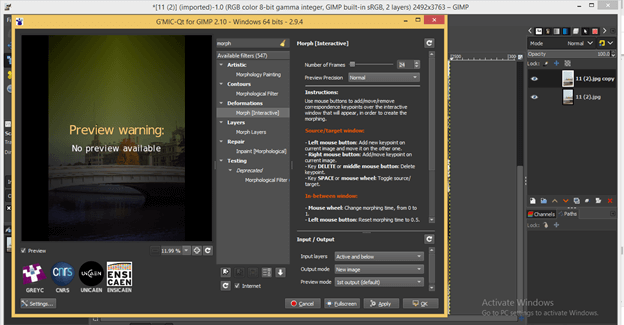
In the Output mode option, choose ‘New image’ so that you get animation on a new image.

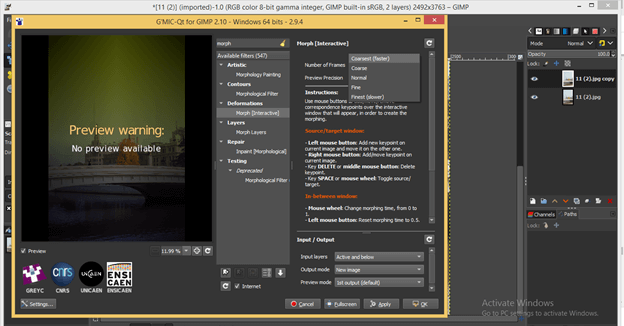
Now come to the Number of Frames option, here you can set the frame of your image that means how many frames you want to change in 1 sec; if you choose 24 per second, then 24 frames will change in a sec. If the speed of your computer is slow, then take a fewer number of frames for quick processing.
In ‘Preview Precision’, there is some option. If your computer’s speed is high, you can go with the ‘Finest (slower)’ preview option, or you can choose the ‘Coarsest (faster)’ option if the speed is slow. Once you have done the entire setting, click on the Ok button of this dialog box.
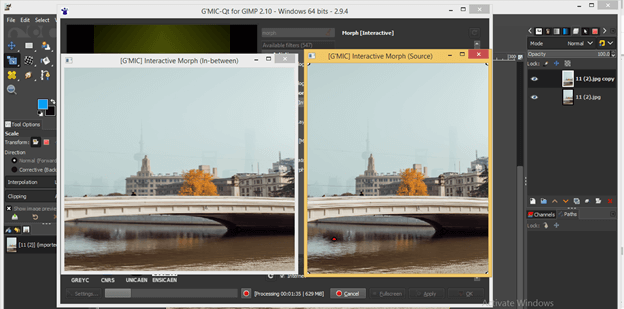
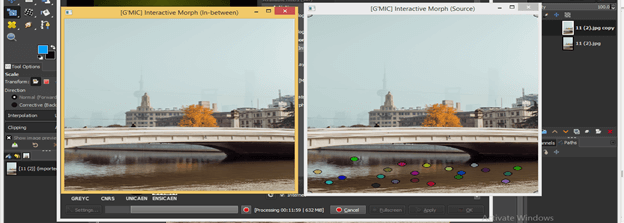
Here you will have two preview windows like this. In one window, you will have a preview, and in the other window, we will create animation.

In the Source window, we will do animation, so make click on that part of the image you want to animate, and once you click, a key will be added to that place.
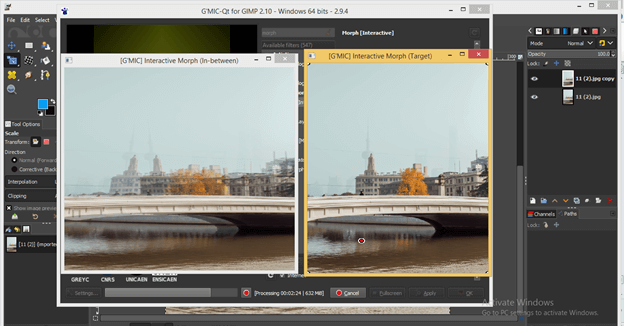
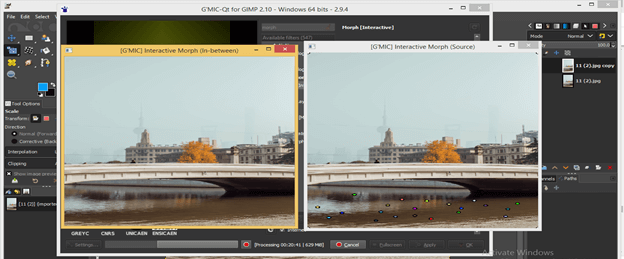
Now drag this key toward the direction of motion of your animation and go to (In-between) window, then hit enter key of the keyboard. When you hit the enter key preview of motion will start in that window, and it will change with each adding of new keys.
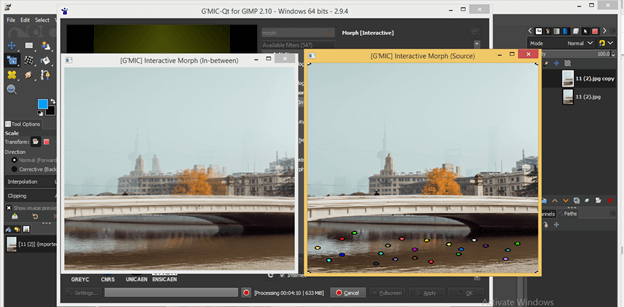
Add more and more key according to which you want to create motion. I will add more keys by clicking on water and drag them in the rightward direction because I want the flow of water in the right direction of an image. You will notice in a preview that other object of the image also moves with the water, such as the bridge and other objects. We will fix them later, so don’t worry about this thing if you’re facing that.
You can delete any of your added keys. Just click on that key and press the delete button on the keyboard.
You can press the Tab button of a keyboard for increasing the size of the circle of these key.
And again, press the tab for the normal size of the circle of the key.
Now go to the other part of this image that you don’t want to move and make right-click on the area of that part. A key will add here, and this key will steady key, which stops the motion of that part. I will click on the bridge for stopping its motion with water.
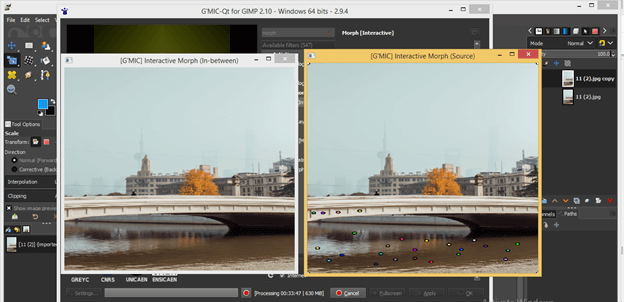
You can added many keys according to requirement.
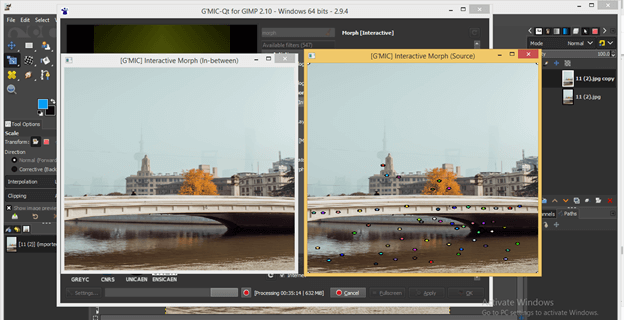
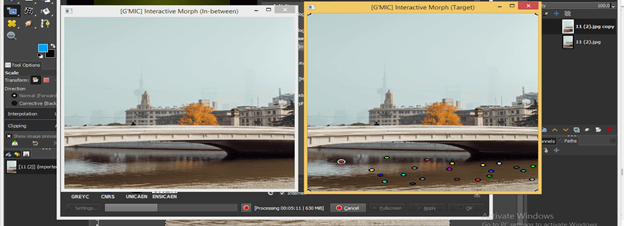
Once you have done your desired animation, then press the Esc button on the keyboard, and it will process your frame. Processing of frame will depend on the speed of your computer.
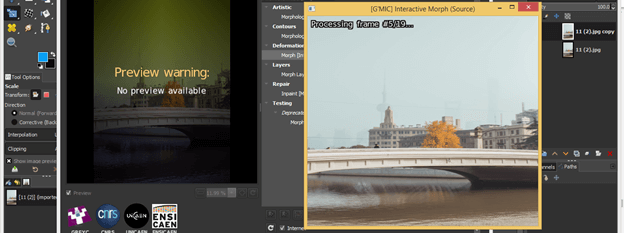
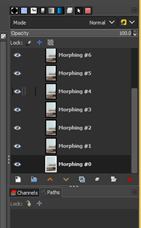
After processing, you will have frames of your animated image in the layers panel.
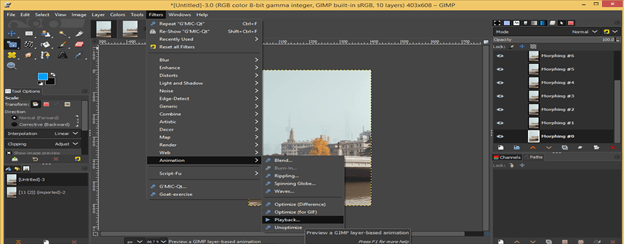
You can see the animation of your image by playing it. So for playing it, go to the Filters menu of the menu bar and click on it, then go to the Animation option of scroll down list, then click on the Play back option of the new drop-down list.
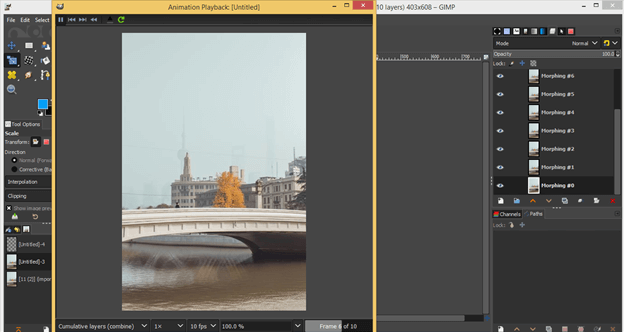
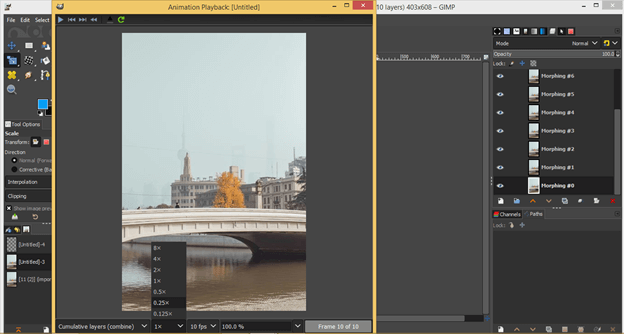
You will have this type of playback window. Click on the ‘Start playback’ button of this window for playing your animation.

And you will have this water flow animation on this image.
You can increase or decrease the speed of the animation from this option.
Conclusion
Today we discussed only one nice way of creating good animation by using the GIMC plugin, a free plugin software. You can use this method in gimp for animating another thing of any image according to your idea after going through this article.
Recommended Articles
This is a guide to Animation in GIMP. Here we discuss a proper way of creating good animation using the GIMC plugin, a free plugin software. You may also have a look at the following articles to learn more –
