Updated August 28, 2023

Introduction to After Effects Loop Composition
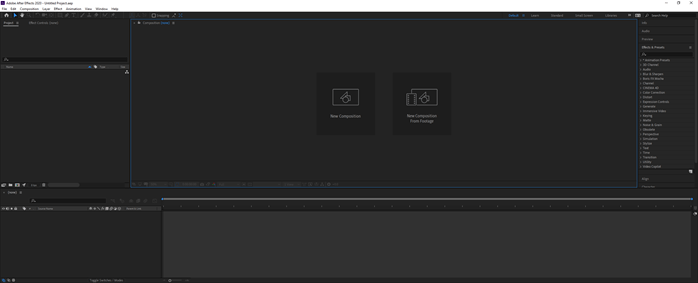
Adobe After Effects is an animation and video editing software and, in this article, we are going to learn how to loop the composition. For this purpose, first, we will look at creating a simple clock animation, then we will import this in another comp where we will see how to loop it without copy-pasting multiple times.
Steps of After Effects Loop Composition
Different steps are mentioned below:
Step #1
Let us first familiarize ourselves with the interface before starting to get a better understanding. At the top is the menu bar like File, Edit, etc., and each has its own submenu. Next, just below it, we have a tool panel and their properties. On the left side, a project panel consists of the project files and an effects control panel, which shows the effects applied on a particular layer. Then there is the composition panel which shows the preview of the animation or video. At the top right, we have various layout presets, which will arrange according to the type of work. We can even create our own custom layout. At the right, there are various sections used to edit the video. Finally, at the bottom, there are layers and a timeline panel used to add media and add animation keyframes.
Step #2
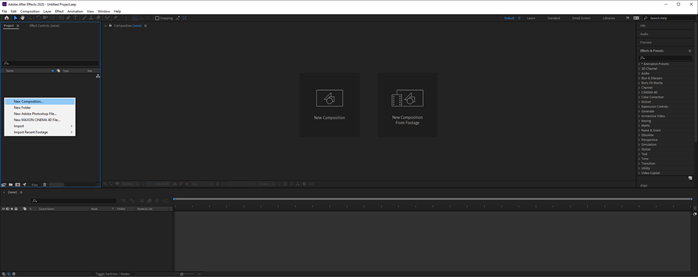
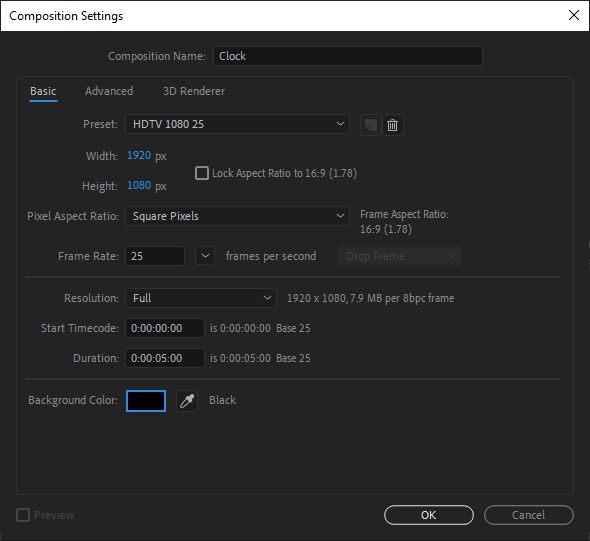
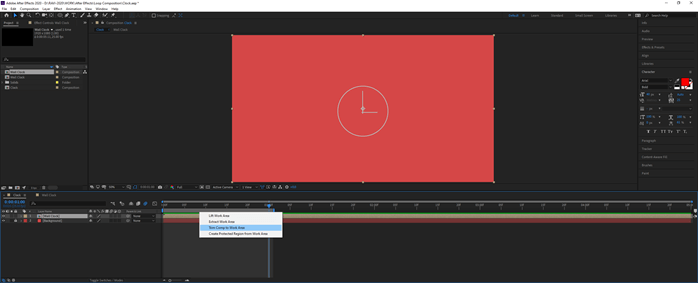
Right-click on the Project panel to create a new composition name it Clock and set the duration to 5 seconds and background color to black.
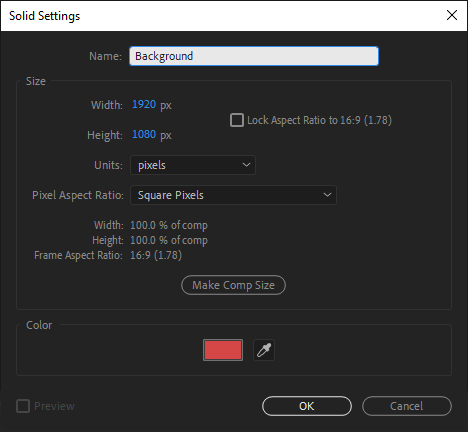
Step #3
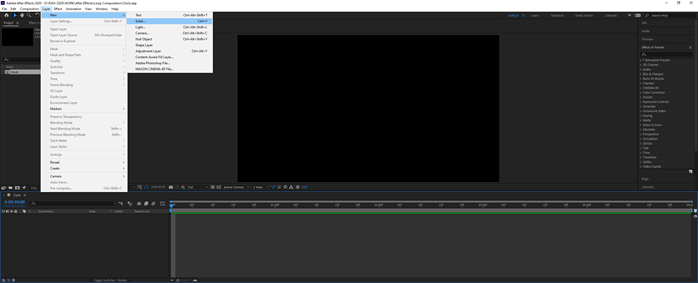
Create a new solid from the layers menu or press Ctrl + Y
Step #4
Name it Background and set the color light pink
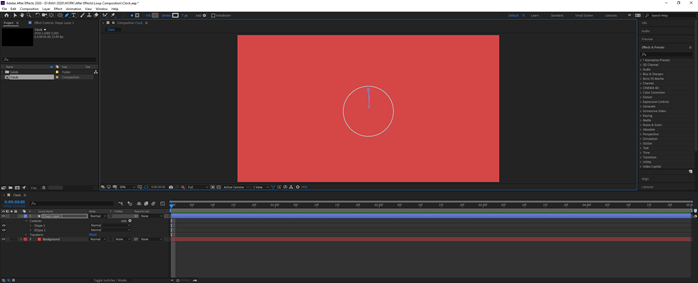
Step #5
Select the ellipse tool or press Q and shift drag to create a circle shape layer which is the face of the clock

Step #6
Then use the pen tool or press G and make the minute hand of the clock. If you have selected the previous shape layer, the line would be added to the contents, which we don’t want.
Step #7
So undo it and do not select anything else but just the pen tool and create a new shape by clicking once and hold shift and click to end, which will make a straight line.
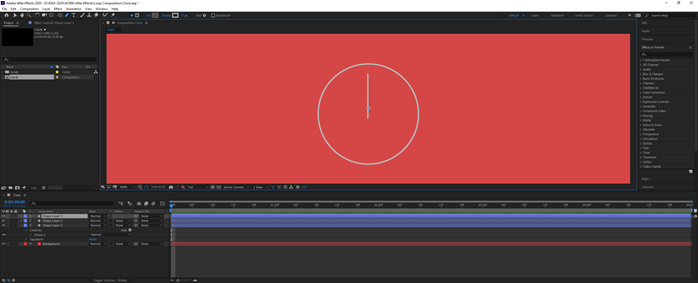
Step #8
Similarly, make the hours hand.

Step #9
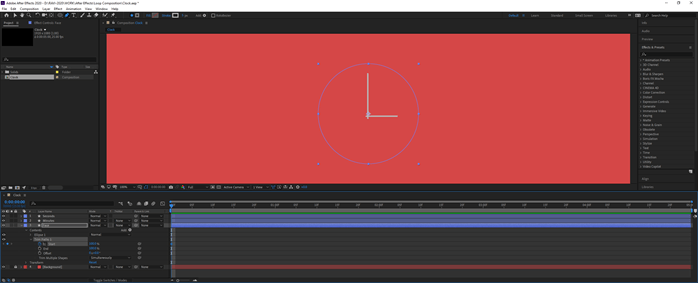
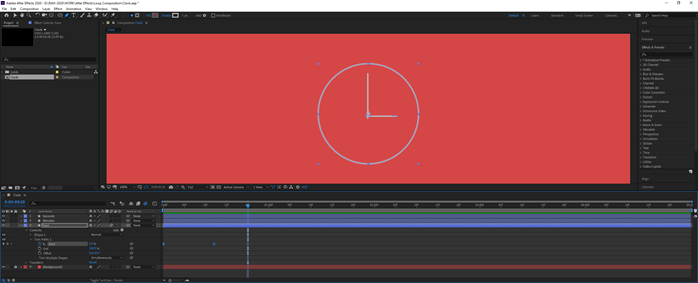
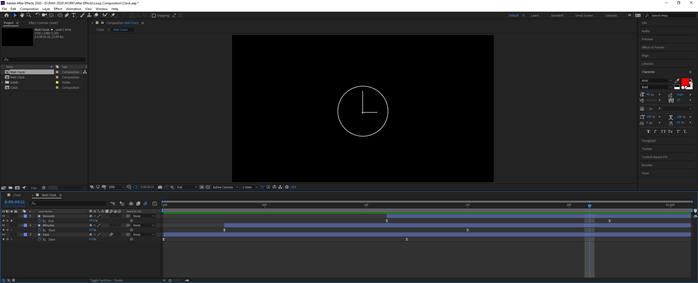
Rename the layers accordingly, and for the Face layer in the contents section, we will add Trim Paths which will animate this line layer.
Step #10
Set a keyframe by clicking on the stopwatch icon at the start and set it to 100%, which means it is hidden.
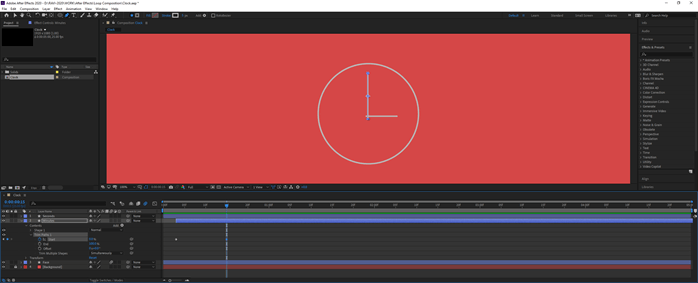
Step #11
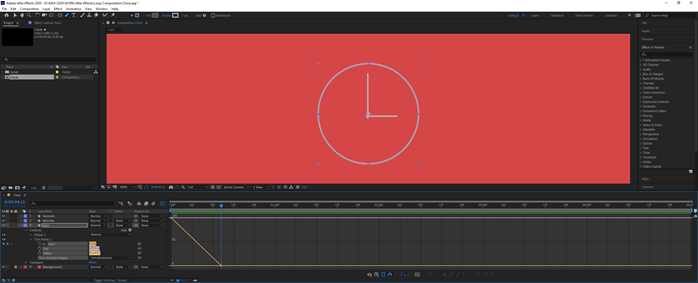
Then after some frames, set the start to 0%, which will automatically add a keyframe.

Step #12
In the graph, we can see that the motion is linear, which is not very pleasing.
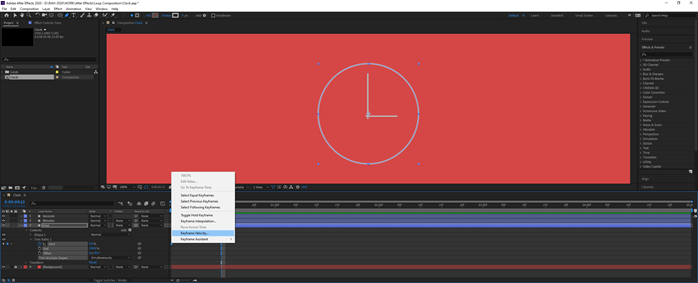
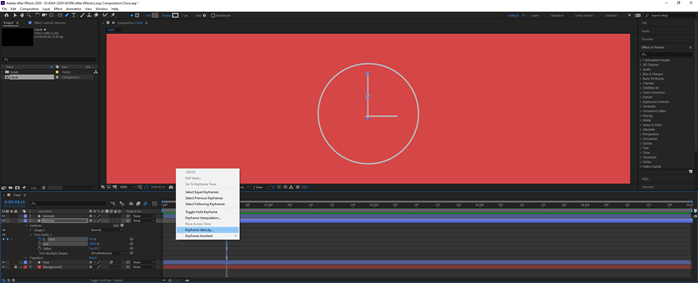
Step #13
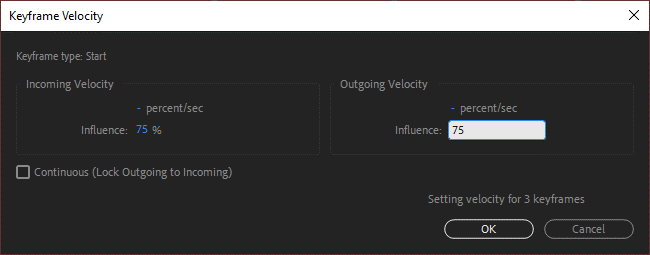
So we will apply some easing by adjusting the keyframe velocity for which we set the influence to 75%.
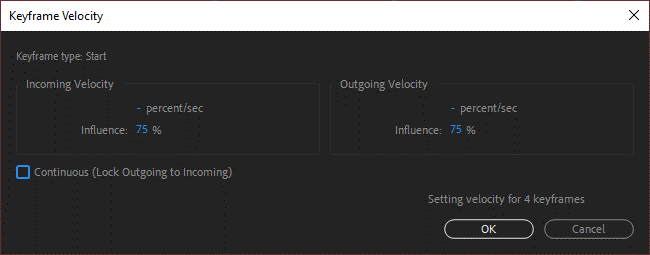
Step #14
Now we can see that the graph of animation is a nice S curve.

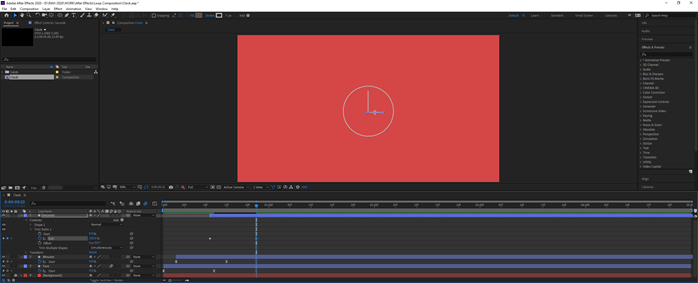
Step #15
Similarly, we add Trim paths to the Minutes and set the start keyframe.

Step #16
Adjust the animation such that it starts after the face layer.
Step #17
Add the keyframe velocities and set influence to 75%
Step #18
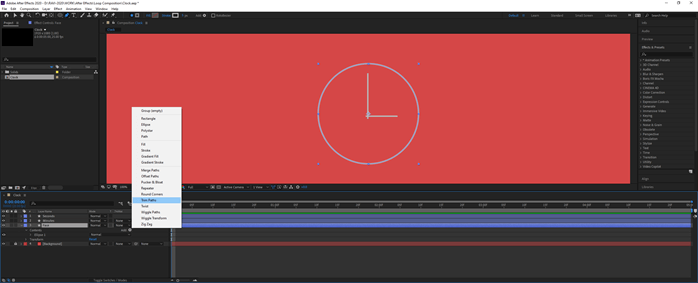
Lock the background layer, select all the other layers, and press U, which shows only those properties on which keyframes are applied.
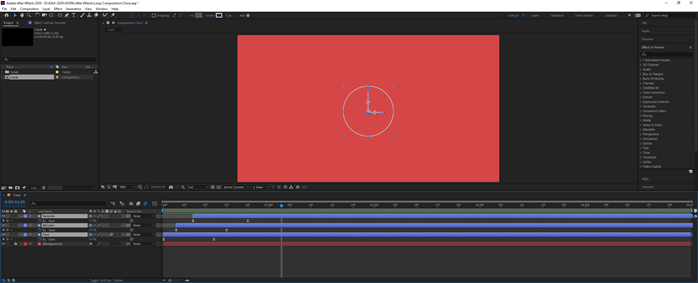
Step #19
Here we can adjust the timing, and we can see that the hour’s hand is moving from right to change, which removes the animation from the start and add to the end property.
Step #20
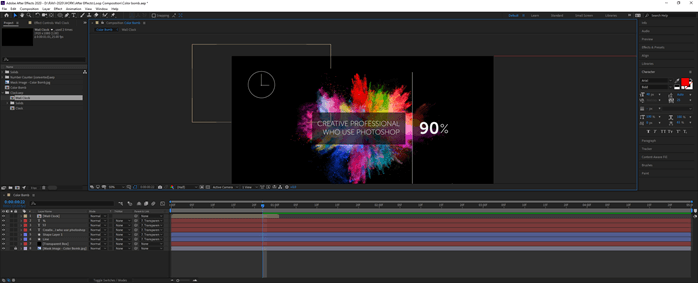
Now our animation is complete, and we will import this animation into another composition and loop it. For this, we create a pre-comp of the 3 layers which we want to import.
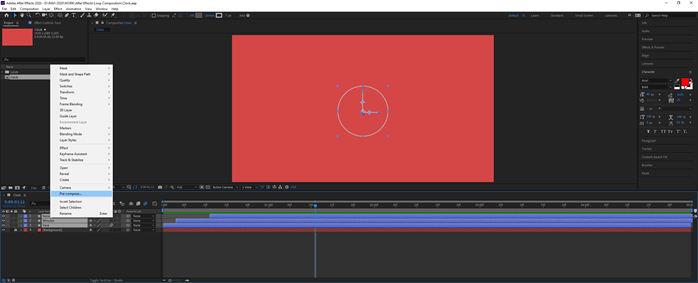
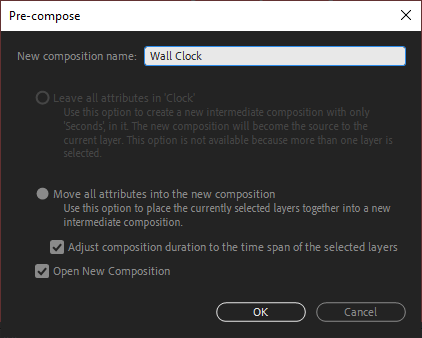
Step #21
Name this pre-comp “Wall clock” and keep the settings as it is and click OK.
Step #22
Reduce the work area to 1 second and trim the comp to the work area and similarly do it for the Wall Clock layer
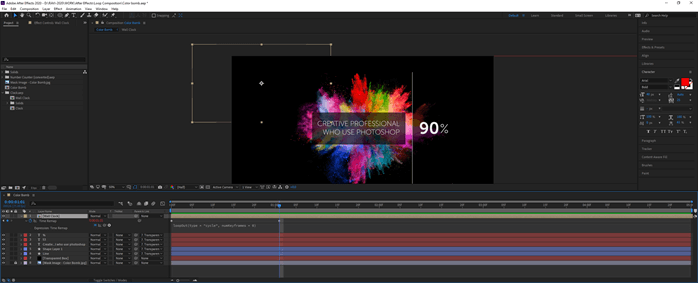
Step #23
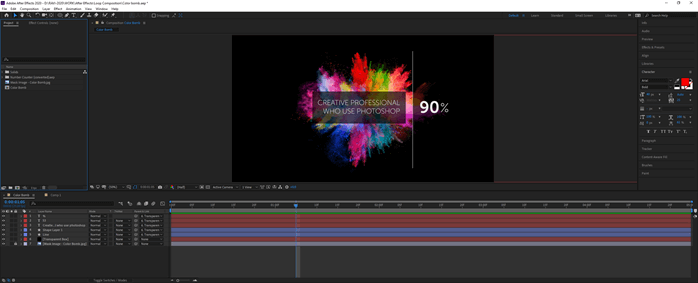
This is the composition in which the text animates from the left and the percentage changes, and in this comp, we need to add our clock and loop it indefinitely or till the size of this comp.
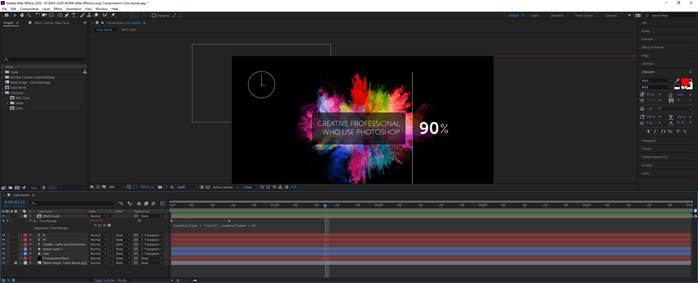
Step #24
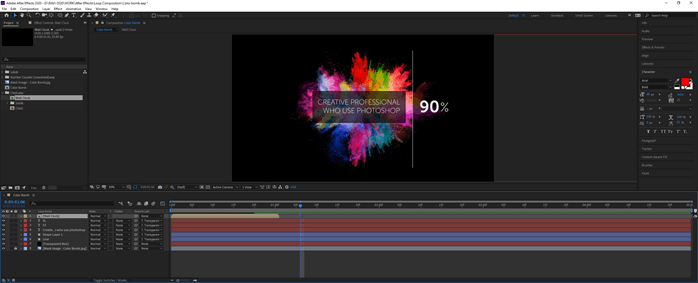
Double-click in the Project panel to import the clock comp, and in it, we will also find our Wall Clock pre-comp. Drag the Wall Clock at the top of the Layers panel. We cannot find the clock as the duration is less than this comp.
Step #25
Bring the play head within the range of the wall clock, and now you can see it. You can adjust by translating and scaling, as shown.
Step #26
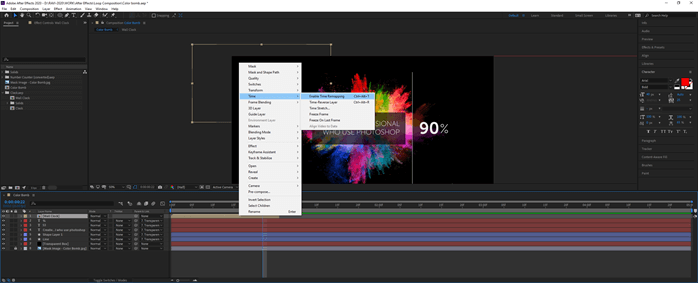
To loop this animation till the end, we will enable time remapping by right-clicking the layer or press Ctrl + Alt + T
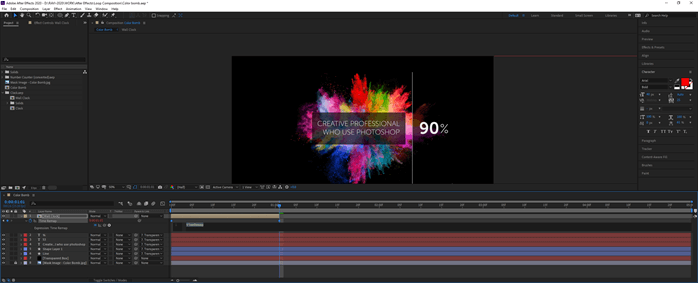
Step #27
Time Remap property is added to the layer, which adds 2 keyframes, one at the start and the end. Now Alt and click on the stopwatch of the Time Remap to add an expression.
Step #28
Click on the right arrow and go to property and loopOut(type = “cycle”, numKeyFrames = 0)
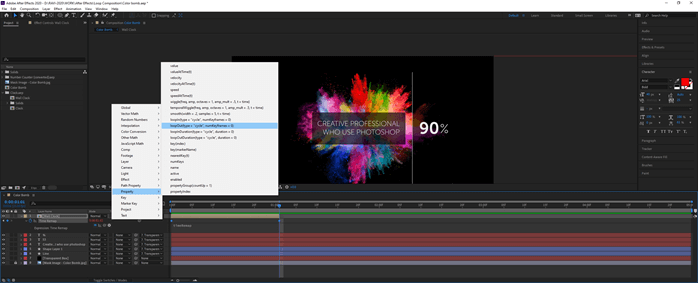
Step #29
Since the Time remap is added, now you can drag and extend the layer till the end of the timeline. The name of the expression is loopOut, and the parameters are the type which is the cycle which makes the animation loop, and numKeyFrames is 0, which makes the animation indefinite.
Step #30
Now play the animation, and you can see that the animation plays till the end of the timeline. You can drag the second keyframe in the time remap property to make the animation faster or slower. So we have completed our looping composition in after effects.
Conclusion
In this article, we have learned how to create a simple animation using trim paths in After Effects and how to loop the composition by importing it into another comp and using Time remap techniques and expression for looping the comp without copying and pasting.
Recommended Articles
This is a guide to After Effects Loop Composition. Here we discuss how to create a simple animation using trim paths in After Effects step by step. You may also have a look at the following articles to learn more –
