


Updated August 20, 2026
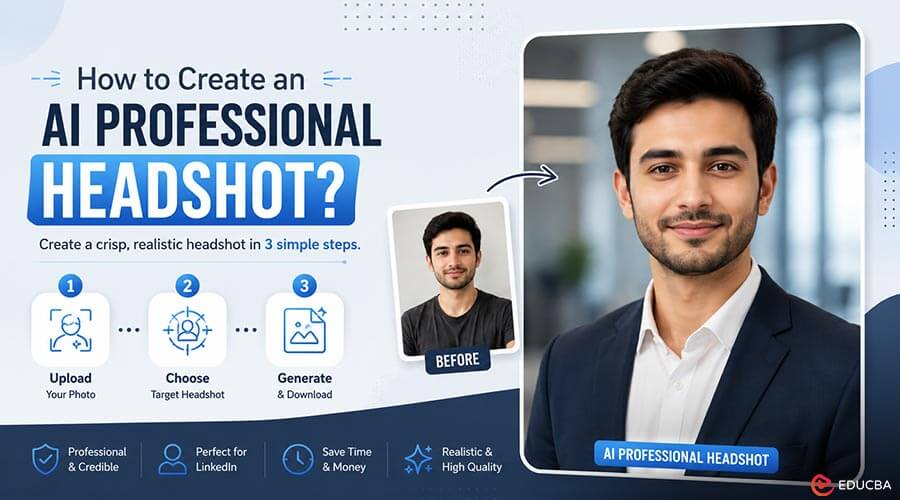
An AI professional headshot can help you look credible on LinkedIn, a company bio, a speaker page, or a resume site. The problem is that booking a photographer takes time, and using a random selfie often looks too casual. Generating an AI professional headshot bridges that gap: start with a clear photo of yourself, then place your face onto a polished portrait style that fits your work.
I have tested this workflow for profile photos, author bios, and team pages, and the best results always come from quality input images. An AI professional headshot tool can clean up a lot, but it can not fully fix a blurry face, odd lighting, or a pose that does not match the target image. The goal is not to make you look like someone else. The goal is to create a clean, realistic AI professional headshot that looks natural in a business setting.
For this tutorial, you can use a browser-based tool like Photo Face Swap to create your AI professional headshot. The process is simple, but the details matter. A few small choices around lighting, angle, expression, and final cropping can be the difference between a realistic portrait and an image that looks obviously generated.
How to Create an AI Professional Headshot in 3 Steps
Step 1: Prepare a Strong Source Photo
Start with a recent photo of your face that looks like you on a normal day. Use a front-facing image where your eyes are open, your mouth is relaxed, and sunglasses, hats, heavy shadows, or hair do not cover your face. A phone photo is fine if it is sharp and taken in even light. Stand near a window or in soft indoor light, and avoid direct sunlight that creates harsh shadows under your nose and eyes.
The best source photo for an AI professional headshot is usually not your favorite social photo. It is the one where the software can read your face most easily. I have had better results from a plain bathroom mirror photo with good light than from a stylish outdoor photo with strong shadows. The crop does not need to be perfect, but your face should be large enough that the tool can clearly see your eyes, nose, mouth, and jawline.
If you need a simple place to work from, EasyFaceSwap keeps the process direct enough for beginners. Still, do not rush the upload. I usually test two or three source photos because the first one is not always the winner. Small differences in head angle can change the final look of your AI professional headshot significantly.
| Photo element | Best choice | Avoid |
| Lighting | Soft, even light | Harsh shadows or backlight |
| Face angle | Straight or slight turn | Extreme side profile |
| Expression | Natural, relaxed smile | Open mouth or strong expression |
| Image quality | Sharp and high resolution | Blur, grain, or heavy filters |
Before you upload anything, think about privacy and consent. Use your own face, or get clear permission if you are helping a coworker or client. Do not use face swap tools to impersonate someone, create fake credentials, or mislead people. An AI professional headshot should build trust, not risk it.
Step 2: Choose the Right Target Headshot
The target image sets the style, outfit, posture, and background. For business use, look for a portrait with simple clothing, natural lighting, and a clean background. A navy blazer, white shirt, soft gray backdrop, or office setting often works better than a dramatic studio pose. If the style is too glossy, your final AI professional headshot may feel less believable.
Match the target image to your real face shape and general angle as much as possible. If your source photo faces forward, choose a target that also faces forward. If your source has a slight turn to the left, choose a target with a similar turn. Software generates a better AI professional headshot when it does not have to force your features into a very different pose.
Pay attention to age, skin tone, hairline, and body frame, too. You do not need a perfect match, but the closer the target is to your natural look, the more convincing the result will feel. I have seen face swaps fail because the face looked real, but the neck, hair, or jawline did not match. That kind of mismatch ruins an otherwise solid AI professional headshot.
For LinkedIn or a company page, choose a target that feels approachable rather than overly formal. A soft smile usually performs better than a stern expression. A plain background is safer than a busy office scene because it keeps attention on your face. If you work in law, finance, or consulting, a formal look may fit. If you work in tech, design, coaching, or media, a smart casual style often feels more natural.
Step 3: Swap the Face and Review the Result
Upload your source face and target template, then run the swap. Once the result appears, do not judge it only by the thumbnail. Open it in a larger view and check the details around the eyes, mouth, hairline, ears, and neck. These areas reveal most AI issues.
The eyes should look aligned and natural. If one eye looks slightly off, try a source photo with a clearer front view. The mouth should match the target expression without looking stretched. Teeth can be tricky, so a closed mouth or light smile often yields a cleaner AI professional headshot than a wide grin.
Skin texture is another big clue. A quality AI professional headshot should not look like plastic. If the result is too smooth, the image may seem fake even if the face shape is correct. Some tools produce an over-processed look by default, so choose an output that keeps some natural skin texture.
After the first swap, compare it to your real face. Ask yourself if a colleague would recognize you right away. If the answer is “maybe,” try again with a better source photo or a closer target. An AI professional headshot can be flattering, but it should still be honest. You want people to meet you in person and feel that the photo matches.
Once you have a good result, crop it for your intended platform. To create a crisp LinkedIn profile picture, use a square crop where your face fills a good portion of the frame. Leave a little space above your head, keep your eyes near the upper third of the image, and avoid cutting into your shoulders too tightly. For a company bio, a vertical crop may look better if the website uses portrait cards.
Best Practices for a Natural AI Professional Headshot
- Keep it current: Use a recent photo if your appearance has changed. Hair length, facial hair, glasses, and w canes all affect whether the image feels current. A reliable AI professional headshot should help people recognize you, not surprise them later.
- Match the dress code: Keep the outfit consistent with your role. A suit can look impressive, but it may feel out of place if your field is casual. On the other hand, a hoodie may not work for a board profile or sales page. I usually choose clothing one step more polished than daily wear.
- Pick neutral backgrounds: Use backgrounds that do not compete with your face. Soft gray, white, muted blue, beige, or a blurred office backdrop all work well. Bright colors, heavy patterns, and fake-looking city views tend to distract.
- Test multi-device display: Check the final image on a phone and a desktop screen. Many issues show up only when the image is small or heavily cropped. I have had results that looked fine at full size but strange as a tiny profile icon because the eyes became too dark.
- Save multiple versions: Save more than one option. A warmer smile may work well for LinkedIn, while a more neutral expression may suit a press. Two strong options give you flexibility.
Common AI Professional Headshot Mistakes to Avoid
- Using a poor source photo: The biggest mistake is starting with blurry photos, heavy filters, low light, or extreme angles, expecting software to rescue them. If your first result looks wrong, take a cleaner source photo instead of forcing the same input.
- Selecting an overly glossy target: Target images with ultra-smooth skin, dramatic lighting, and model-style poses often feel fake and less trustworthy for business use. Clean light, simple clothing, and a natural expression beat an artificial portrait.
- Overlooking edge artifacts: People often check the center of the face but forget the outer edges. The middle may look good while the jawline, ears, or hairline show obvious AI distortion. Zoom in to inspect the edges, or take a break and review the image later with fresh eyes.
Final Thoughts
Face swap tools are a practical way to generate an AI professional headshot when you need a fast, affordable option. It works best when you treat it like a step-by-step photo workflow rather than a magic button. Start with a clear source photo, choose a realistic target template, review the subtle details, and crop the final image carefully.
A strong headshot should look like you on a good day: clear, current, and appropriate for your field. With that standard in mind, a well-crafted AI professional headshot delivers a polished portrait without compromising the authenticity your professional network expects.
Recommended Articles
We hope this guide helps you create a clean, realistic headshot and choose the right options for your professional profile. Explore these recommended articles for more insights into AI photo tools, personal branding, LinkedIn optimization, and professional portrait design.