Introduction to 3ds Max Interface
3ds Max is a 3d modeling software that is used by a number of 3d modeling designing professionals. This software has a very user-friendly environment for it. Here in this article, we will discuss the User interface of 3d max software in very simple steps and understand each section of the User screen of this software. Once you get introduced to the User interface of this software, you can become an expert in 3d modeling designing without any problem.
How to Create Max Interface in 3ds?
We have many different types of sections on the user screen of this software. We will discuss them one by one in a very interesting manner. So let us start our discussion about this context.
Now let us start from the top of the working screen of this software. At the top, we have two ribbons that are:
- Menu Bar: At the top of the working screen, we have a ribbon that has many different menus for making a different type of adjustment in this software.
![]()
- Toolbar: It is below the Menu bar of this software. In Toolbar, we have some important tool that will help us make the different types of models in this software.

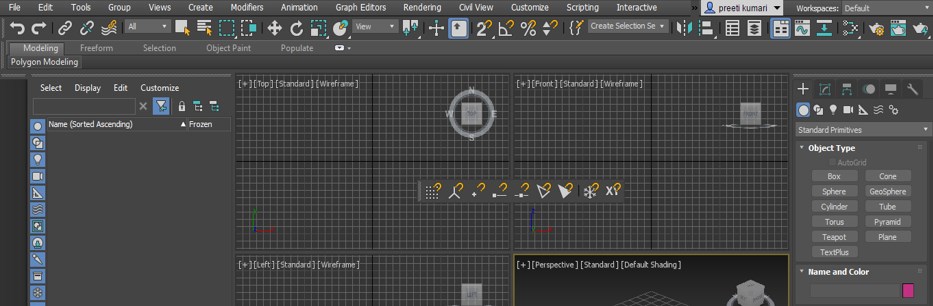
Step 1: Below this, we have our working window area divided into four viewports. Viewport means a part of a working window into which you can see your object from different sides. We have four viewports in the working area of this software is Top viewport in which you can see your object from the top of your object, Front viewport in which you can see your object from the front side of your object, Left viewport in which you can see your object from the left side of your object, Perspective viewport in which you can see the 3d model of that object.
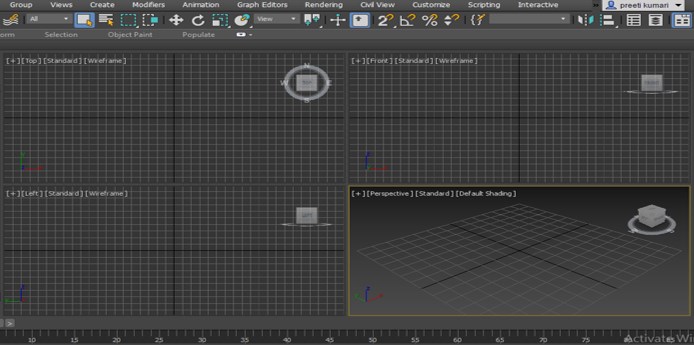
Step 2: You can see the full view of any viewport during any time of your work. For seeing full view go to the viewport of which full view, you want to see and press the Alt + W button from the keyboard to see full view. I will go to the Perspective viewport and then press the Alt + W button for a full view of the Perspective viewport. If you want to back in the original viewport, then again press the Alt + W button.

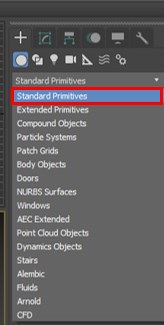
Step 3: On the right side of the working area of this software, we have Common Panel in which we have some tab for creating models, characters in our design.
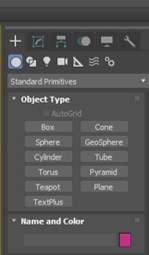
Step 4: We have to create a tab in the common panel of this software. In Create tab, we have different commands tab for making 2d shape, 3d shape with them such Box, Cylinder, Line, Circle, etc.
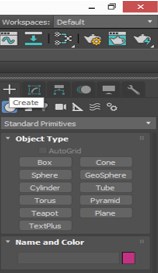
Step 5: We have some Shapes option here in the list of Geometry tab of Create tab. We can use this list for making some different 2d and 3d shapes in this software.
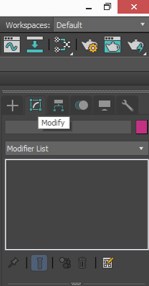
Step 6: Next to Create tab, we have Modify tab for making any modification in the drawn 2d or 3d shape of any model.
Step 7: At the bottom end of the working area of this software, we have a Timeline section for animating models of 3d modeling design. In the Timeline section, we have some handling tab for animating our models in this software.

Step 8: On the right side of the lower end, we have some navigation tools for handling our work, such as Zoom all button, Zoom to Extend, etc.

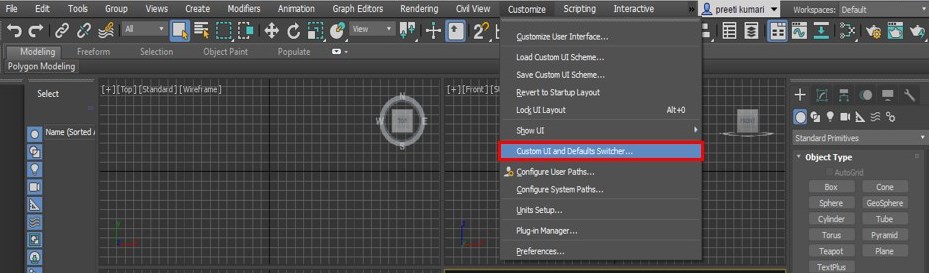
Step 9: You can change the theme of the working screen of the User Interface of this software. For changing the theme of the screen, go to Customize Menu of a Menu bar, which is at the top of the working screen of this software. A drop-down list will be open. Click on the ‘Custom UI and Default s Switcher’ option of the drop-down list.
Step 10: A dialog box for setting the theme of the user screen will be open. You can choose the theme from the UI scheme option.
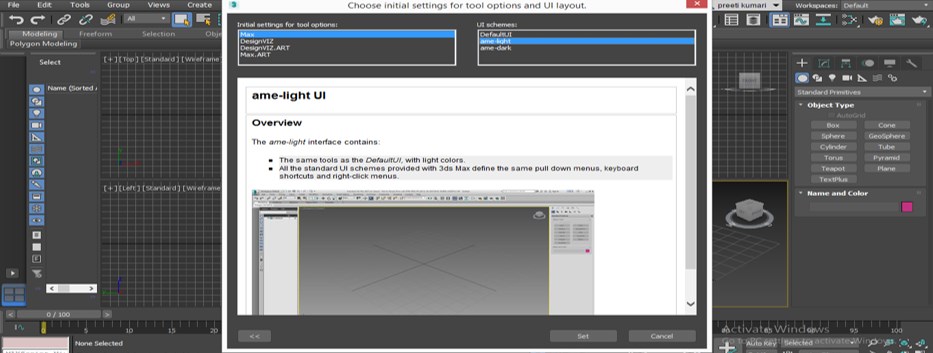
Step 11: We have three options: Default UI, Light mode, and Dark mode. You can choose any one of them.

Step 12: If you want a light theme, then click on it, and it will take a few mins for adjusting the settings of the new screen by showing this type of dialog box.

Step 13: It will also show you the message that next time when you start your software, this screen will be your default screen. Once you are done, click on the Set button of this dialog box for applying the settings.

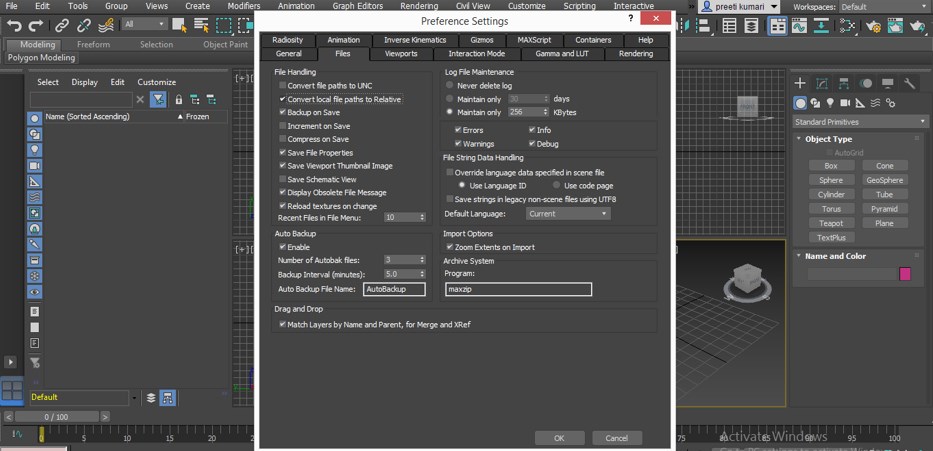
Step 14: Now, again click on the Preference option of this drop-down list.

Step 15: A Preference Settings box will be open. Now enable the ‘Convert local file paths to Relative’ option of this box. You have to enable this option because when you open a file of this software anywhere else in other software, then all the material used in this software will also be the same in that software and then press the Ok button of this dialog box.
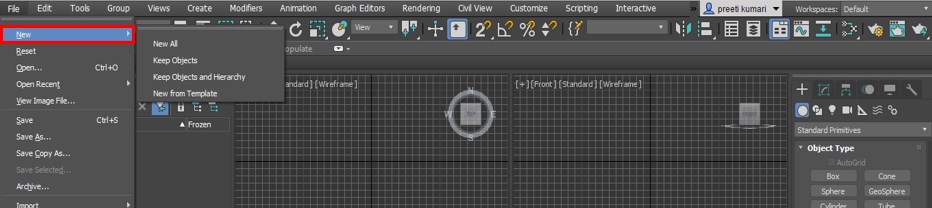
Step 16: We can use the File menu to open a new file or save our working in this software.
Step 17: In the file menu, we have Import and Export option for importing and exporting any file.

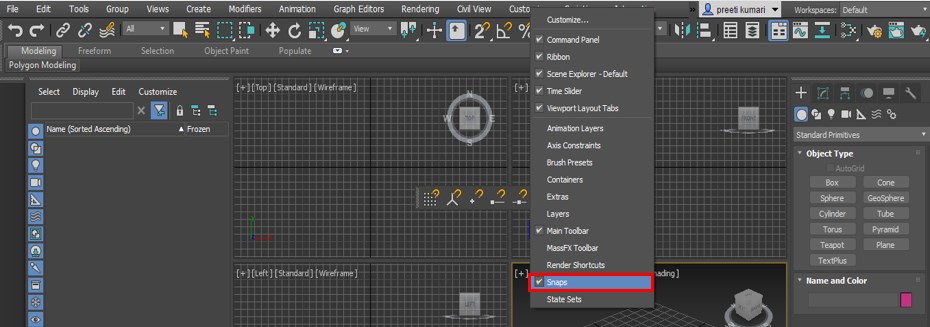
Step 18: You can have a separate panel of any tool. For a separate panel of any tool, make right-click on Customize menu of the Menu bar. A drop-down list will be open. Click on any tool which panel you want to separate. I will click on the Snap tool.

Step 19: Once you click on this tool, a separate panel of this tool will become on your working screen. You can adjust it anywhere on the working screen.
Step 20: You can make off this panel by click on some tool options on the same list.
Conclusion
Now, after this article, you can understand the User Interface of this software and handle it according to you. You can make your own working screen by making some changes to the option of this software. You can become an expert in working on this software after practicing on it.
Recommended Articles
This is a guide to 3ds Max Interface. Here we discuss the Introduction, how to create 3ds Max Interface in a step by step manner. You can also go through our other related articles to learn more –
