


Updated September 16, 2026

Online shoppers cannot pick up a product, examine its finish, or feel its texture. Your photographs need to answer those questions. When images look blurry, poorly lit, or inconsistent, buyers may struggle to understand what they are buying.
Improving Product Photo Quality does not always require expensive equipment. A reliable workflow combines careful photography, selective enhancement, and sensible export settings. The goal is to present your products clearly while preserving the details customers expect.
Why Does Product Photo Quality Look Poor?
Several different problems can make a listing image look unprofessional. Low resolution causes pixelation when a small image is displayed at a larger size. Camera movement or missed focus creates softness. Uneven lighting can hide surface details, while heavy compression can introduce blocks or rough edges.
Identify the main problem before editing. A dark photograph needs different corrections than an undersized one. If the original is severely blurred or missing important details, retaking the photo is usually the better option.
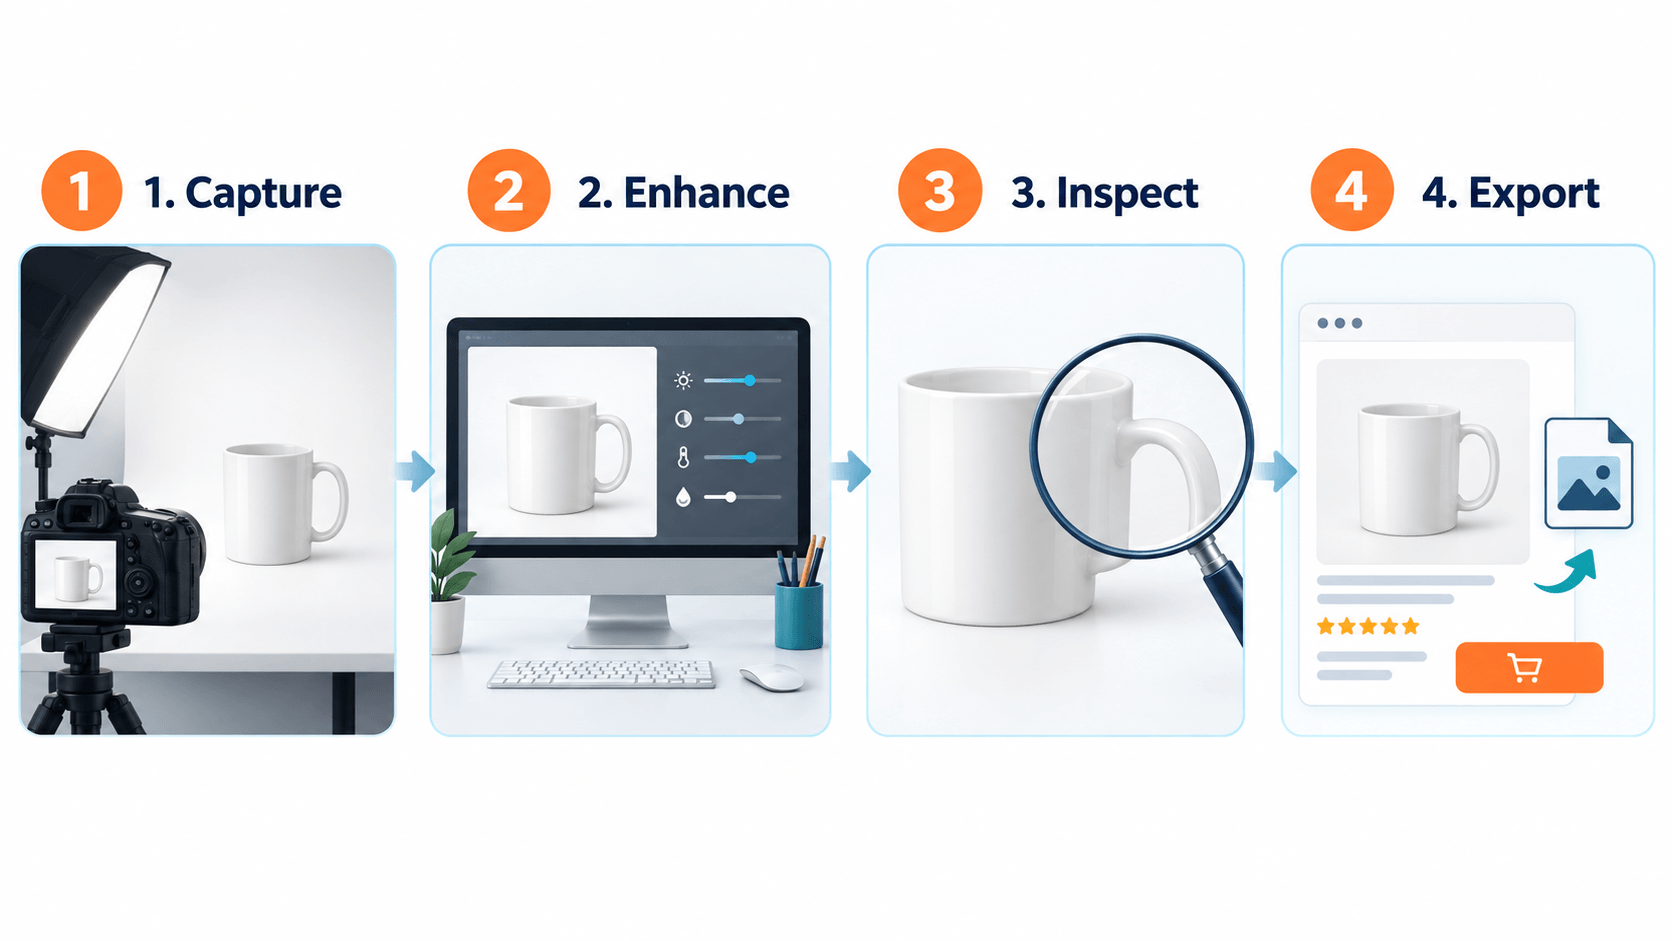
Figure 1. A practical workflow for listing images: capture, enhance, inspect, and export.
1. Start with the Best Original Image
Use the original camera file whenever possible. Images downloaded from social media, copied from screenshots, or forwarded through messaging services may already have lost detail through resizing and compression.
Clean your lens and place the product on a simple, uncluttered surface. Use a tripod or another stable surface to keep your camera or smartphone steady while taking the photo. Tap or set focus on the product, then check the result before moving on.
Choose soft, even lighting. Indirect window light or a diffused light source can help reveal shape without creating harsh glare. Photograph several angles, including any features shoppers might need to inspect closely.
Starting with a high-quality original gives you a stronger foundation for maintaining consistent Product Photo Quality during editing.
2. Correct Framing, Exposure, and Color
Straighten the image and crop unnecessary space while leaving enough room around the product. Keep framing consistent across similar items so the listing gallery feels organized.
Adjust exposure until the product is easy to see, but avoid making highlights so bright that surface detail disappears. Correct white balance to remove unwanted color casts from indoor lighting.
Compare the photograph with the actual item. Cream fabric should not turn pure white, and a muted finish should not become highly saturated. Accurate color and texture matter more than an unusually dramatic appearance.
3. Enhance Clarity and Resolution Carefully
If a usable product photo looks slightly soft or has limited resolution, enhancement may help prepare it for larger display. This can be useful when customers open an image viewer to examine details.
You can try Picsman’s AI photo enhancer to improve clarity and increase image resolution before uploading the photograph to your store. Start with the best available source and compare the processed result with the original.
Increasing pixel dimensions does not prove that missing details have been recovered accurately. AI processing can estimate textures and edges. Treat the output as an edited version that needs inspection, especially for products with intricate patterns or small printed labels.
4. Check Details Before Publishing
Review the enhanced image at its intended display size and zoom in on important areas. Look for artificial outlines, overly smooth surfaces, distorted lettering, or changes to fine patterns.
For clothing, inspect stitching, fabric weave, and printed designs. For cosmetics, check packaging and label text. For jewelry, examine settings, reflections, and small decorative features.
Keep the original nearby during this review. If enhancement changes the apparent material, shape, or included features, return to a less processed version or retake the photograph. Accurate product photo quality should never depend on inventing product details.
5. Export for Your Listing
Check your marketplace or store platform’s current image requirements before exporting. Match its recommended dimensions, aspect ratio, file format, and background rules.
Photo enhancement and file compression serve different purposes. Enhancement addresses visual clarity; compression reduces file size. After editing, export a version that balances visible detail with comfortable loading.
JPEG often works well for product photography, while other formats may work when your platform supports them. Inspect the exported file rather than assuming it matches the editing preview. Keep a high-quality master separately for future use.
6. Review the Customer Experience
Open the published listing on both a phone and a computer. Check that thumbnails crop correctly, the main photograph appears clear, and additional images show useful angles rather than repetitive views.
Use consistent backgrounds and product positioning across your catalog. Where supported, add concise alternative text describing the item and view.
A practical routine makes this work repeatable: capture a strong original, correct basic issues, enhance only where useful, inspect the result, and export appropriately. If you also need editing tools beyond photo enhancement, explore Picsman as part of your workflow. Better product photographs help shoppers understand what you sell and make the listing easier to evaluate.
Final Thoughts
Improving Product Photo Quality starts with capturing a strong original image and making careful adjustments to lighting, framing, color, clarity, and resolution. Enhancement tools can help refine a usable photograph, but they should not replace accurate product details or a well-composed original image.
Before publishing, inspect every image at different sizes and compare enhanced versions with the original. A consistent workflow helps create clear, realistic, and professional product photographs that give shoppers a better understanding of what they are buying.
Recommended Articles
We hope this guide helps you improve product photo quality for e-commerce listings, from capturing strong original images to enhancing clarity, checking details, and exporting files correctly. Explore the following articles for additional guidance on product photography, image enhancement, e-commerce promotion, visual content, and selling products online.