Updated August 25, 2023
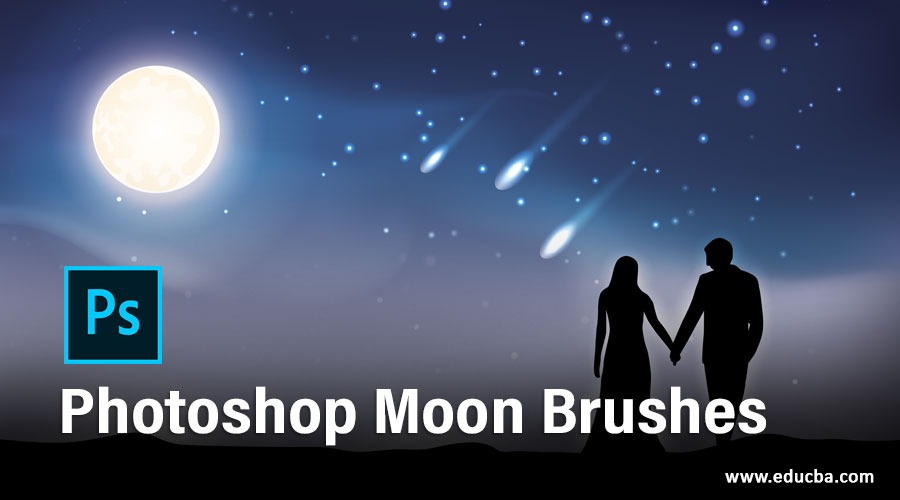
Introduction to Photoshop Moon Brushes
Photoshop is the software of image editing which was developed by adobe systems as its raster image editing software. We can do any type of editing work in this software through which we can create good effects. Moon brush is a type of brush through which we can create a fake moon in your image and get a night effect in your image. So in this article, we will analyze all-important terms and parameters of the moon brush and also learn how we can create a fake moon in your image. So let us discuss this feature of Photoshop for getting better knowledge about it.
How to Use Moon Brush in Photoshop?
We can download Moon brush from the internet free of cost from the different websites for our use and can also apply it to our image. So let us start learning about it but before starting we should get introduce to the user interface of this software so that there will be no problem occur for us during our learning about this topic. So let us have a look on the user screen of this software.
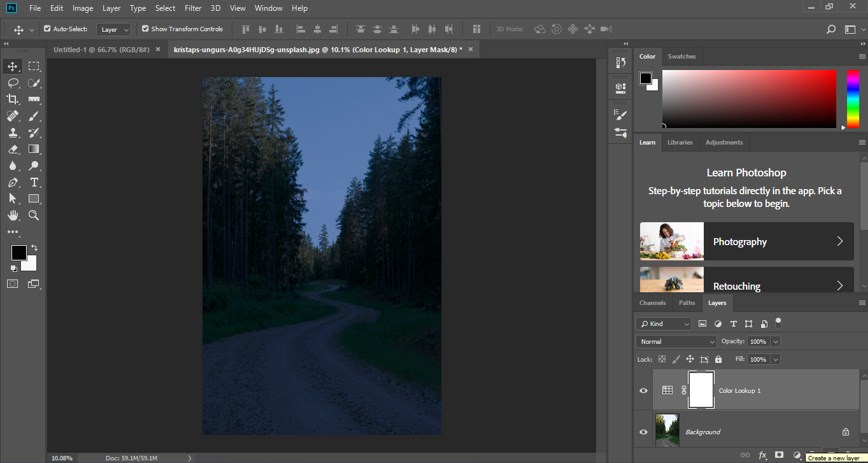
Step 1: At the top of the user screen we have a Menu bar with different types of Menus which help in the management of the different types of tasks in this software. The second bar of this software which is below to Menu bar is known as a Property bar in which you can see the properties of an active tool or image. The next sections of this software are below to property bar which has three sections such as tool panel at the left side, display window at the center, some tab on right side such as color tab, layer panel, etc. You can change the placement of these sections according to you.
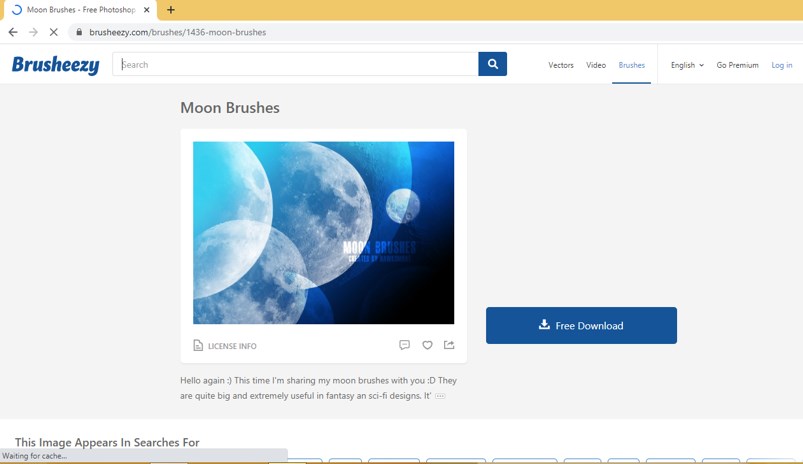
Step 2: First of all if you haven’t a Moon brush in your Photoshop software then download it from the internet. Search for Moon brush in the search box of any browser and then open any free website. I opened this website. Now click on the Free download button.
Step 3: A zip file will be downloaded. Extract it and you will get this type of file of moon brush. Now copy this file from here.

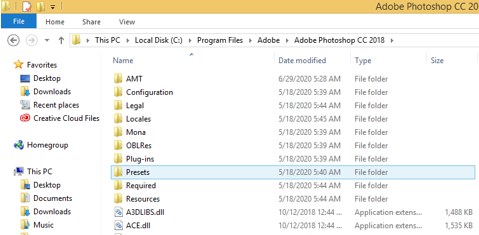
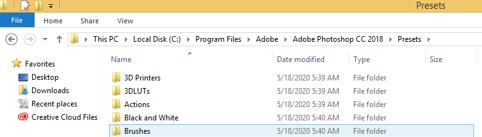
Step 4: And go to the Presets folder of Photoshop software and open it.
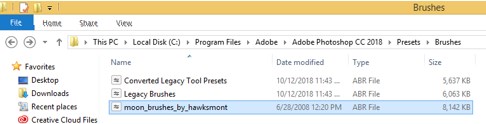
Step 5: Now click on the Brush folder of the Presets folder.
Step 6: Paste your copied moon brush file here.
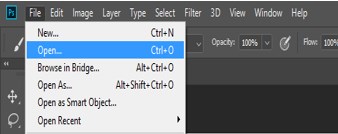
Step 7: Now open Photoshop software. Let us have an image of our learning. So go to the File menu of the menu bar and click on it then click on the Open option of a drop-down list or you can simply press Ctrl + O button as the shortcut key of this option.
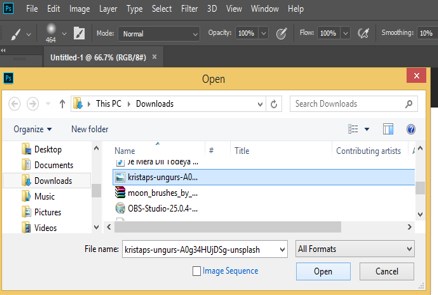
Step 8: Now go to the folder of your saved image on your personal computer and click on your desired image for selecting it. Once you selected it click on the Open button of this dialog box.
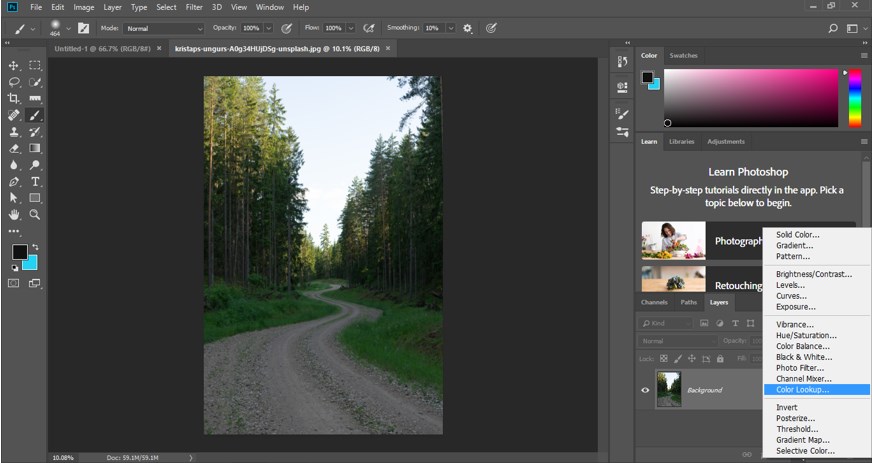
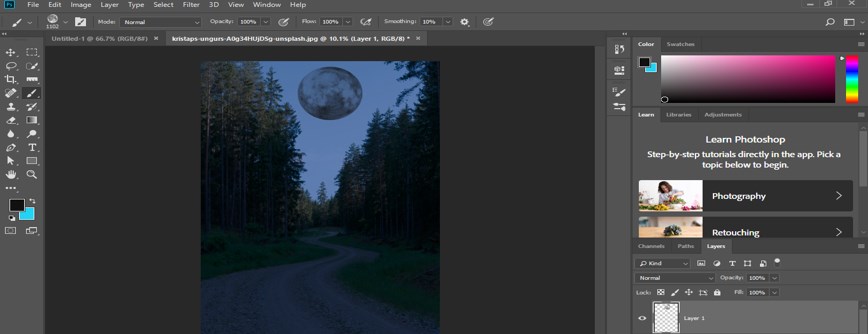
Step 9: And your image will place in this software in a new window tab. Now go to the bottom of the layer panel of this software and click on the Adjustment layer button. Click on Color lookup the option of this list for converting this image in night mode.
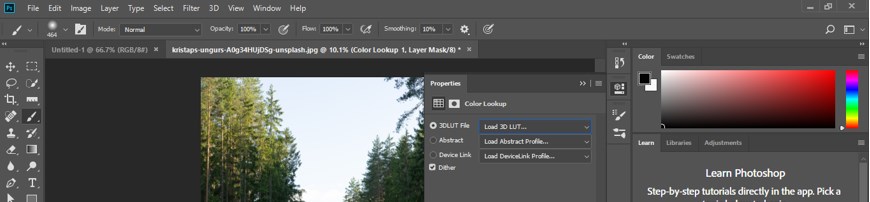
Step 10: Now click on the drop-down arrow of the File option of the Color Lookup box.
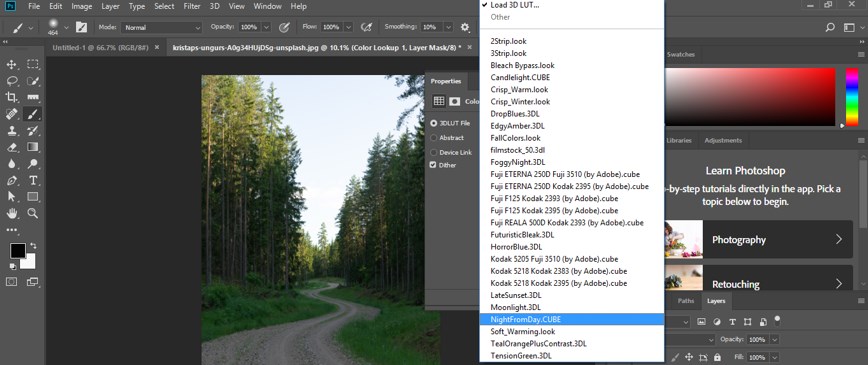
Step 11: Choose NightFromDay.CUBE option from the list.
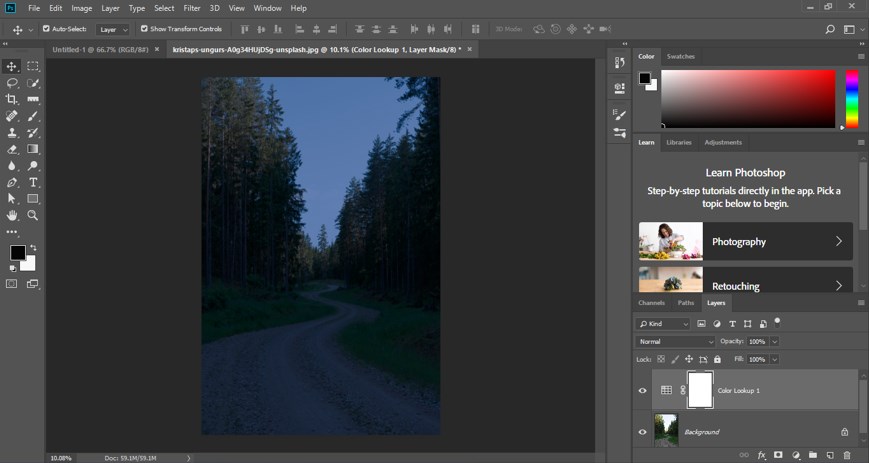
Step 12: Your image will convert in night mode like this.
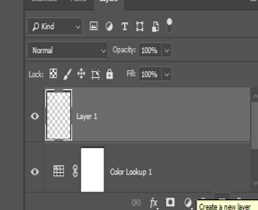
Step 13: Now again go to the bottom of the layer panel and click on the ‘Create a new layer’ button.
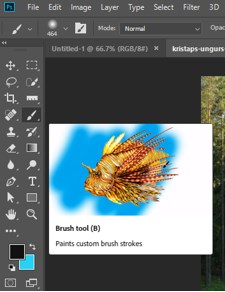
Step 14: Go to the tool panel of this software and take the Brush tool from here.
Step 15: Now click on the drop-down arrow of the size option of the property bar of the brush tool and then click on the settings icon of the size box of the brush tool. A drop-down list will be open. Search Moon brushes in this list and clicks on it.
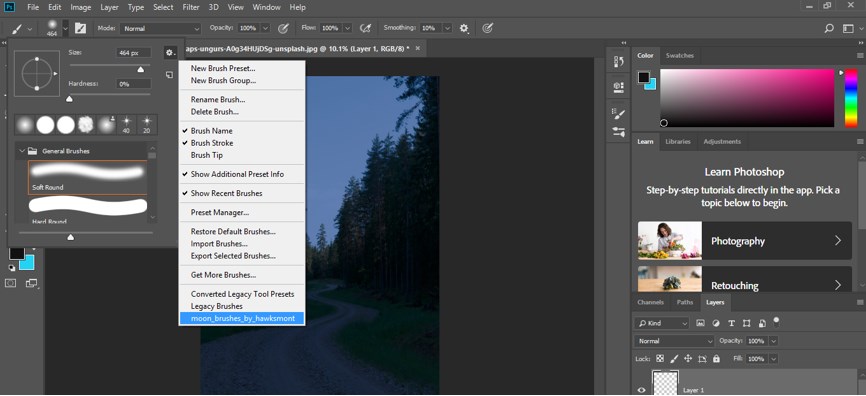
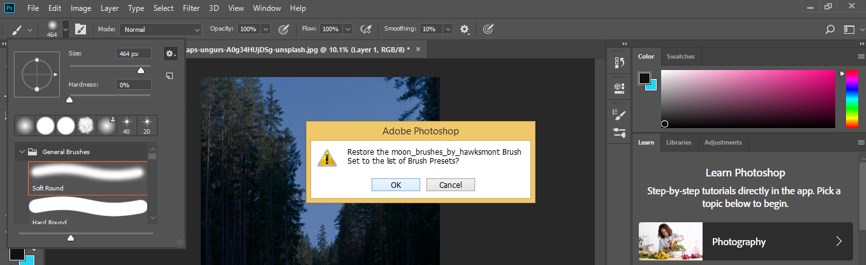
Step 16: If you using this Moon brush the first time after downloading it then the software will ask you to restore this brush into brush presets of this software so click on the Ok button of this box.
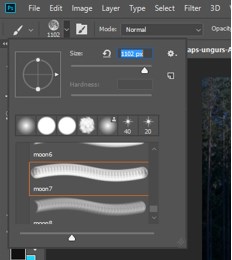
Step 17: Now you can find presets of Moon brush in the list of brushes of this software. Choose your desired type of moon brush from here according to you.
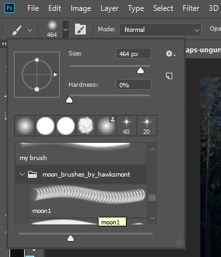
Step 18: I will choose this one by click on it.
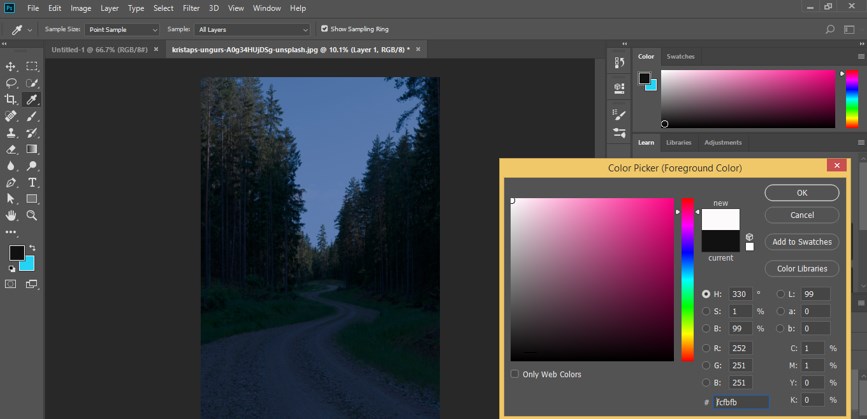
Step 19: Now set white color in the foreground color of the color box.
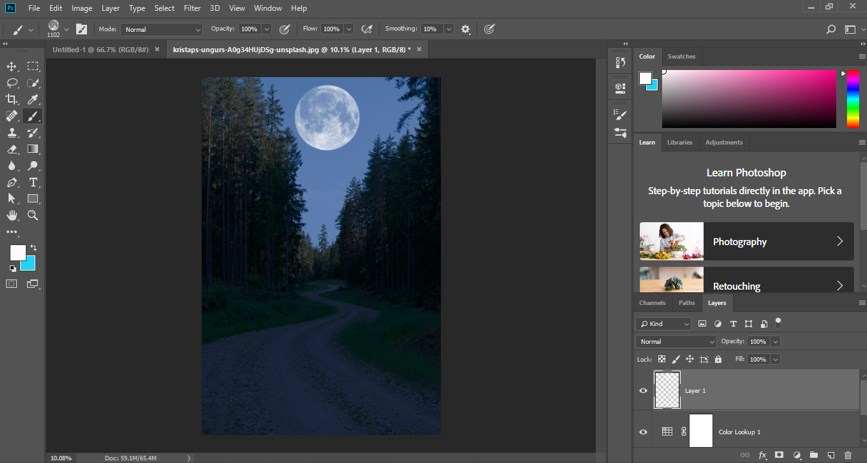
Step 20: And make a click at your desired place where you want to make the moon.
Step 21: If you take black color as a foreground color then you will get this type of moon.
Step 22: So let us work with the white moon. Now again create a New layer by click on the ‘Create a new layer’ button of the layer panel.
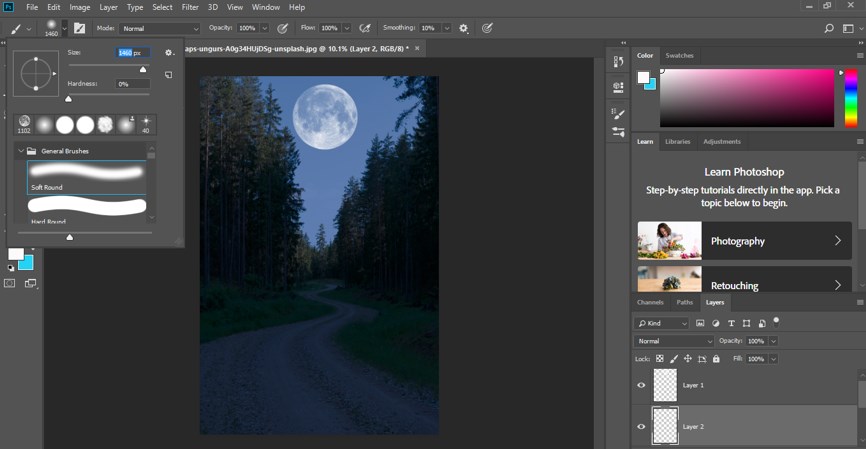
Step 23: Now place this new layer (layer 2) below to the moon layer and select a soft brush from the brush size box of the brush tool.

Step 24: Now increase the size of the soft brush so that it will have a size more than the size of the moon.
Step 25: Now make three times click on the moon with this brush one by one and you will get glow around the moon like a natural moon.
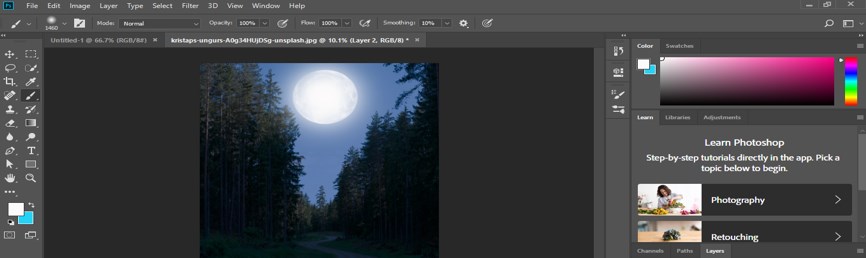
Step 26: Now choose the Overlay option in the Mode option of this layer.
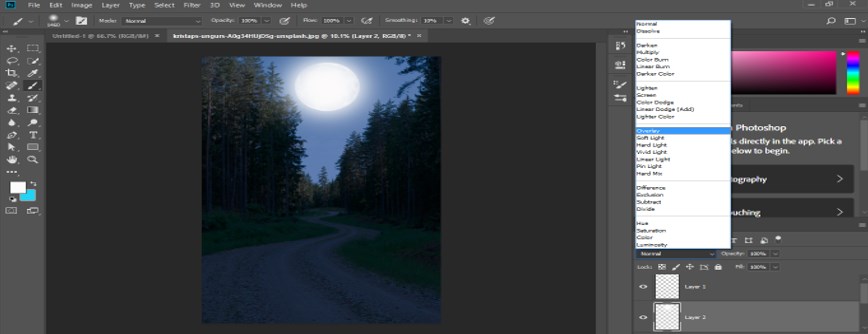
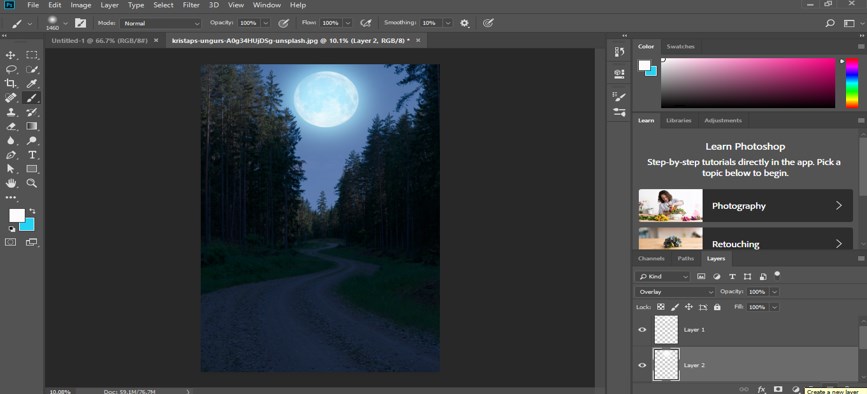
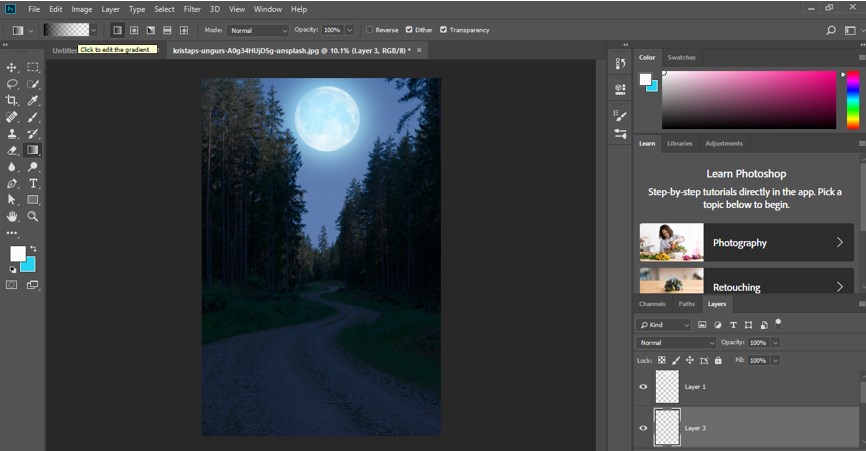
Step 27: And you will get this type of bluish glow around your moon. For adjusting this blue tone again create a new layer.
Step 28: Now click on the Gradient scale of the property bar of the Gradient tool.
Step 29: Choose this Gradient from the presets of the gradient editor box.
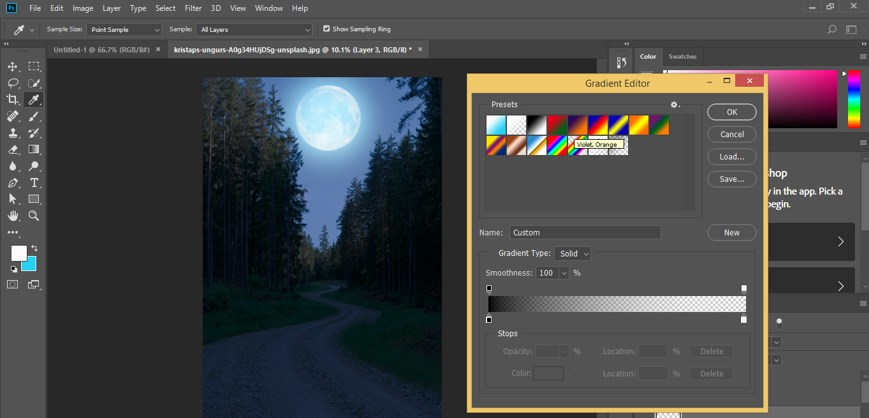
Step 30: Now click on end stop color box and choose a whiter color for it from Color picker box of it.
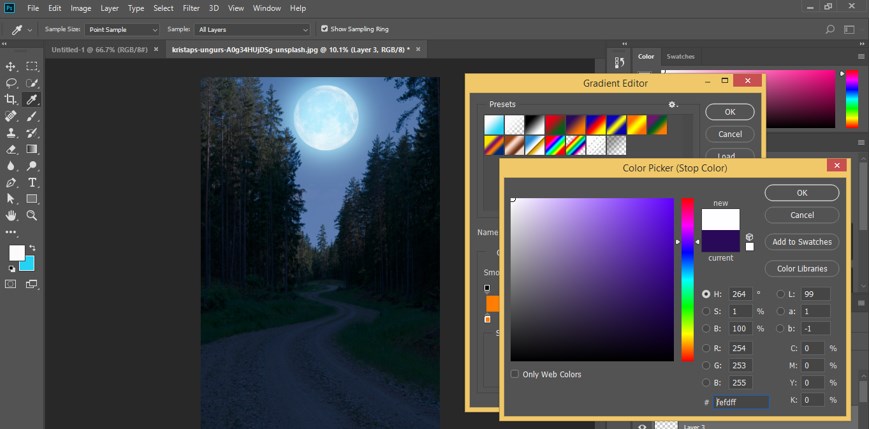
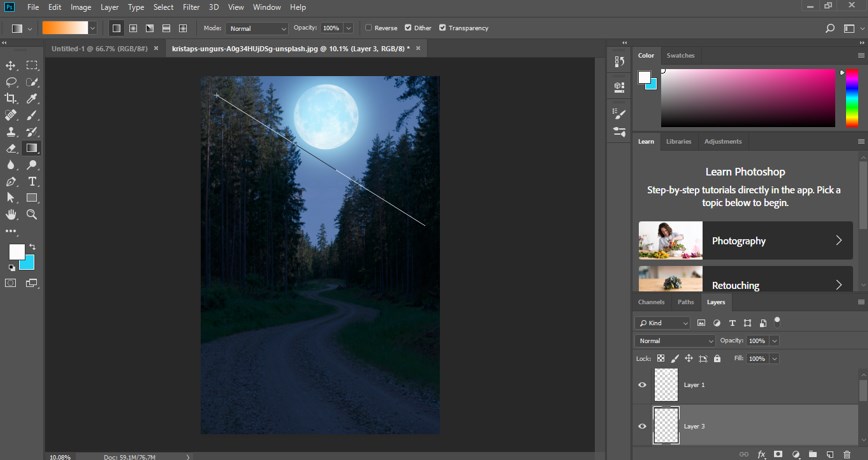
Step 31: Now drag the gradient mouse pointer in a diagonal direction on your image like this.
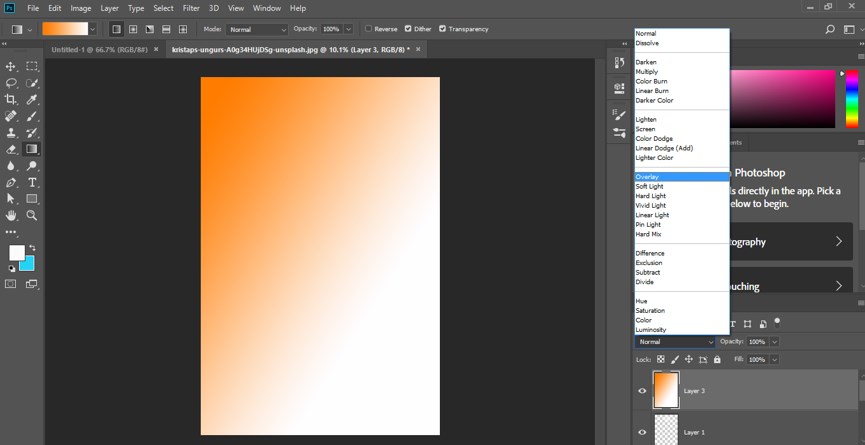
Step 32: Now choose the Overlay option in the Mode option of this layer.
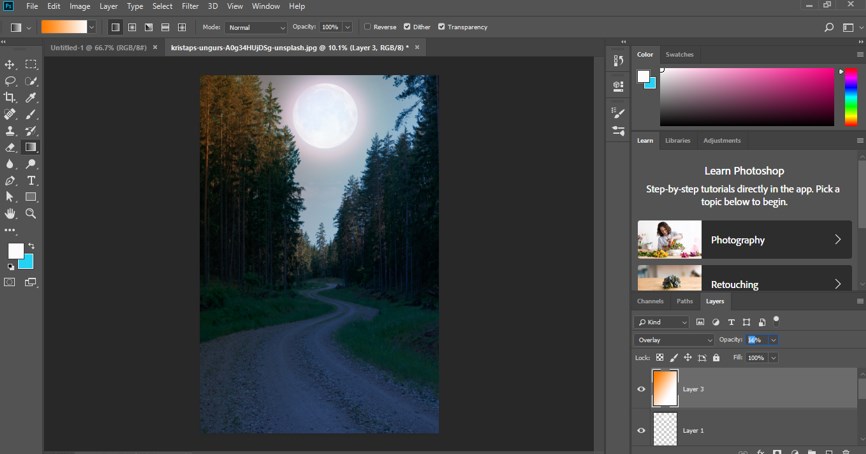
Step 33: And you will get this type of glow around your moon which gives a natural look to your moon.
In this way, you can create a fake moon in your image by using Moon Brush in Photoshop software.
Conclusion
Now after this article you can understand what Moon brush is and how it is helpful for your project work. You can do many different types of creation with these types of the brush of Photoshop software just practices on them and apply your own idea by using them in your image editing work.
Recommended Articles
This is a guide to Photoshop Moon Brushes. Here we discuss an introduction, how to create a moon brush effect in photoshop in a step by step manner. You can also go through our other related articles to learn more –
