
Introduction to Layers in Photoshop
Layers are one of the most important components in Adobe Photoshop as they allow the users to create artworks on independent spaces and organize them according to their likes, and will enable them to sketch, edit, paste, and reposition elements on a single layer without affecting the others, Layers include both grimy and transparent elements and consists of Image Layers, Adjustment Layers, Fill Layers, Shape Layers, Type Layers, and they offer countless experimental options to try without the risk of affecting the original data.
Below you can find the five most vital features of layers:
- Opacity: You can select values ranging from 0% to 100%.
- Pixel layers: These have holes where you have removed the picture information or compact in size than the layer present below and permit fundamental facts to manifest. This is especially helpful for producing collages.
- They have the potential to be combined with different layers utilizing diverse modes.
- They have the potential to register discerning adaptations utilizing layer masks. Alternatively, restricting the region to which an adjustment is registered.
- Layer styles, which can be utilized to register notable effects.
Types of Layers in Photoshop
Photoshop elements provides five types of layers:
1. Image Layers
It is normally referred to as a layer, critically a digital model of a plain acetate page. You can produce empty layers and append pictures to them or produce layers from the pictures themselves. Thus, you can have numerous amounts of picture layers as long as your system’s memory permits.
2. Adjustment Layers
An adjustment layer is a unique type of layer utilized for adjusting contrast and color. The benefit of utilizing adjustment layers for your rectifications, rather than registering them straight to the image layer, is that you can register the rectifications without indelibly disturbing the pixels.
3. Fill Layers
A fill layer allows you to append a layer of even color, a pattern, or a gradient. Similar to the adjustment layers, fill layers also consists of layer masks. You can check, relocate, replicate, remove, and combine fill layers identically to adjustment layers. In addition, you can mix fill layers with other layers by utilizing the blend and opacity mode alternatives present on the Layers panel.
4. Shape Layers
Photoshop also permits you to sketch shapes with sketching tools. These forms are vector-based, which implies that the forms are described by mathematical equations that produce points and paths rather than pixels. You can willingly modify these objects without creating mortification, and they are consistently printed with flat edges.
5. Type Layers
To append words to your pictures, click the Type tool and merely type. Well, you can define choices, such as font size and family on the options bar, but when you hit the commit button on the options bar, you produce a type layer. You can see a layer on the layers panel with an icon that shows T.
How to Create Layers in Photoshop?
Here are some steps to create layers given below:
First, select a new document by clicking on File > New in the menubar.
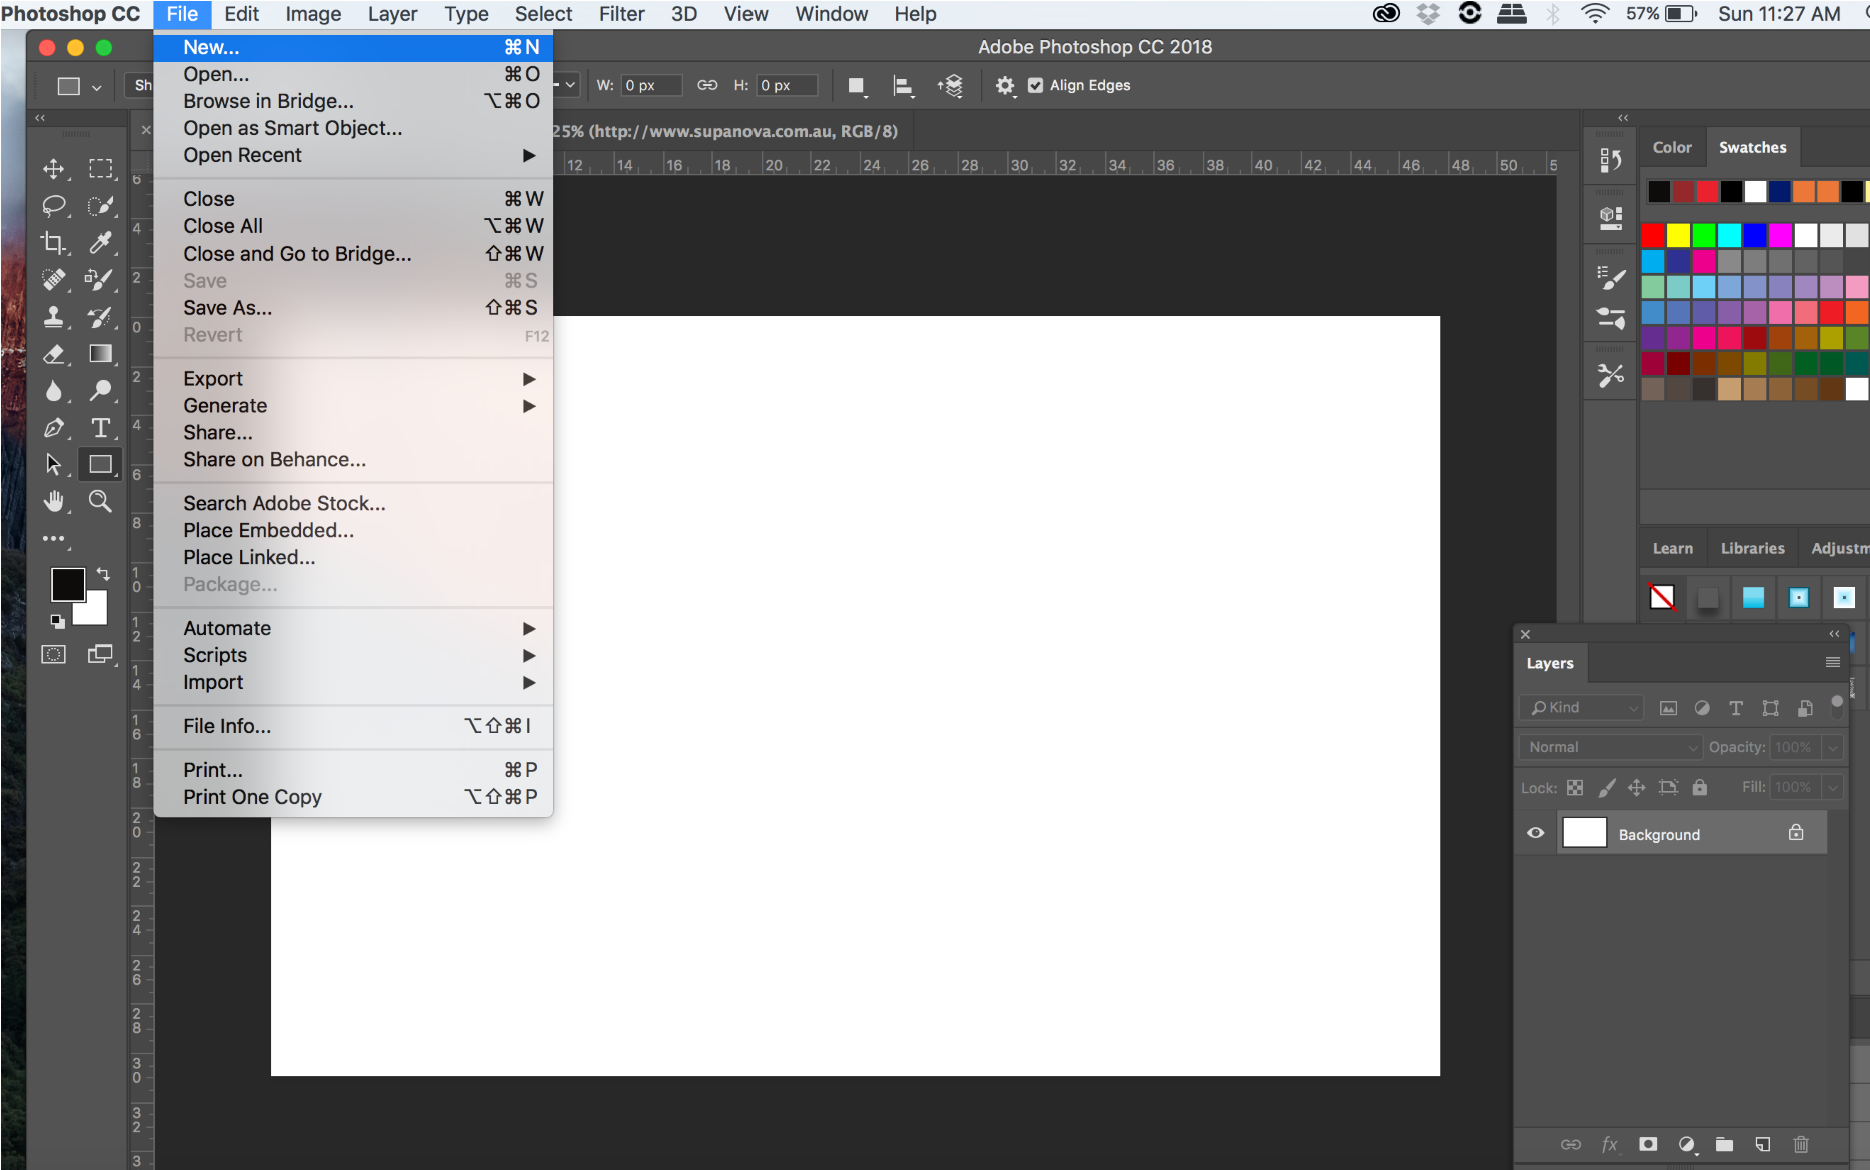
New Document
Next, select a custom template and click on create.
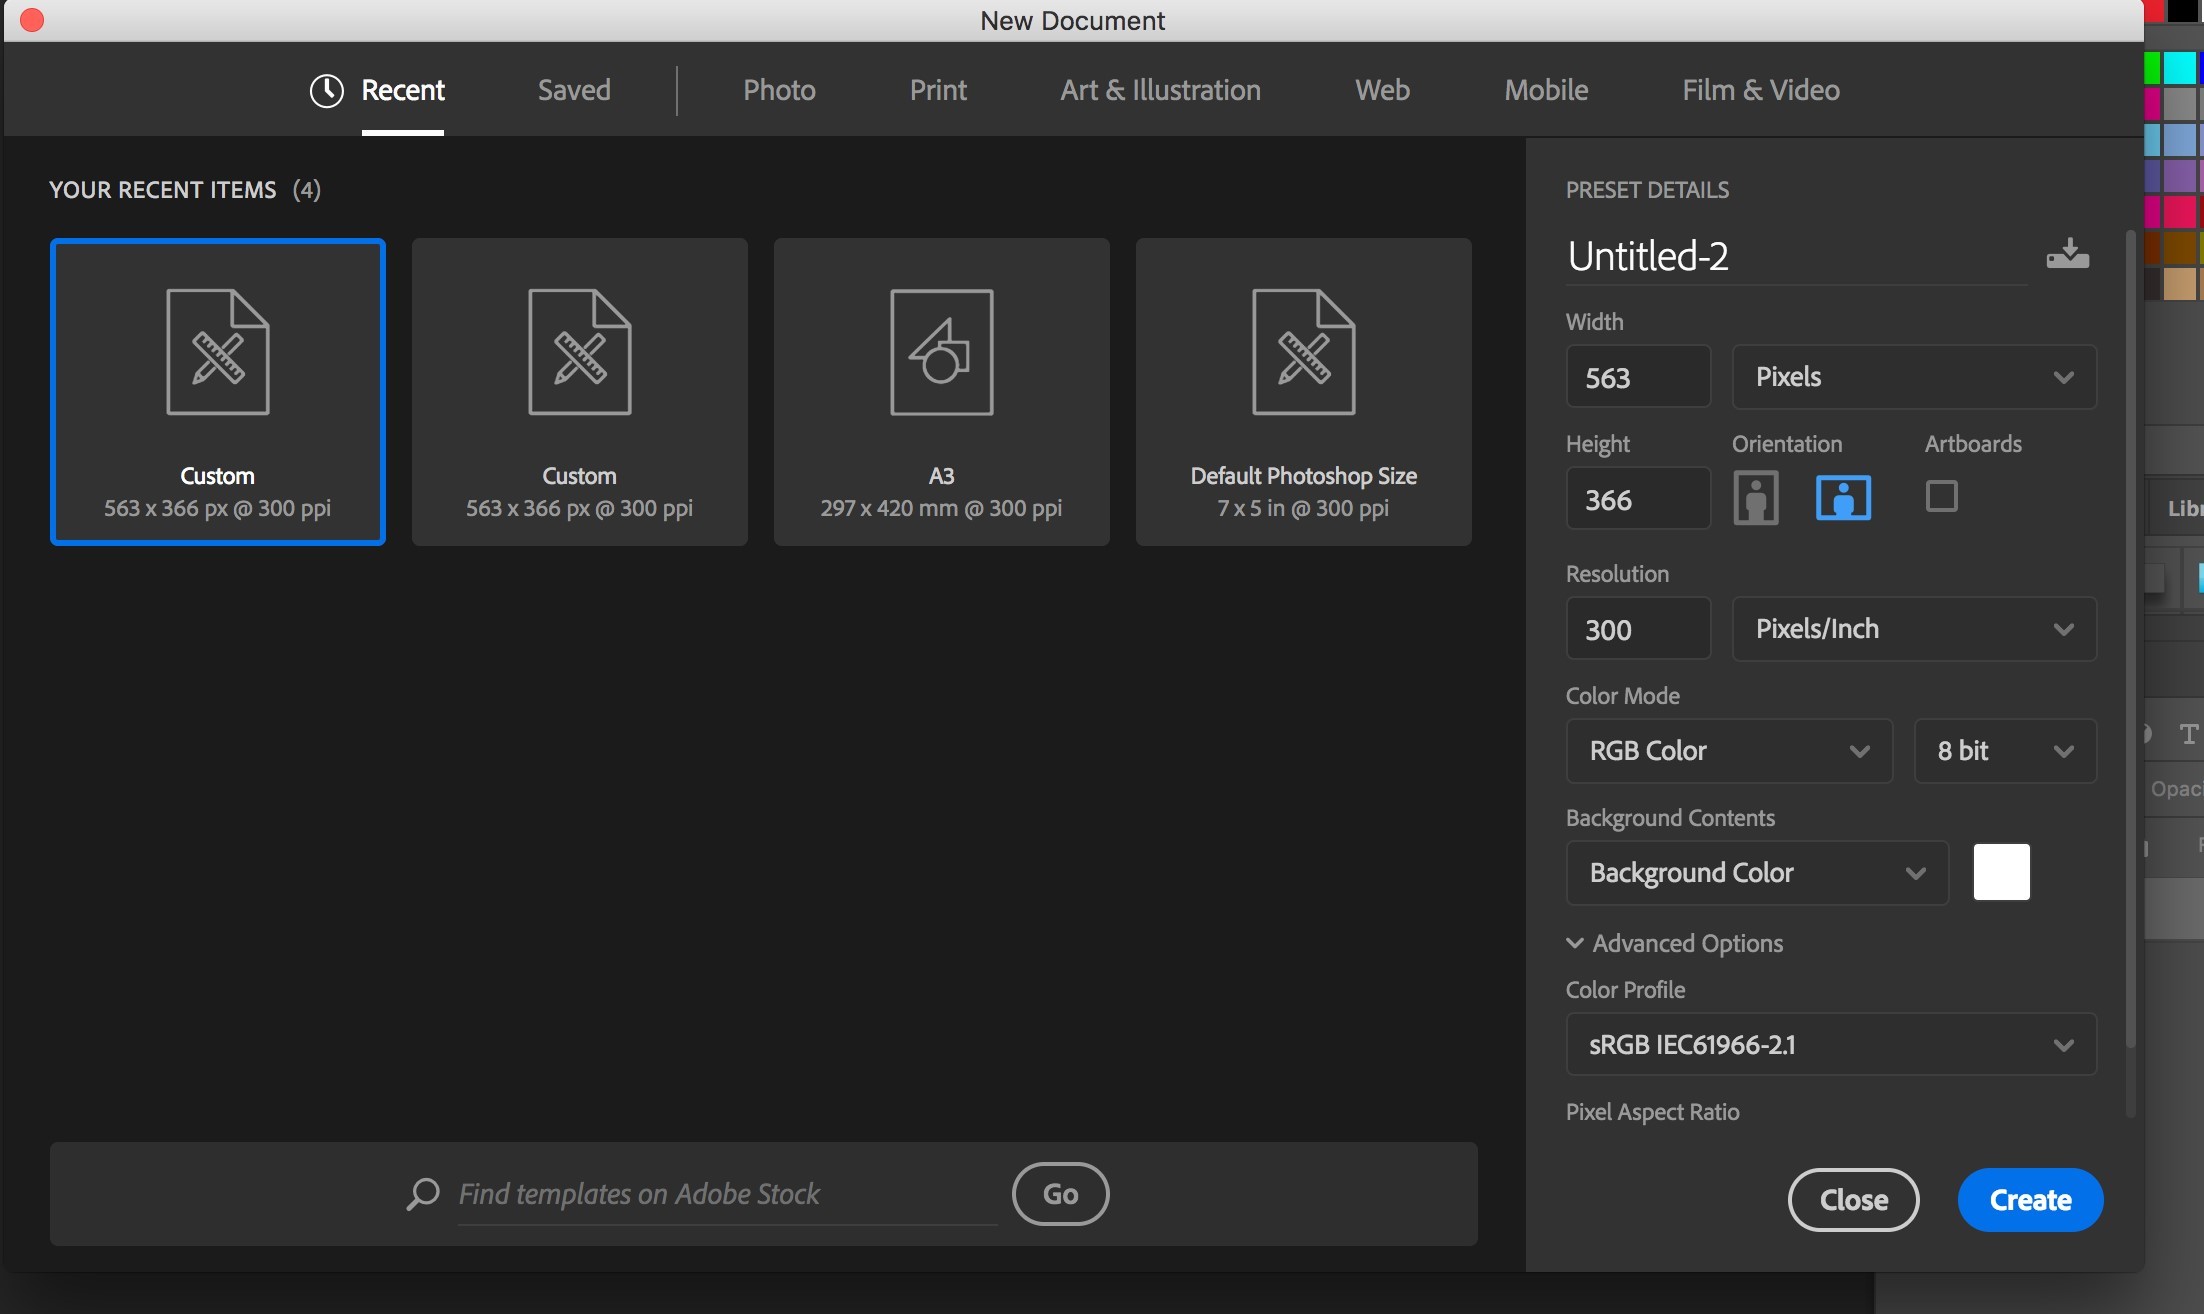
Custom Template
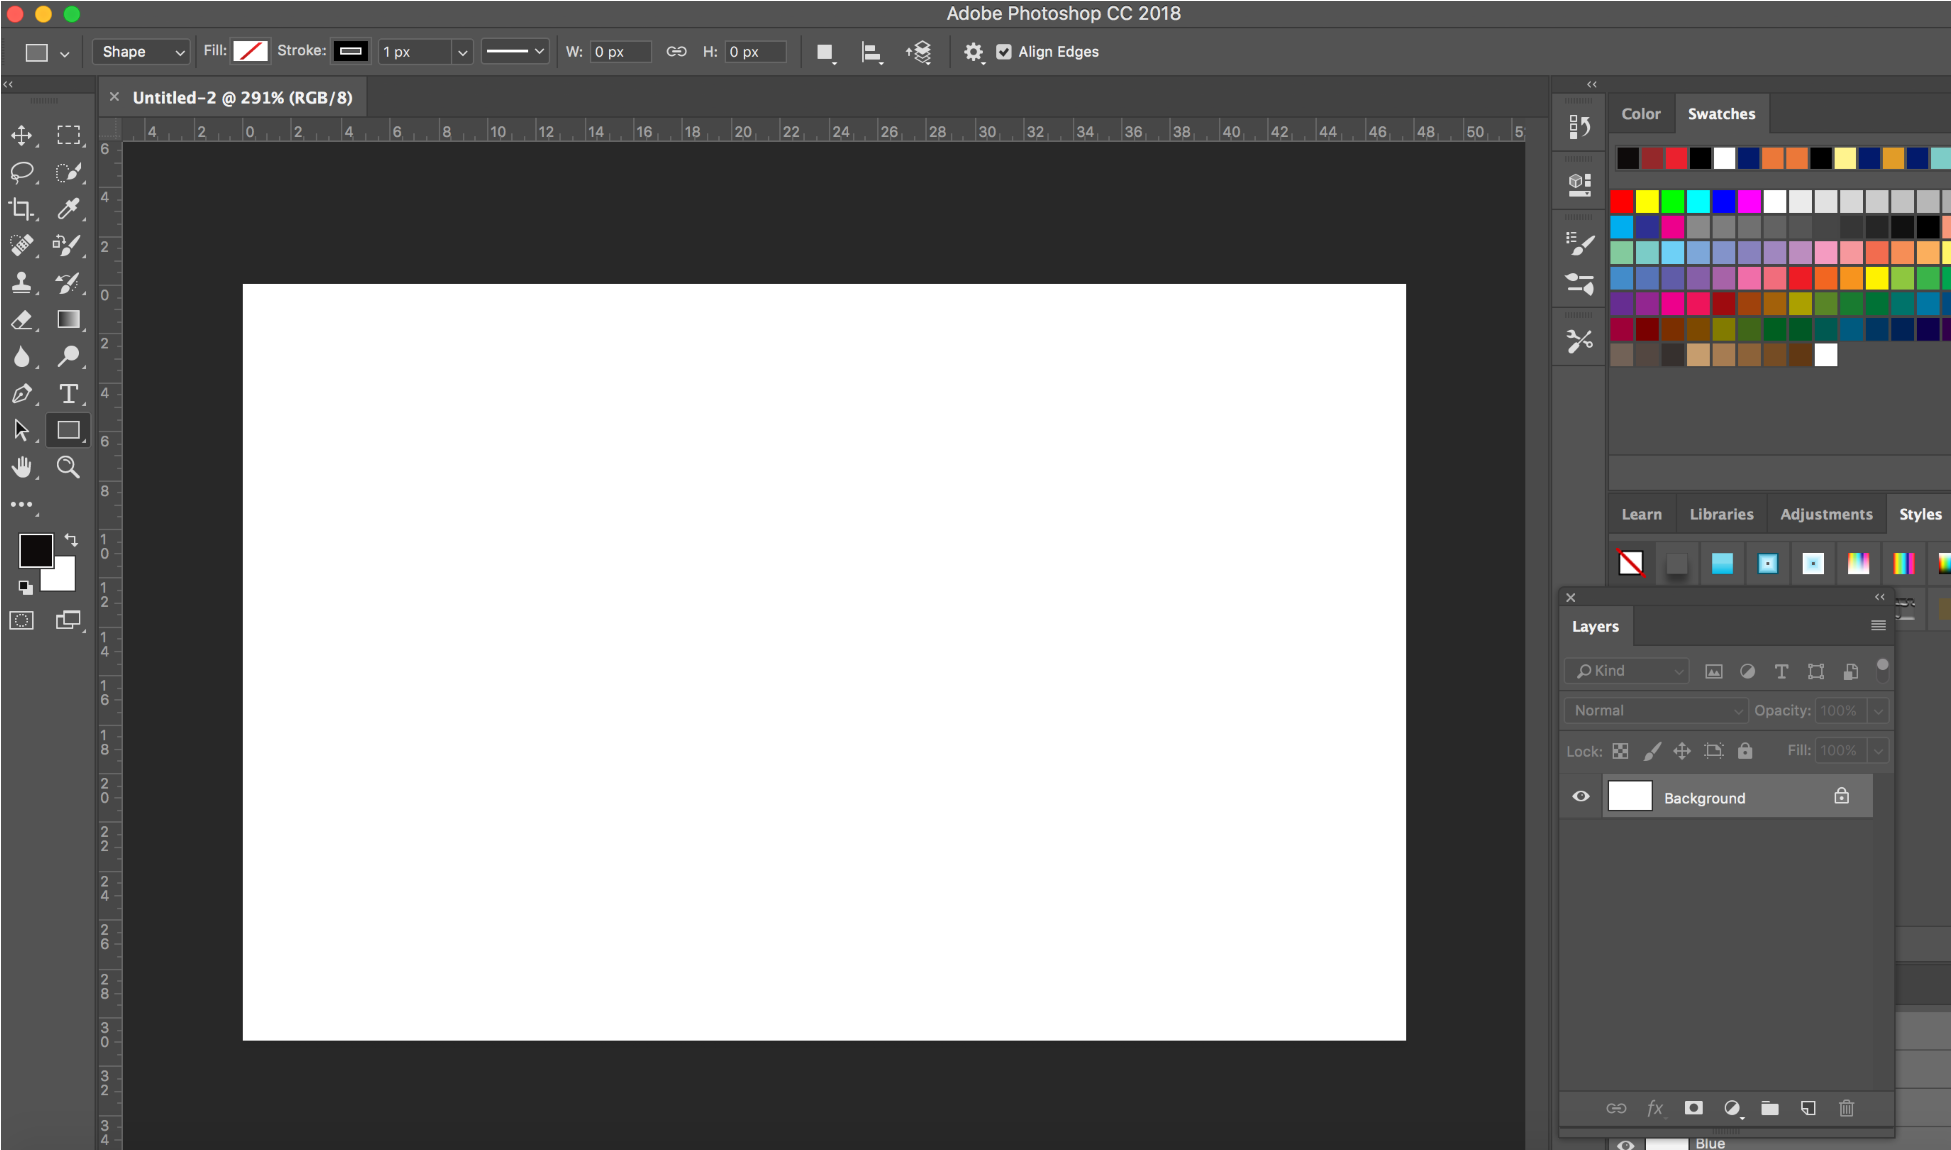
New Document Created
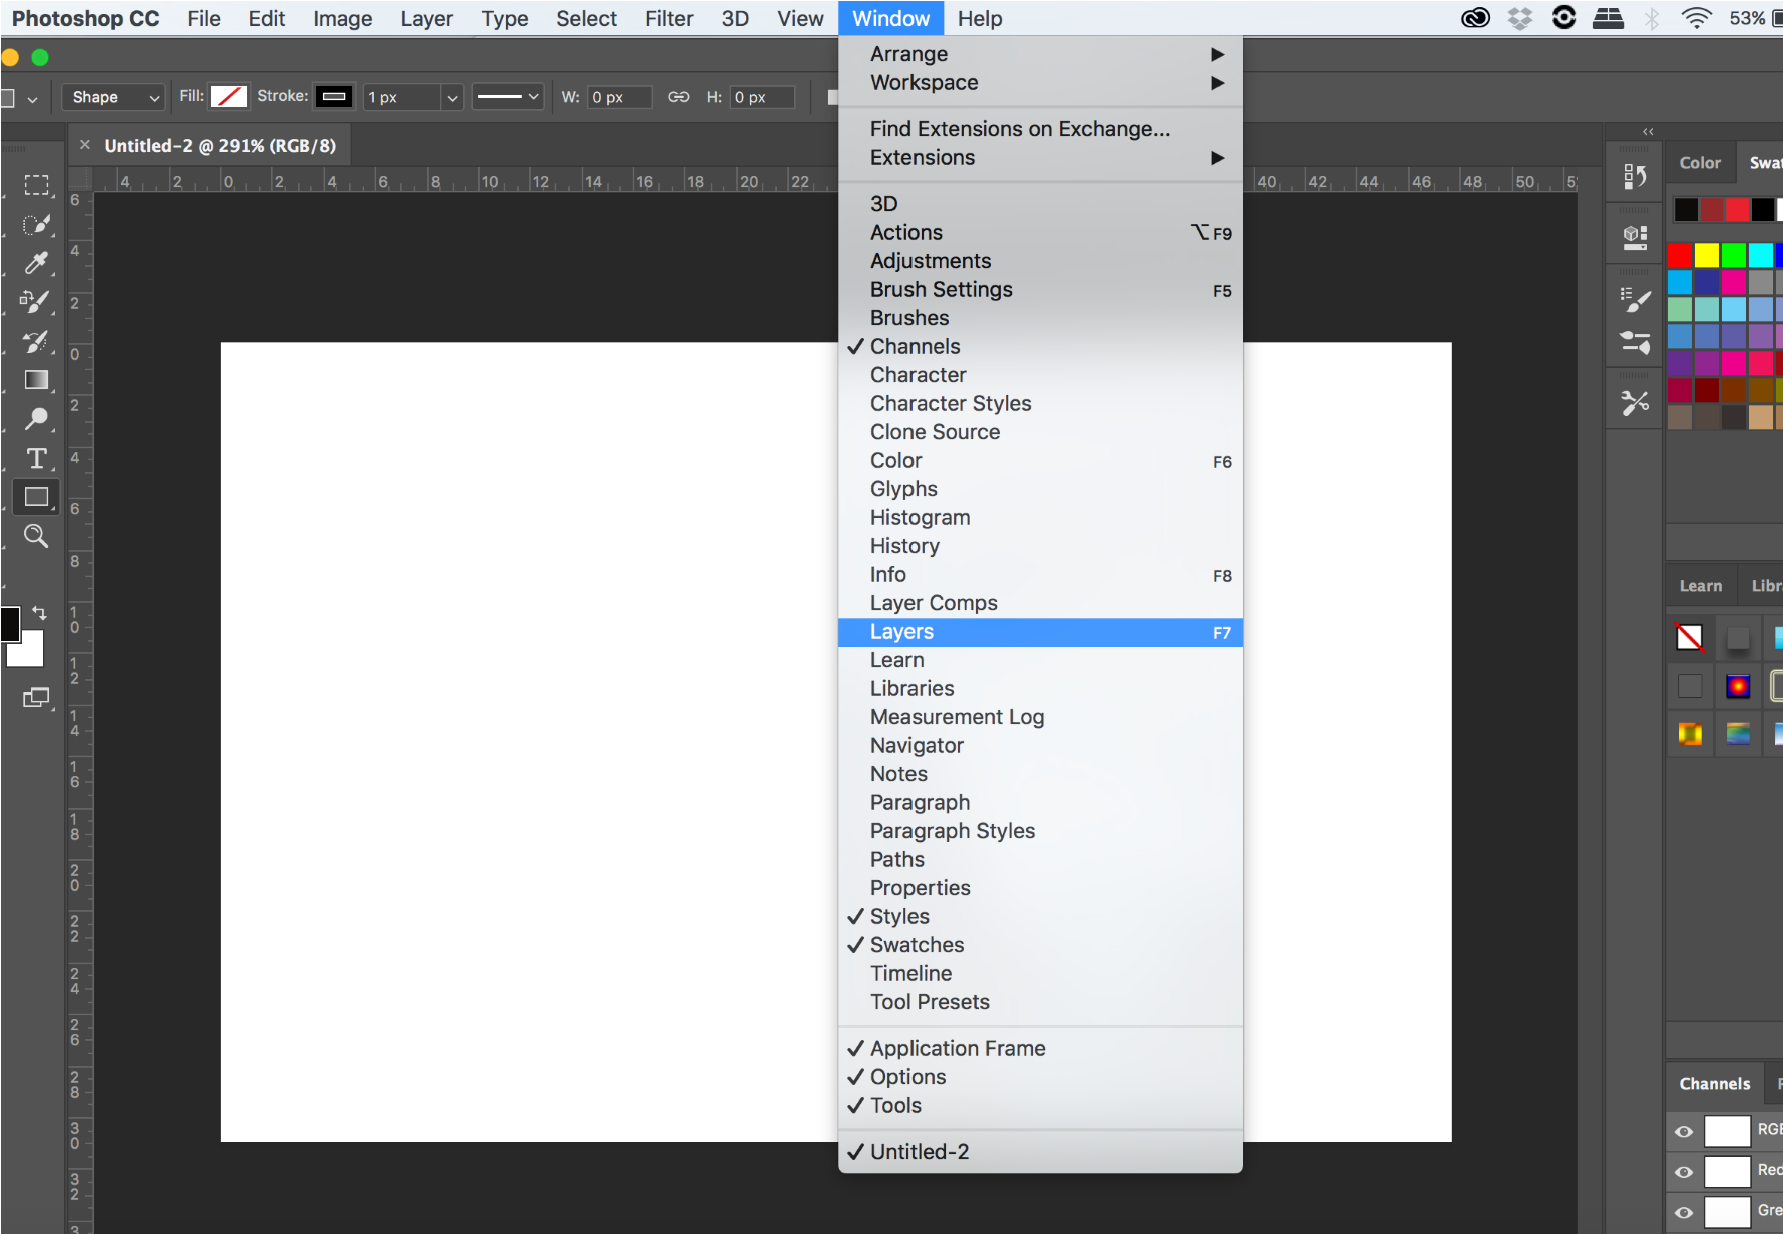
Layers Option
To get the layers panel on the dashboard, click on Window > Layers, as shown above.
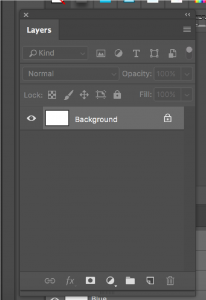
Layers Panel
Adobe creates a default background layer when you create a new document. Therefore, we will create three objects, two shapes and a text by producing three layers. To add a new layer to the document, we will simply click on the New Layer icon at the bottom of the Layers panel, as shown below.

Create New Layer
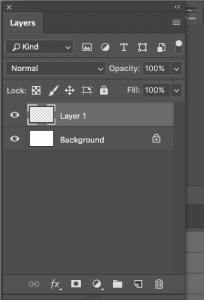
New Layer Created
Photoshop gives a default name as layer 1. However, you can double click on the layer and give it a name. Similarly, we will create two more layers. We will name the layers as Ellipse, Square, and Text.
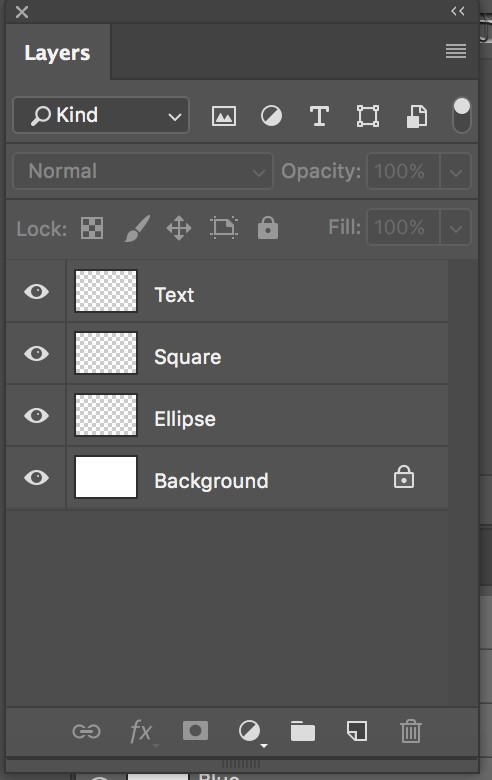
Three Layers
A preview thumbnail is present beside the layer’s name, which is filled with a pattern that resembles a checkerboard. This pattern is Photoshop’s method of representing lucidity.
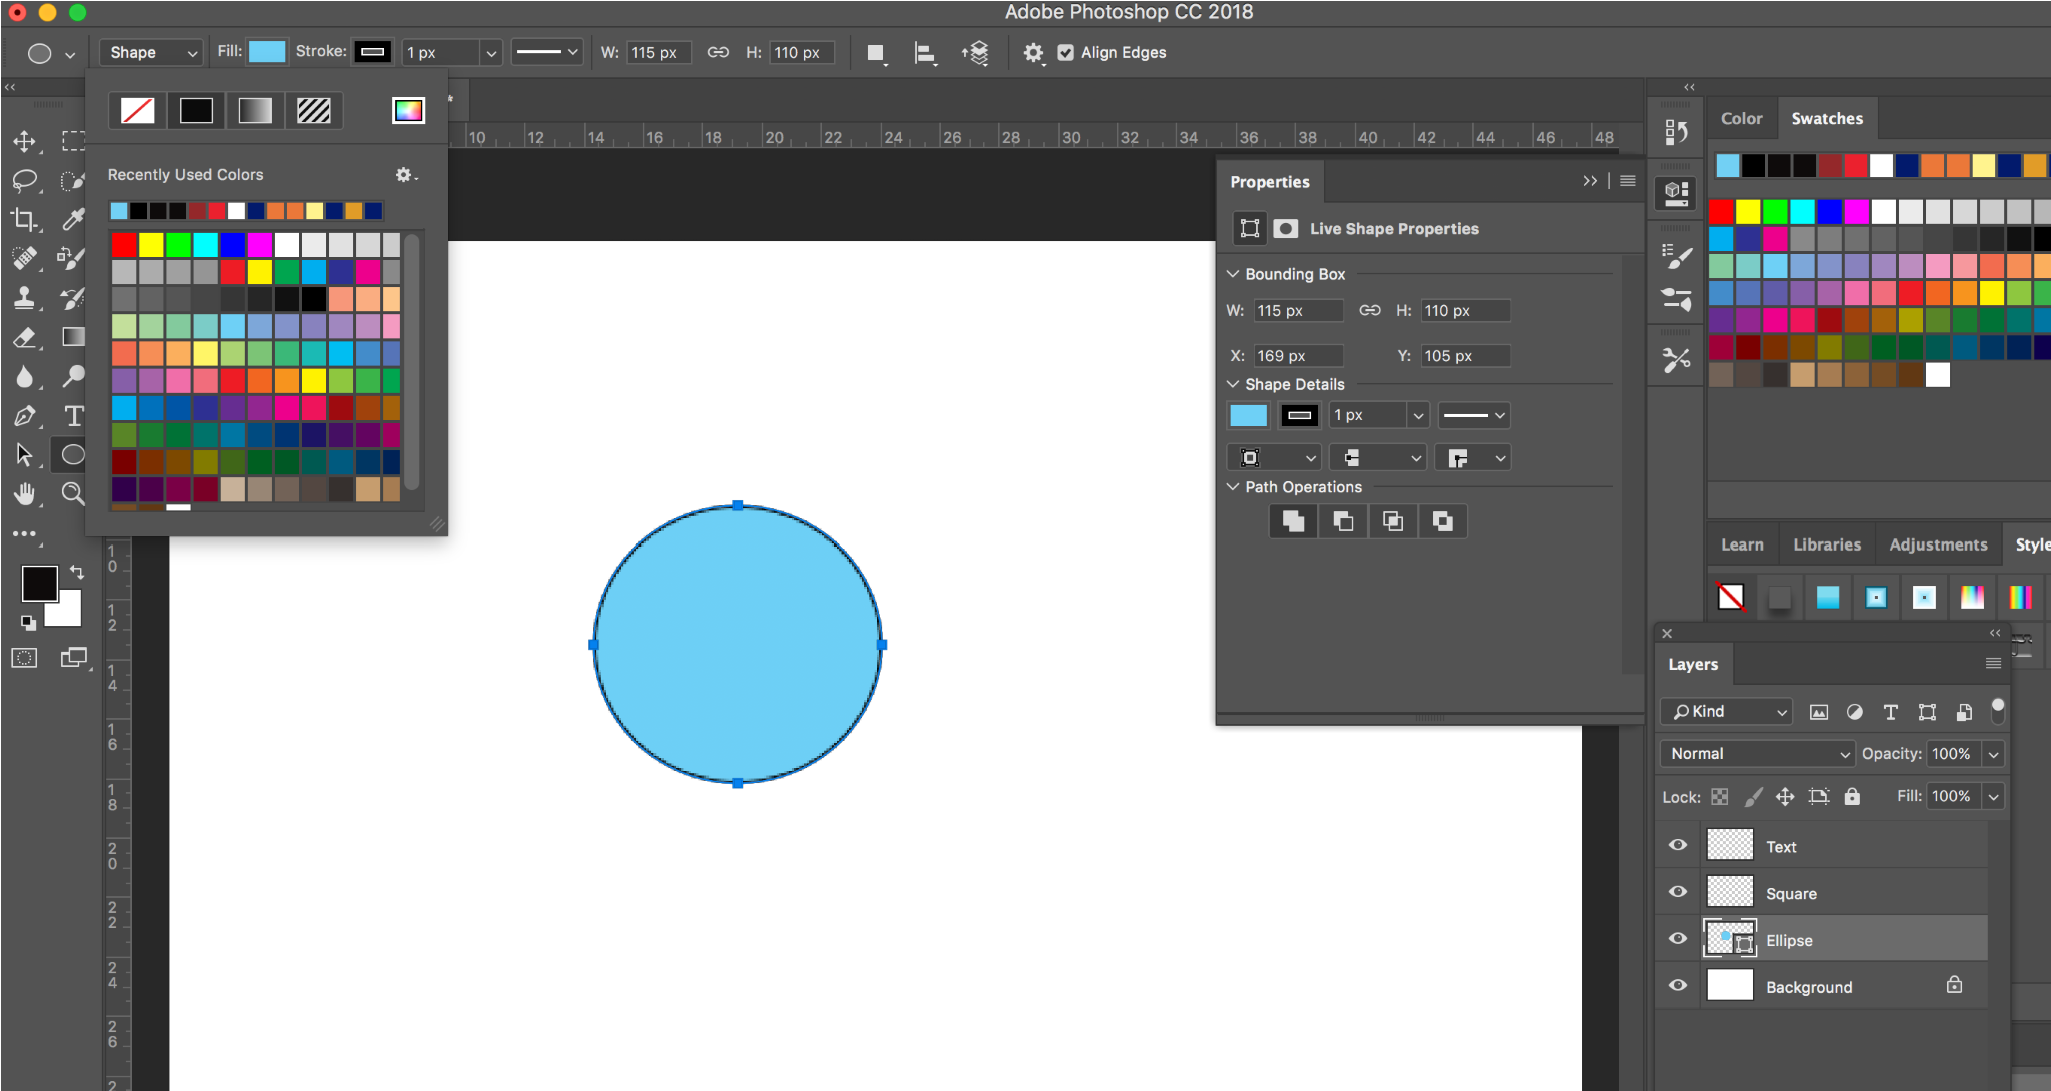
Now we will create an ellipse first. Click on the ellipse layer and then draw an ellipse on the document. When you click on the ellipse layer, it will be highlighted.
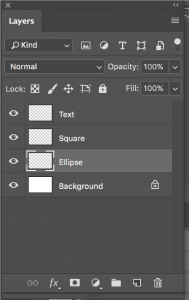
Ellipse Layer Highlighted
Select the ellipse tool from the toolbar on the left-hand side of the screen and fill it with a color using the fill option present at the top part of the screen below the menubar.
Similarly, create a square and text by clicking the respective layers.
Three Objects Created with Three Respective Layers
You can move the layers as you wish by just dragging the layers in the layers panel up and down.

Moving Layers
Once you create individual layers, you can move the objects around using the move tool.

Moving Objects Using the Move Tool
In this way, you can create layers in Photoshop.
How to Set Layer and Sublayer Option?
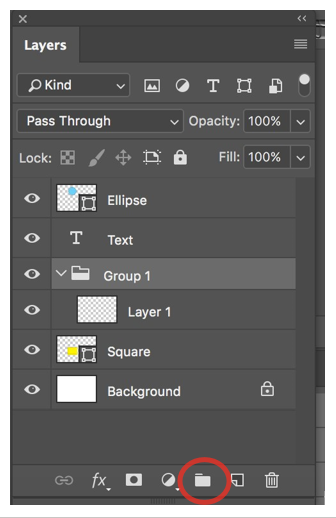
Sublayers should be utilized in a more composite document, where the content organization is required within a layer. For example, you can create a group layer and create a sublayer inside the group or move the existing layers into the group and subgroup them.
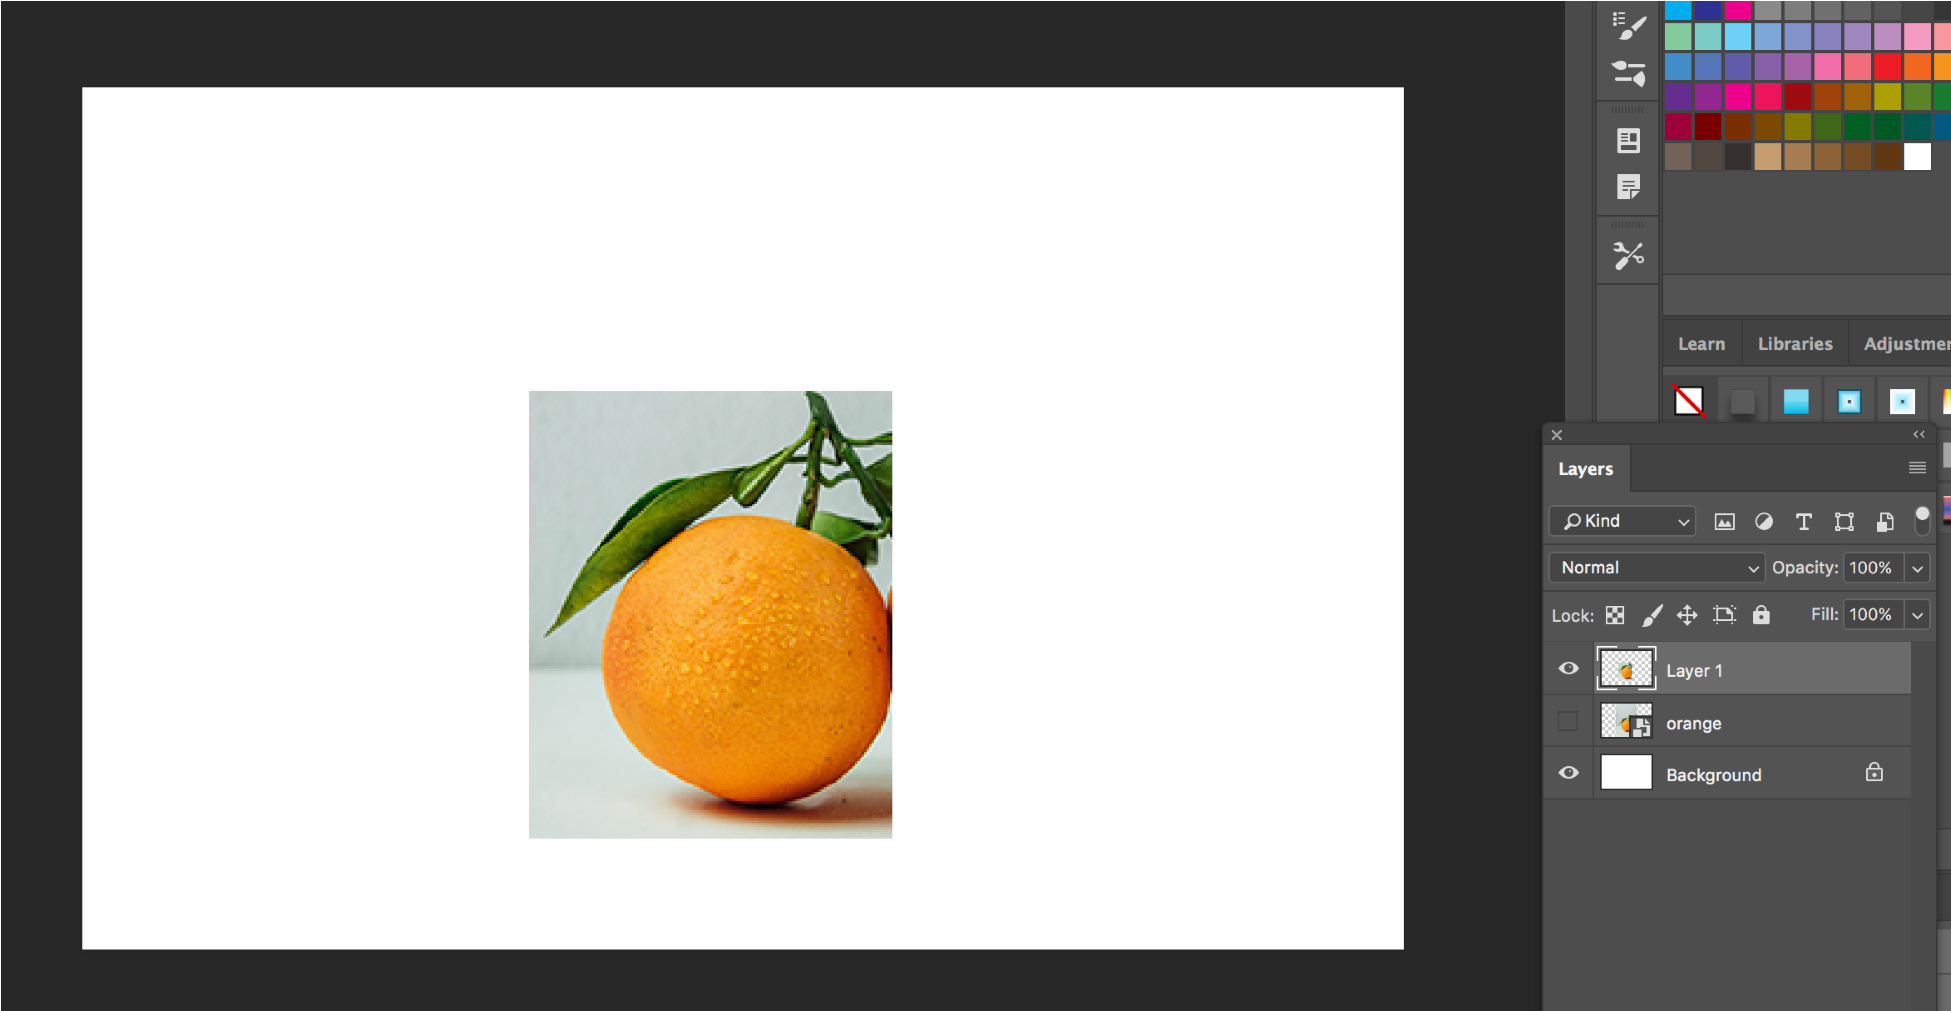
How to Move an Object in a Different Layer?
To move an object in a different layer, select an object first; using the rectangular marquee tool, select the portion of the object you want to move to a different layer, then press Command + J (Mac) or Ctrl + J (Windows) to create a new layer. This produces a new layer, and the selection is moved to the new layer.
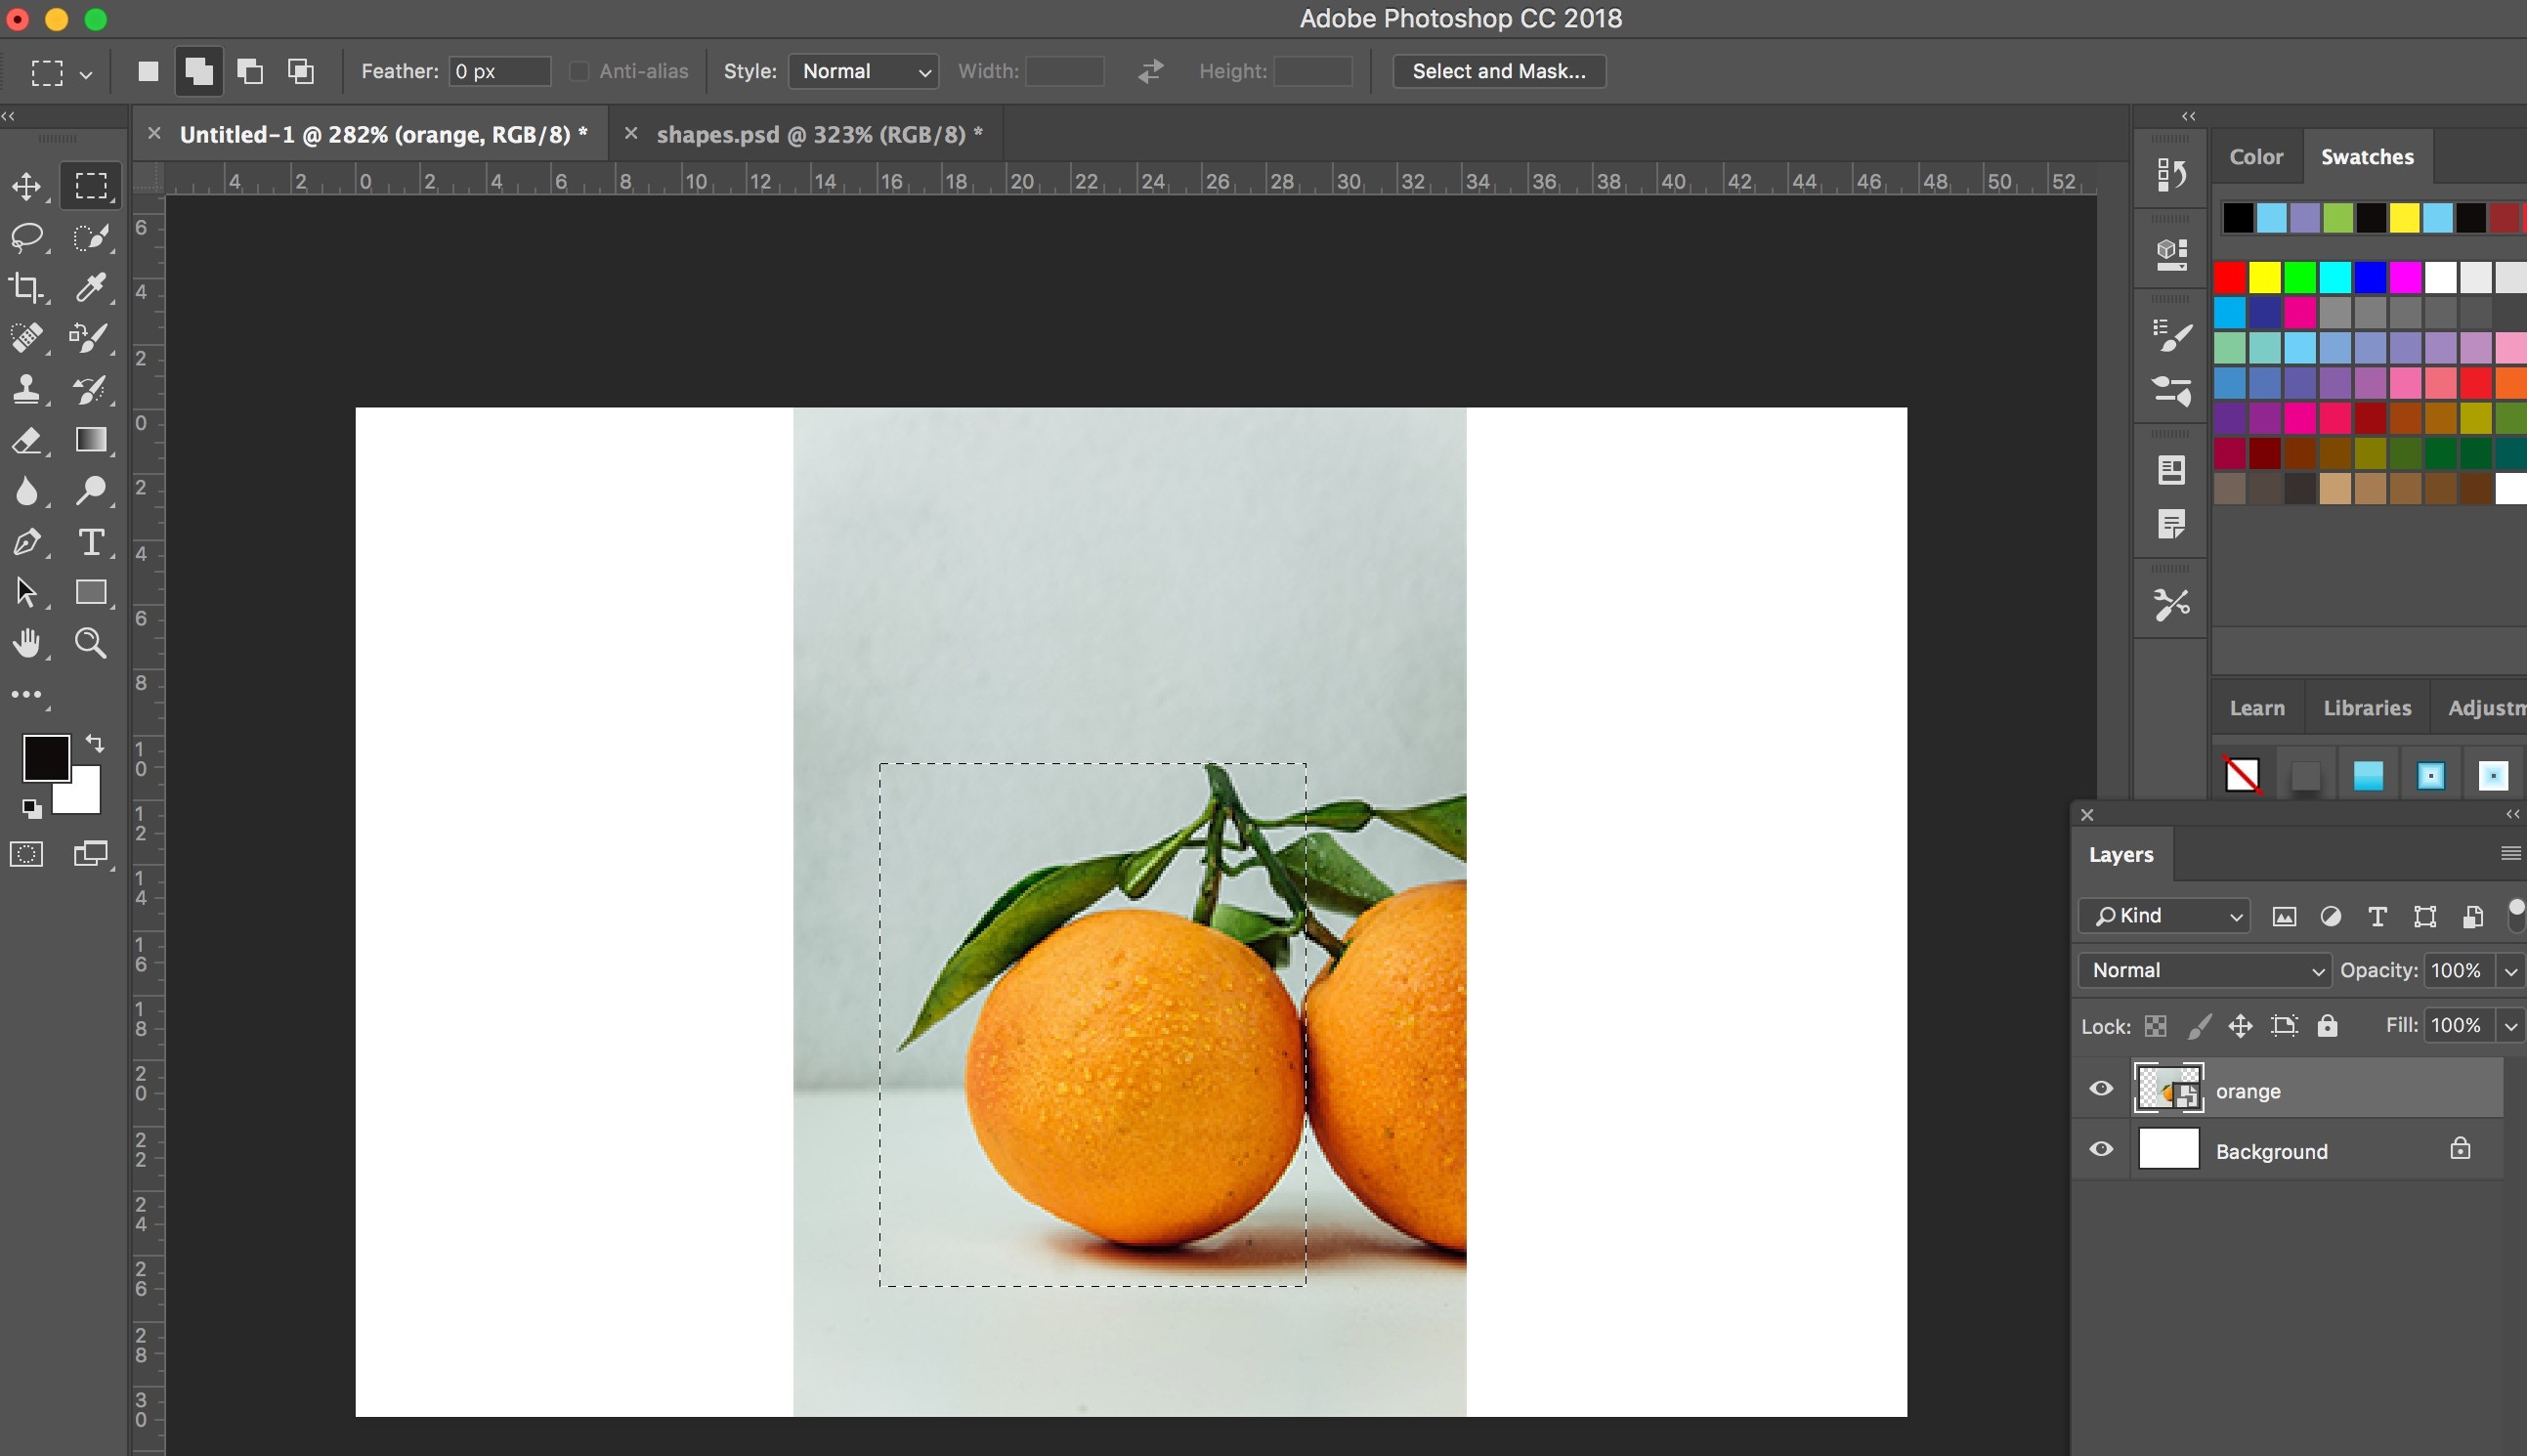
Rectangular Marquee Tool Selection
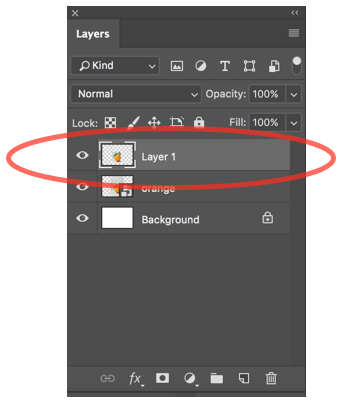
New Layer Created
As shown below, now a new layer has been created.
Conclusion
Layers are important in Photoshop because it is impossible to move the different parts of the image or an object if you use the default background layer. With individual layers, you can move around your object freely by clicking the respective layer. Layers are utilized to separate a particular requirement so they can be eliminated or readjusted at any time, as long as non-destructive editing is being done. Layer groups, in particular, assist you in assembling and supervising layers. You can utilize groups to organize your layers in a rational sequence and lessen the layers panel disorder.
Recommended Articles
This is a guide to Layers in Photoshop. Here we discuss the types of layers in photoshop and how to create layers in Photoshop. You may also look at the following article to learn more –
