Updated June 9, 2023
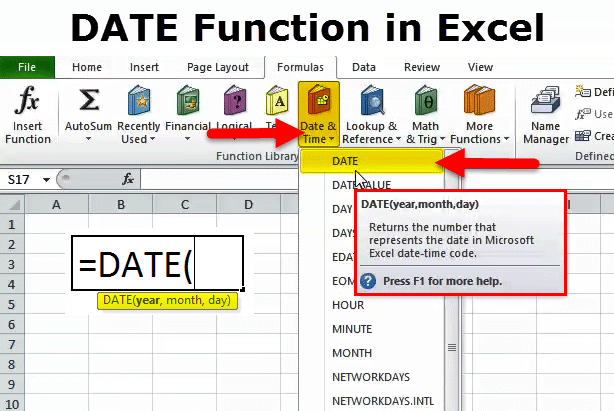
Introduction to Excel DATE Function
The date function in Excel is quite helpful for creating dates that consider Month, Year, and Day. We can feed any number here, and the Date function will create the date with respect to the value we feed in. This function is quite useful and helpful for structuring the date standards when we have multiple dates in multiple formats, and we want to standardize this with a single type for all.
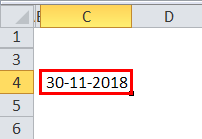
Let us look at the below simple examples. First, enter the number 43434 in Excel and give the format DD-MM-YYY.
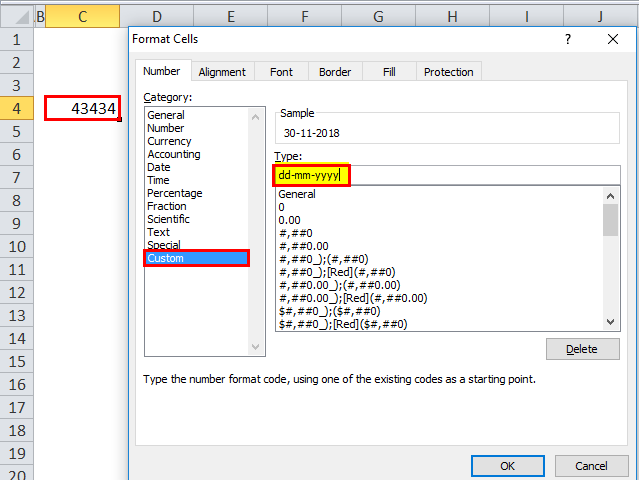
Once the above format is given, look at how Excel shows that number.
Now give the format as [hh]:mm: ss and the display will be as per the below image.
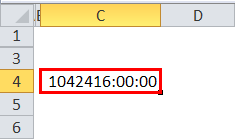
So Excel completely works on numbers and their formats.
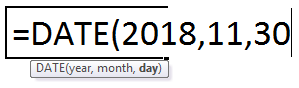
We can create an accurate date using the DATE Function in Excel. For example, =DATE (2018, 11, 14) would give the result as 14-11-2018.
DATE Formula in Excel
The Formula for the DATE Function in Excel is as follows:
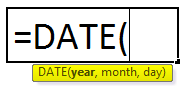
The Formula of the DATE function includes 3 arguments, i.e., Year, Month, and Day.
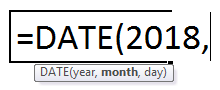
1. Year: It is the mandatory parameter. A year is always a 4-digit number; since it is a number, we need not specify the number in any double quotes.
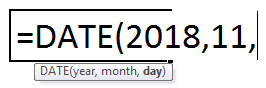
2. Month: This is also a mandatory parameter. A month should be a 2-digit number that can be supplied either directly to the cell reference or direct supply to the parameter.
3. Day: It is also a mandatory parameter. A day should be a 2-digit number.
How to Use the DATE Function in Excel?
This DATE Function in Excel is very simple and easy to use. Let us now see how to use the DATE Function in Excel with the help of some examples.
Example #1
From the below data, create full date values. In the first column, we have days; in the second column, we have a month; and in the third column, we have a year. We need to combine these three columns and create a full date.
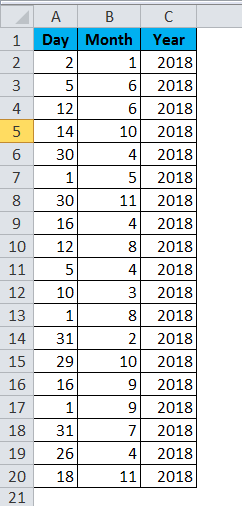
Enter the above into an Excel sheet and apply the below formula to get the full date value.
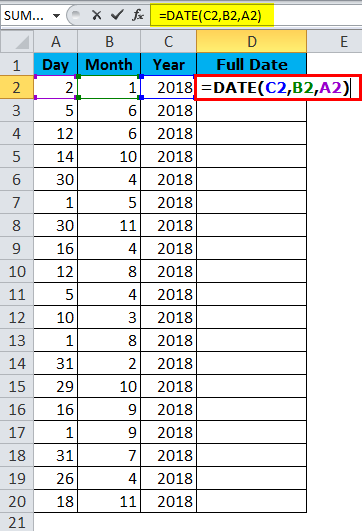
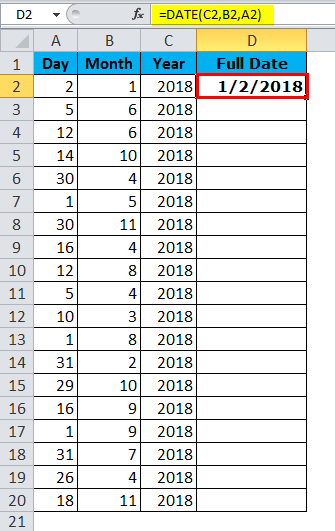
The Full DATE value is given below:
Example #2
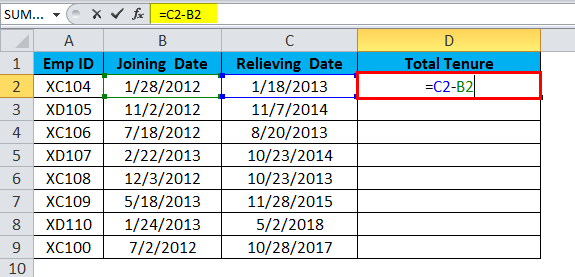
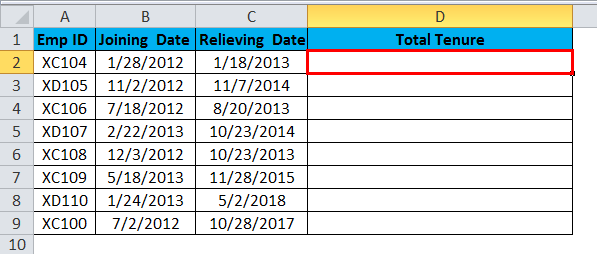
Find the difference between two days in terms of Total Years, Total Months, and Days. For example, assume you are working in an HR department in a company, and you have employee joining date and relieving date data. Next, you need to find the total tenure in the company. For example, 4 Years, 5 Months, and 12 Days.

Here we need to use the DATEDIF function to get the result as per our wish. DATE function alone cannot do the job for us. If we just deduct the relieving date from the joining date, we get the only number of days they worked; we get it in detail.
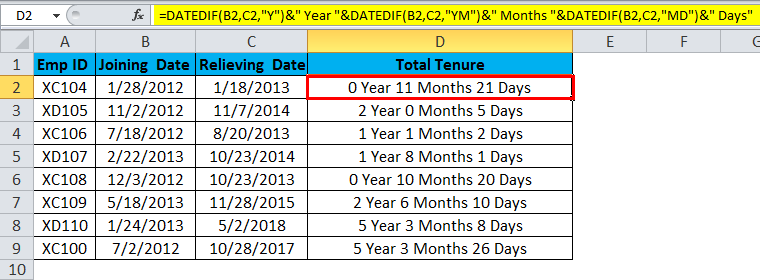
To get the full result, i.e., Total Tenure, we need to use the DATEDIF function.
DATEDIF function is an undocumented formula where there is no IntelliSense list for it. This can be useful to find the difference between year, month, and day.
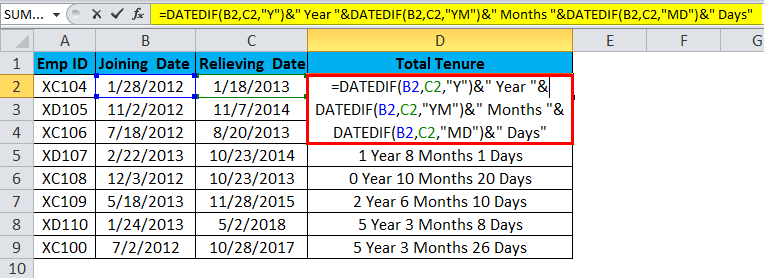
The formula looks like a lengthy one. However, I will break it down in detail.
Part 1: =DATEDIF (B2, C2, “Y”) This is the starting date and ending date, and “Y” means we need to know the difference between years.
Part 2: &” Year” is added to a previous part of the foSo, forla. For example, if the first part gives 4, the result will be 4 Years.
Part 3: &DATEDIF(B2, C2, “YM”) Now, we found the difference between years. We find the difference between the months in this part of the formula. “YM” can give the difference between months.
Part 4: &” Months” This is the addition to part 3. If the result of part 3 is 4, then this part will add Months to part 3, i.e., 3 Months
Part 5: “&DATEDIF(B2, C2,” MD”) Now we have a difference between Year and the Month. In this part, we are finding the difference between the days. “MD” can give us that difference.
Part 6: &” Days” is added into part 5. If the result from part 5 is 25, it will add Days. I.e., 25 Days.
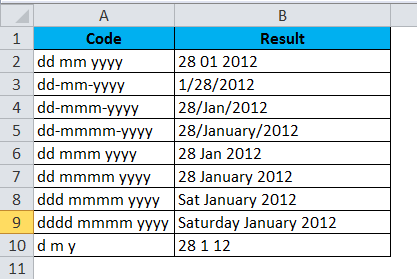
Example #3
Now I will explain to you the different date formats in Excel. There are many date formats in Excel; each shows the result differently.
VBA Example with Date in Excel:
Assume you are in the welfare team of the company, and you need to send birthday emails to your employees if there are any birthdays. However, sending each one of them is a tedious task. So here, I have developed a code to auto-send birthday wishes.
Below is the list of employees and their birthdays.
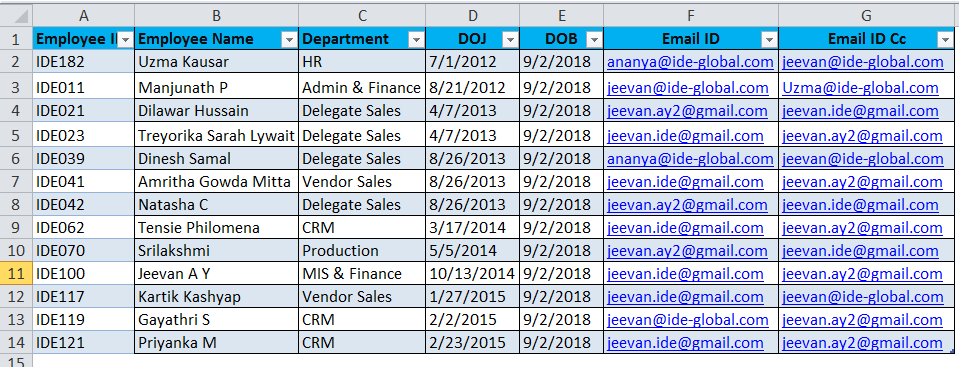
I have already written a code to send birthday emails to everyone if there is any birthday today.

Write the above in your VBA module and save the workbook as a macro-enabled workbook.
Once the above code is written on the VBA module, save the workbook.
You only need to add your data to the Excel sheet and run the code every day you visit an office.
Things to Remember
- The given number should be >0 and <10000; otherwise, excel will give the error as #NUM!
- We can supply only numerical values. Anything other than numerical values, we will get an error as #VALUE!
- Excel stores dates as serial numbers and displays them according to the format.
- Always enter a full-year value. Do not enter shortcut years like 18, 19, 20, etc. Instead, enter the full year 2017, 2018, and 2020
Recommended Articles
This is a guide to Excel DATE Function. Here we discuss the DATE Formula in Excel and how to use the DATE Function in Excel, along with Excel examples and downloadable Excel templates. You may also look at these useful functions in Excel –

