Updated July 4, 2023

Introduction to After Effects Split Clip
After Effects is video graphics editing software that Adobe Systems developed, and presently it is a part of the Creative Cloud application of Adobe Systems. We can do different types of video editing working with this software. Splitting clips from any video footage is one of those editing works. You can understand Split clips by a method in which we cut any particular slot of any video footage and use them with other video clips according to our requirements. Here we will understand this topic through an example of video footage, and we will also combine our split clips in one video. So let us start our learning with this software.
How to Split Clip in After Effects?
We will understand this feature of After Effects in a few simple and exciting steps without any problem, but before proceeding with our learning, we should go through the working screen of this software and get introduced to all sections of the screen for our better understanding. So let us discuss it.
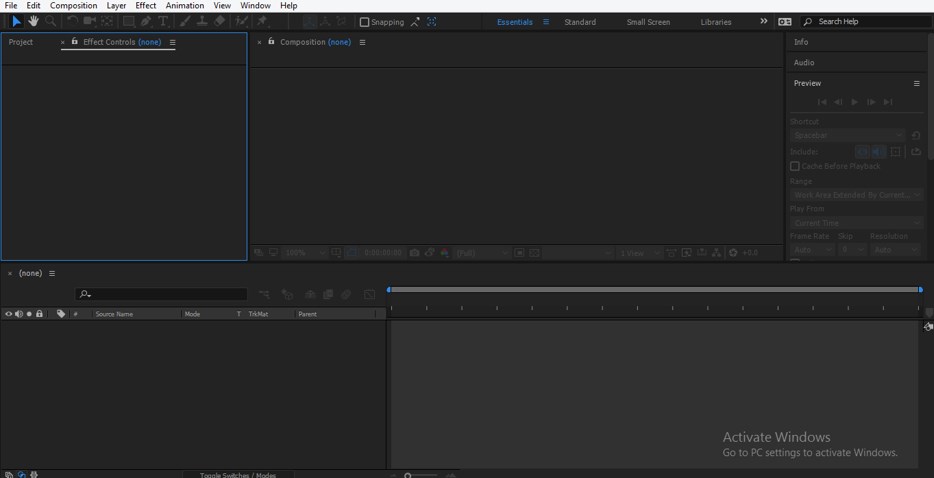
Step 1: At the top of the working screen, two ribbons are the Menu bar and Toolbar; below these two ribbons, the screen is divided into three sections that are Project panel at the left side, the Composition window at the center of this sections and Parameters sections at the right side of this section, below these sections, we have two other sections that are Layer panel at the left side of this section and Timeline panel at the right side of this section. You can make your own working screen by adjusting these sections according to your requirement.
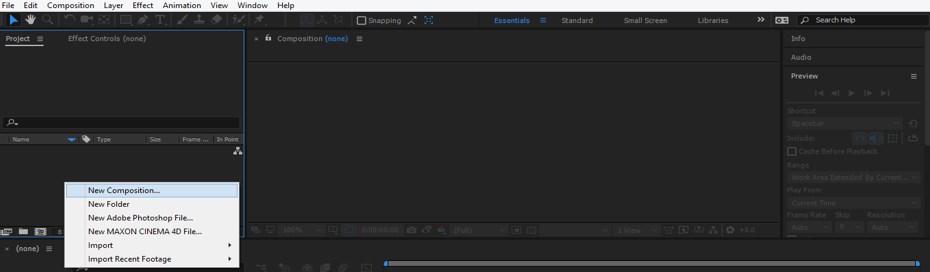
Step 2: Now, let us have a new composition for our learning. For New Composition, go to the Composition menu of the Menu bar, which is at the top of the working screen of this software, and click on it. Now click on the ‘New Composition’ option of the drop-down list.

Step 3: Or you can go to the Project panel of this software and make right-click with the mouse button anywhere in this section. A drop-down list will open once you make click here in this section. Choose the ‘New Composition’ option from the drop-down list.
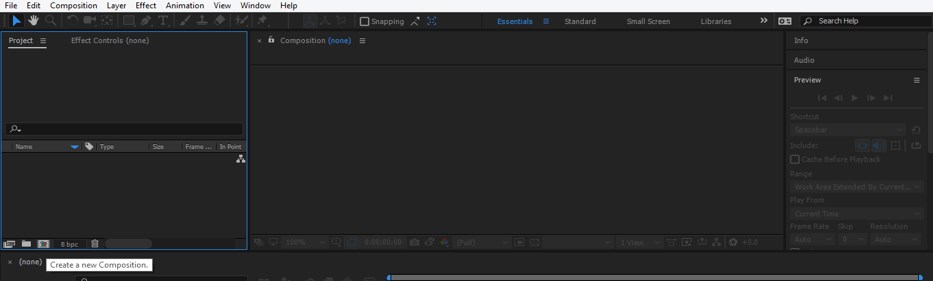
Step 4: Or you can click on ‘Create a new Composition’ tab of Project panel, which is at the bottom end of this panel.
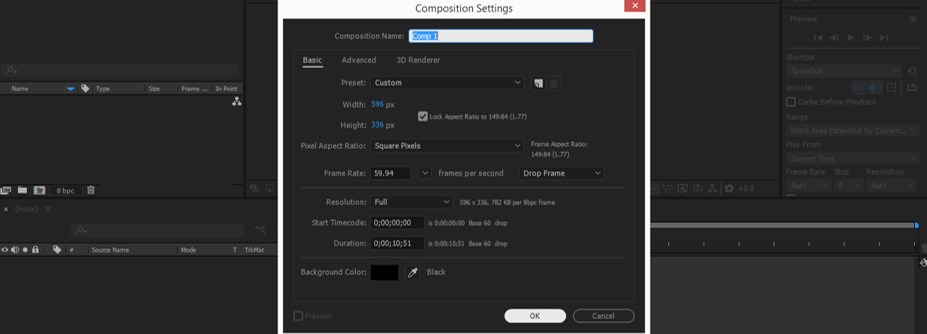
Step 5: Once you click on any one of the above options for new Composition, a Composition settings dialog box will open. Now make your desired settings in this box and press the Ok button of this dialog box for applying the settings of this box.
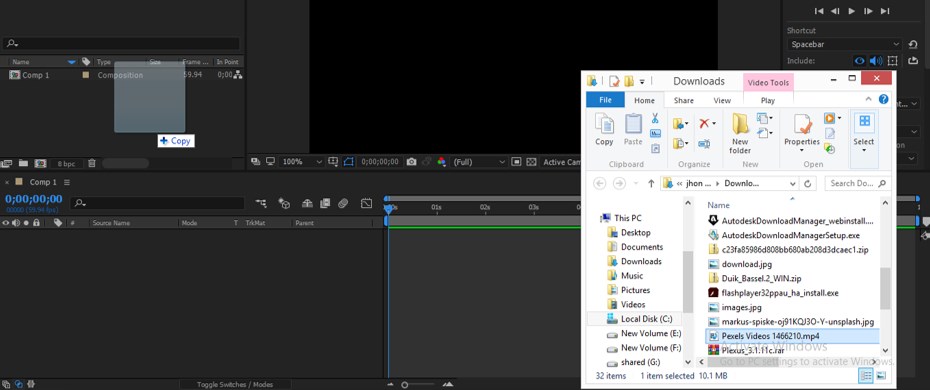
Step 6: Now, let us have video footage for our work. You can download video footage from the internet or make your own. I will download video footage from https://www.pexels.com website. You can download it from anywhere else. For placing this video footage in After Effects software, go to the folder of your personal computer where you have saved it and pick it from there, then drop it in the Project panel section of this software with the help of the mouse button.
Step 7: Now drag this video footage from the Project panel section to the Layer panel of this software with the help of the mouse button.
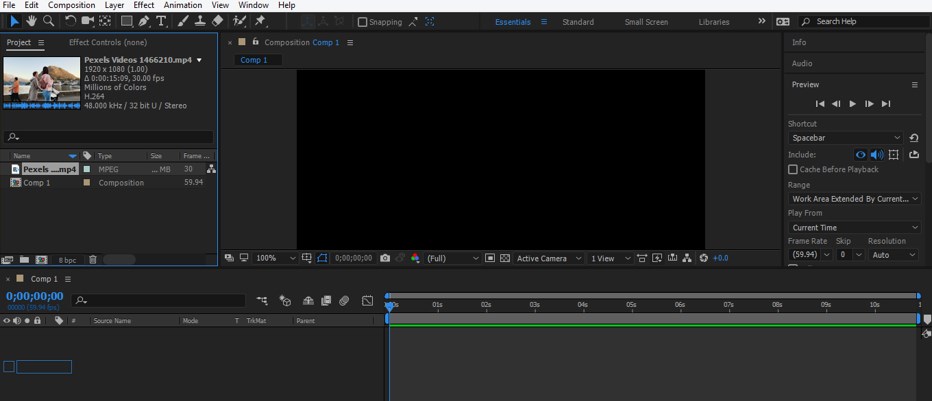
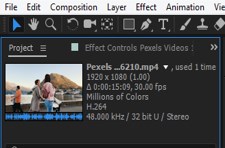
Step 8: Now check the resolution of your video footage from the top of the Project panel or from the properties of your video footage. It is 1920 X 1080. So I will take my composition size the same as this video footage.
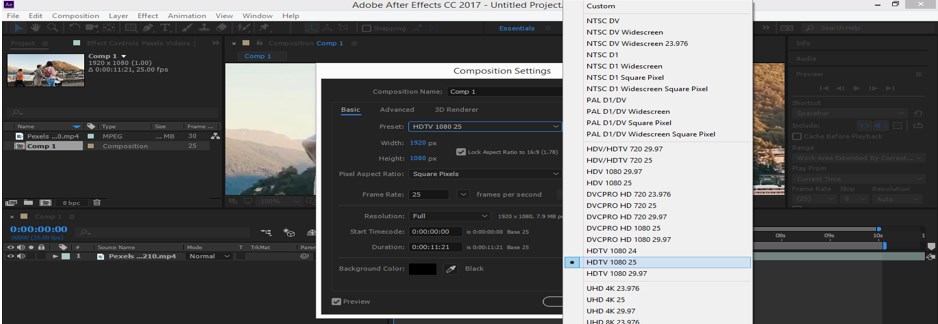
Step 9: Now select your composition layer in the Project panel and go to the Composition menu of the Menu bar, which is at the top of the working screen and click on the Composition Settings option of a drop-down list or you can press Ctrl + K button from the keyboard for compositing settings box.

Step 10: Now click on the drop-down arrow of the Preset option of this box and take HDTV 1018 25 resolution option from the Preset list of this box which resolution is the same as the resolution of our video footage and then click the Ok button of this dialog box.
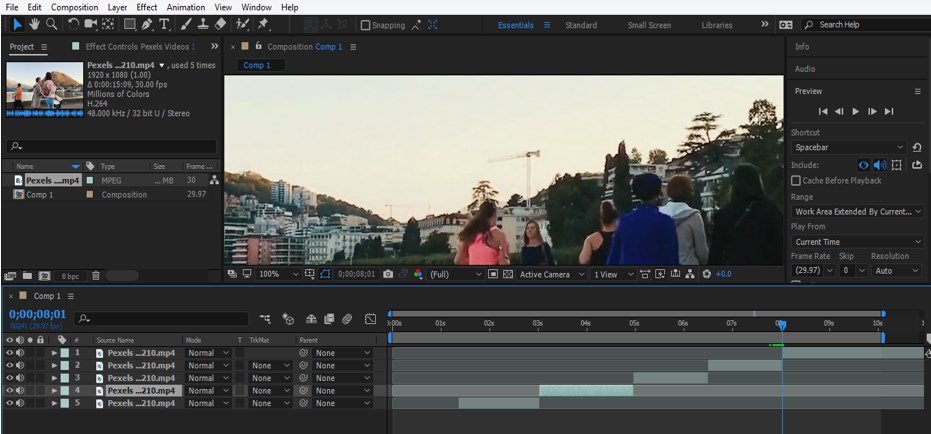
Step 11: Now go to a layer of video footage in the layer panel, which is at the bottom of the working screen of this software and select it by clicking on it. Now place the keyframe play head at the frame rate from where you want to split your video clip.
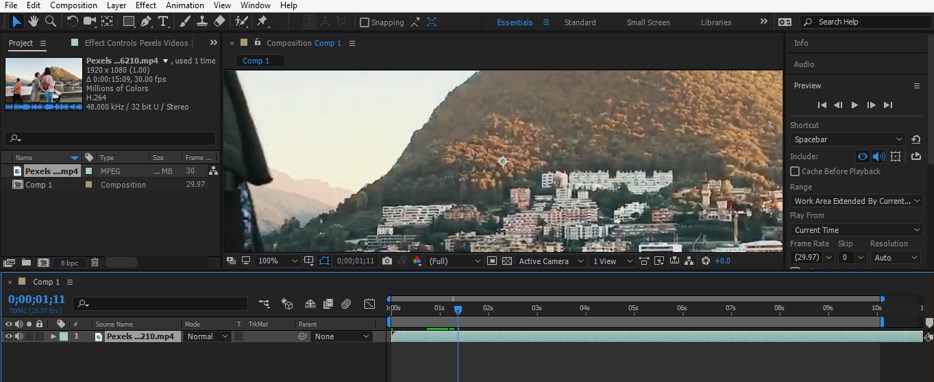
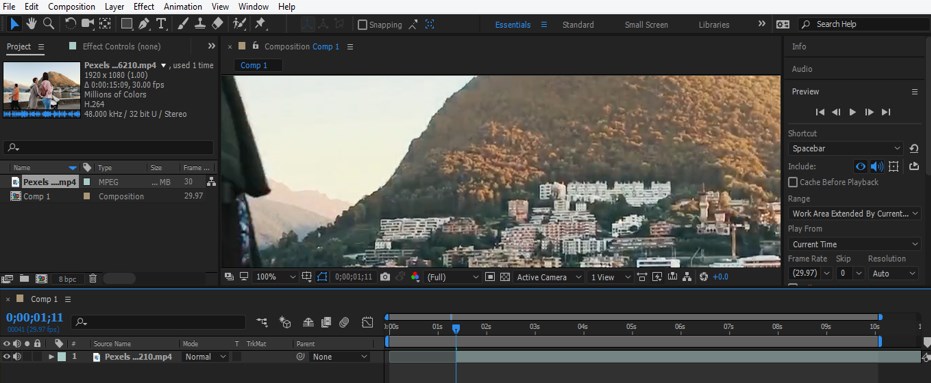
Step 12: Now press the keyboard’s Ctrl + Shift + D buttons to split the clip from this point into a new layer. Once you press these buttons, a new split layer will become on the layer section like this.

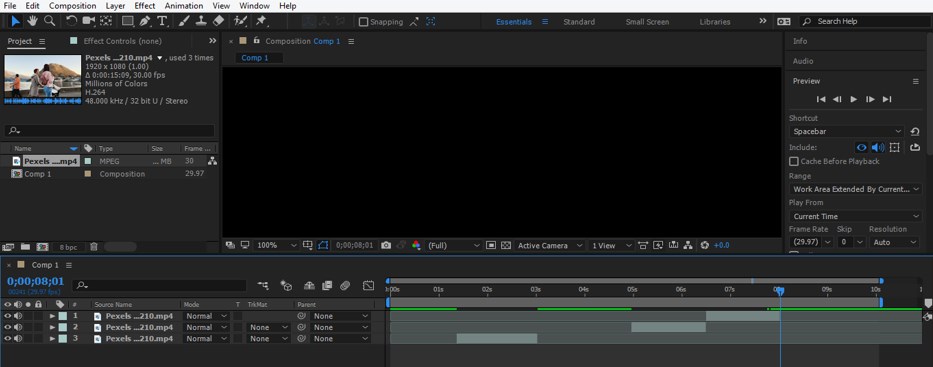
Step 13: If you don’t want this section of video footage, then select it.

Step 14: Press the Deleted button from the keyboard to delete it from the video footage.
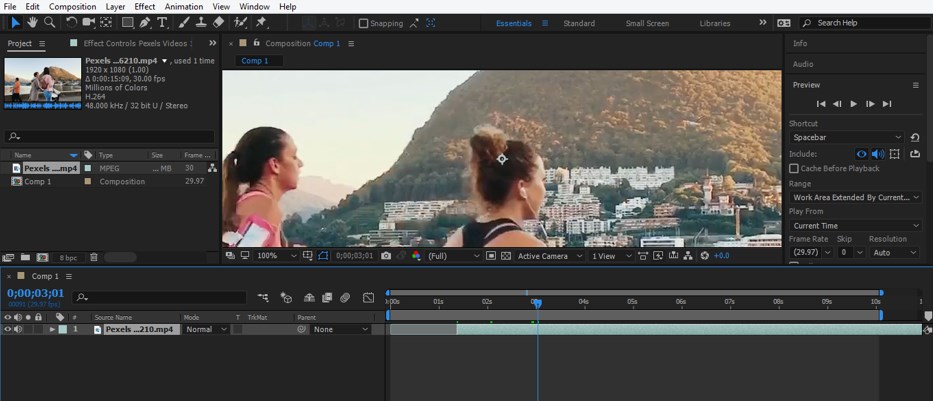
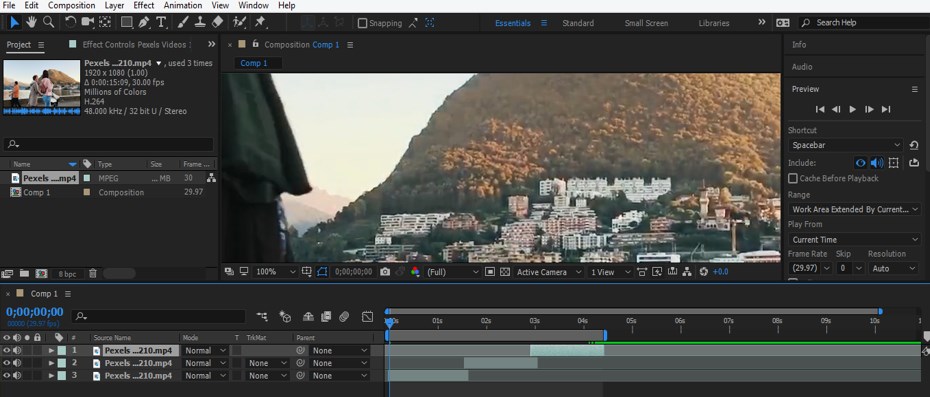
Step 15: Now again, place the keyframe head at your desired frame rate in the timeline section of the video footage layer like this.
Step 16: And again press the Ctrl + shift + D buttons on the keyboard for splitting it from the video footage.
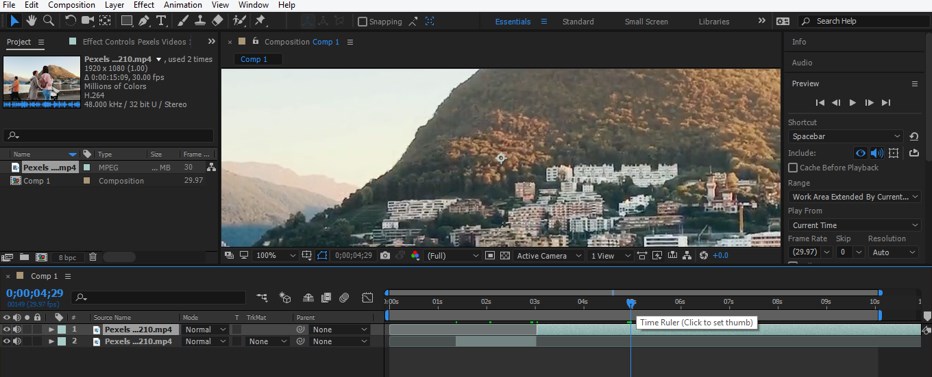
Step 17: By following some steps, you can split this video footage in my clips like this.

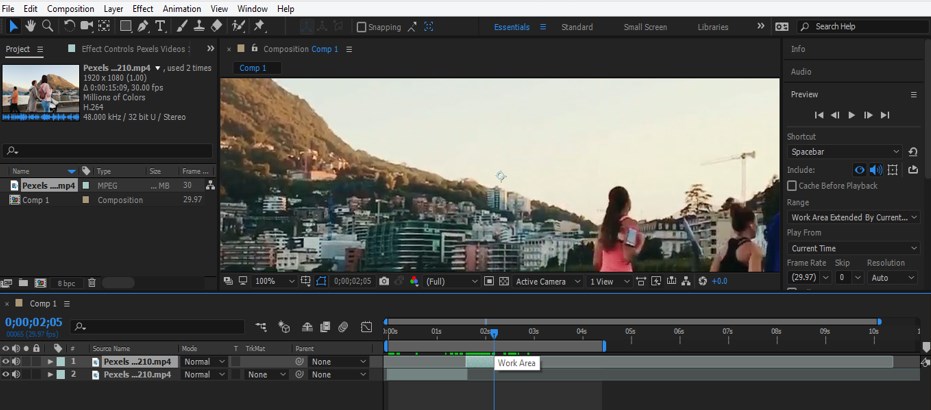
Step 18: Now select unwanted clip sections from split clips of video footage by clicking on that clips one by one.
Step 19: And delete them by pressing the Delete button on the keyboard. You can delete more than one split part of video footage.
Step 20: Now combine them by dragging them in the Timeline section like this. You can manage split clip sequences according to you.
Step 21: Now, when you play this video footage, the spilled clips of your selected clips will remain in your video footage in your arranged sequences.
In this way, you can split a clip from any video footage and use them with the other one for making your project work.
Conclusion
Now after this article, you can understand ‘what is Split Clip’ in After Effects software and ‘how you can slip a video clip from video footage by handling the parameters of this feature. You can learn other important sub-features of this Split clip features of After Effects software by practicing on it and can easily make your desired video footage.
Recommended Articles
This is a guide to After Effects Split Clip. Here we discuss how to Split Clip in after-effects in a step-by-step manner. You can also go through our other related articles to learn more –
