Updated August 28, 2023
Introduction to After Effects Freeze Frame
Adobe After Effects is an animation and video editing software and, in this article, we are going to learn how to freeze-frame. For this purpose, first, we will look at how to freeze video footage and then apply the techniques to get an effect such that we will know the actions that are going to happen ahead of time, and it will look pretty amazing.
Steps of After Effects Freeze Frame
Different steps are mentioned below:
Step #1
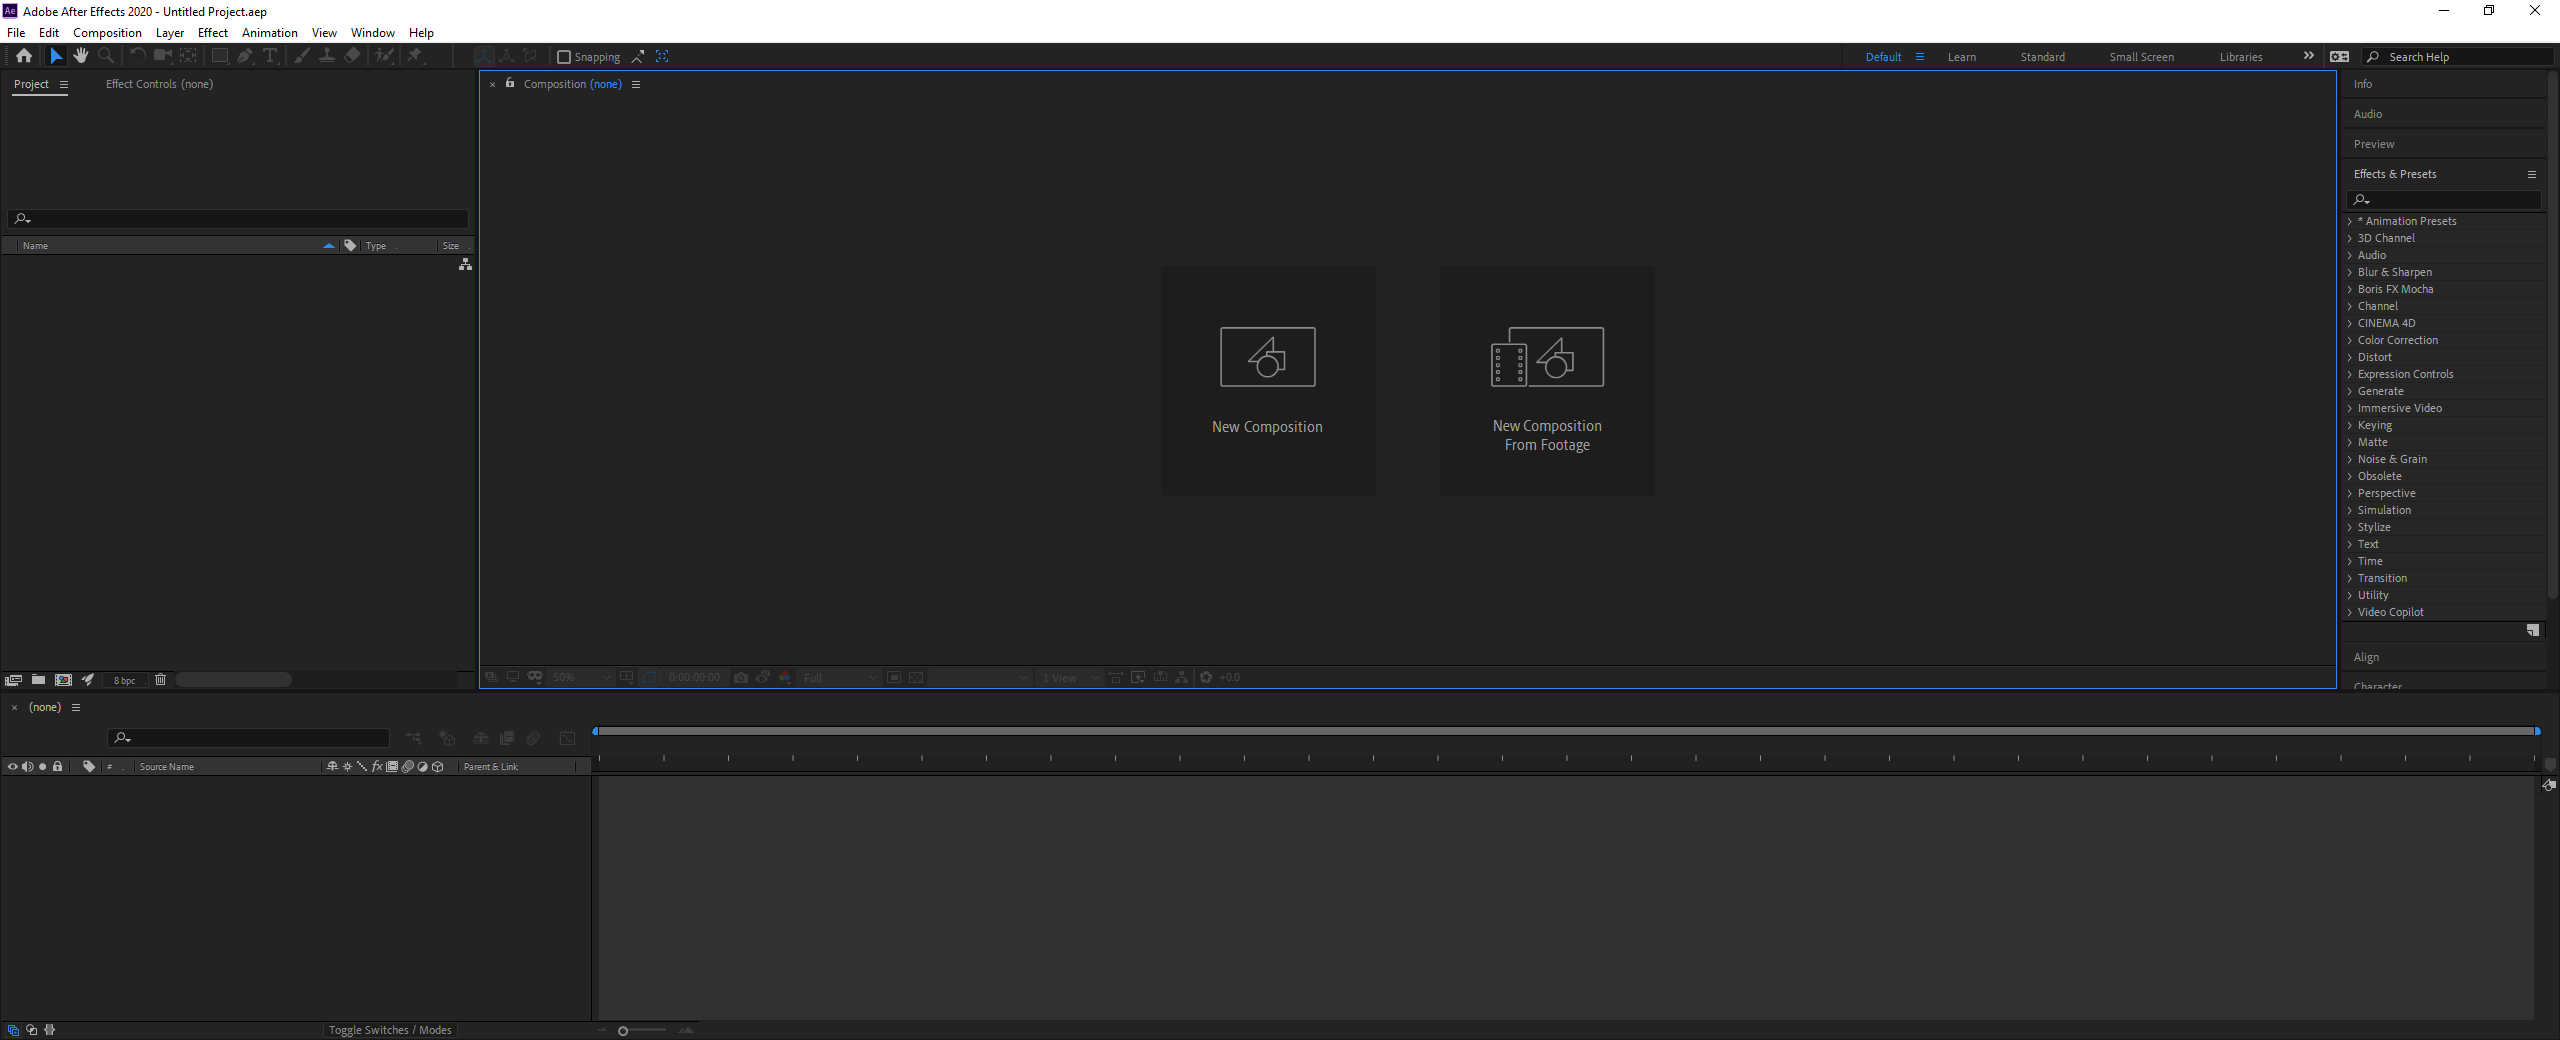
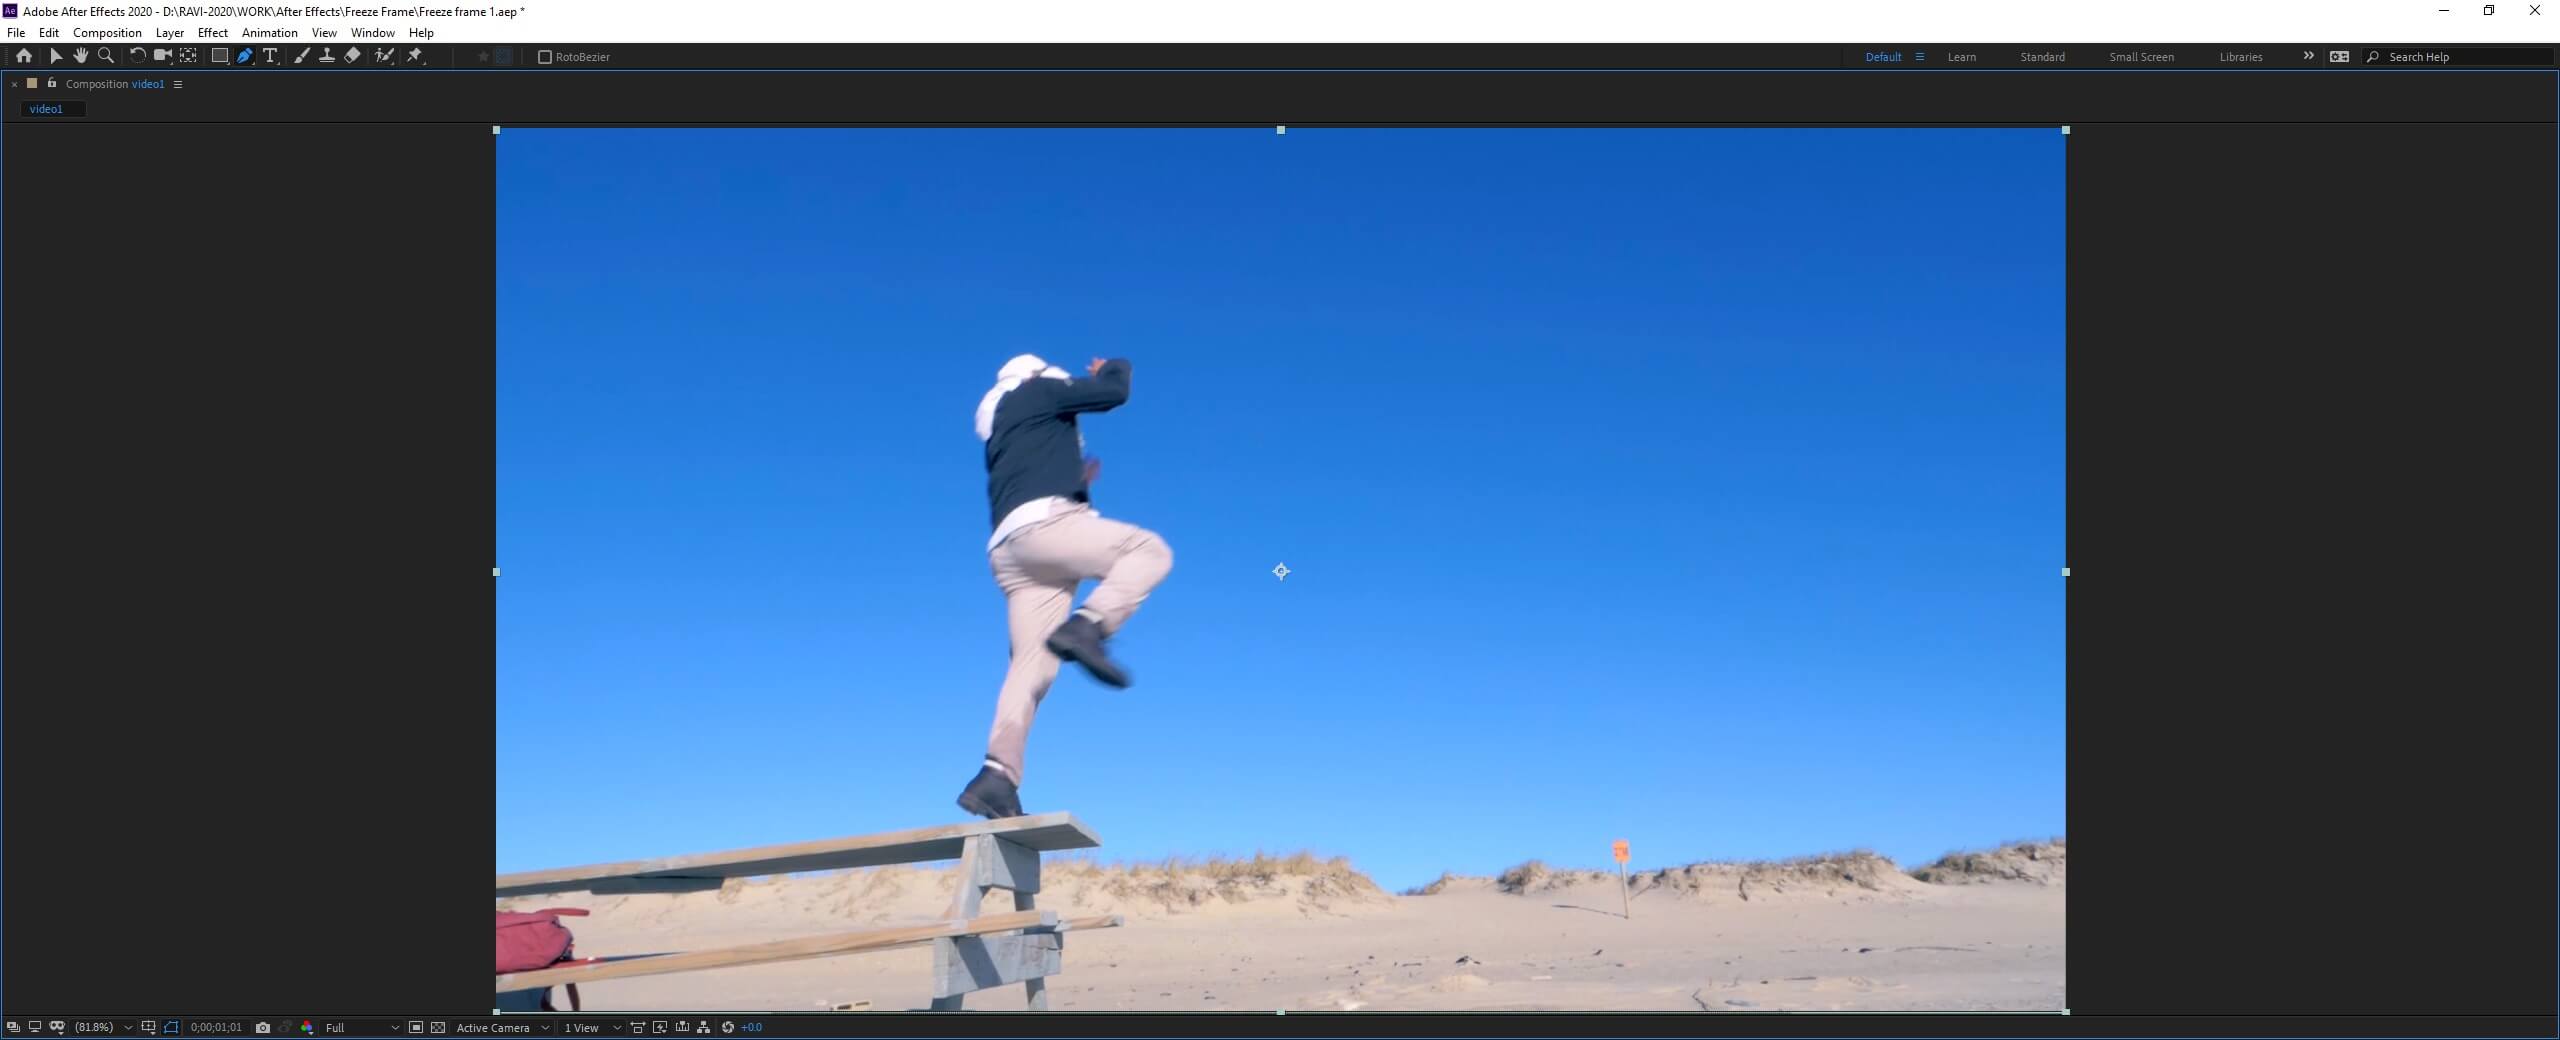
Let us first familiarize ourselves with the interface before starting to get a better understanding. At the top is the menu bar like File, Edit, etc., and each has its submenu. Next, just below it, we have a tool panel and their properties. On the left side, a project panel consists of the project files and an effects control panel, which shows the effects applied on a particular layer. Then there is the composition panel which shows the preview of the animation or video. At the top right, we have various layout presets, which will arrange according to the type of work. We can even create our custom layout. At the right, there are various sections used to edit the video. Finally, at the bottom, there are layers and a timeline panel used to add media and add animation keyframes.
Step #2
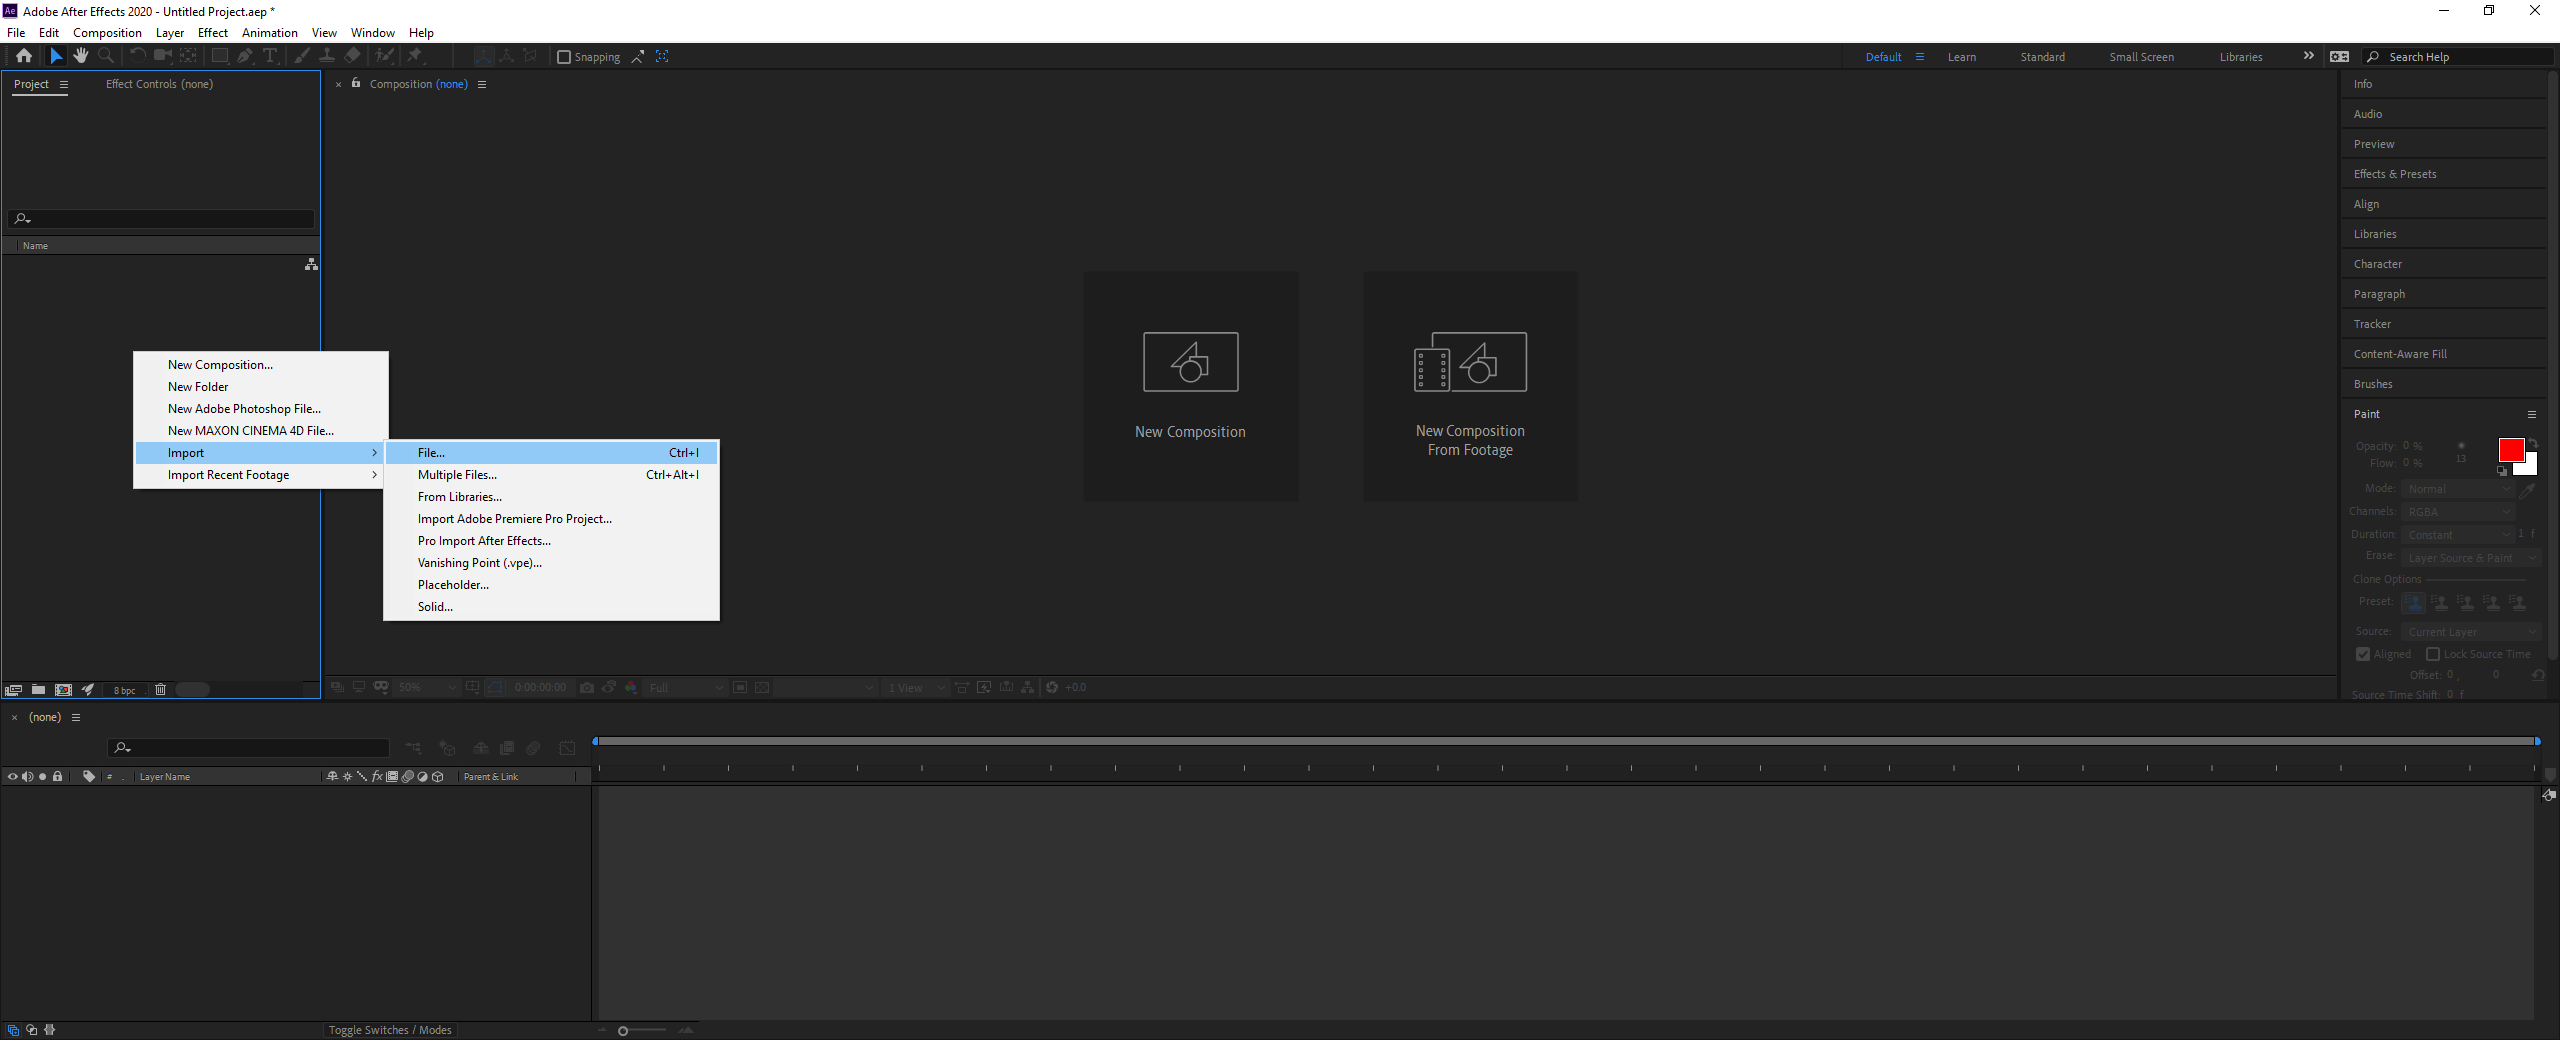
Right-click on the project panel and import the file.
Step #3
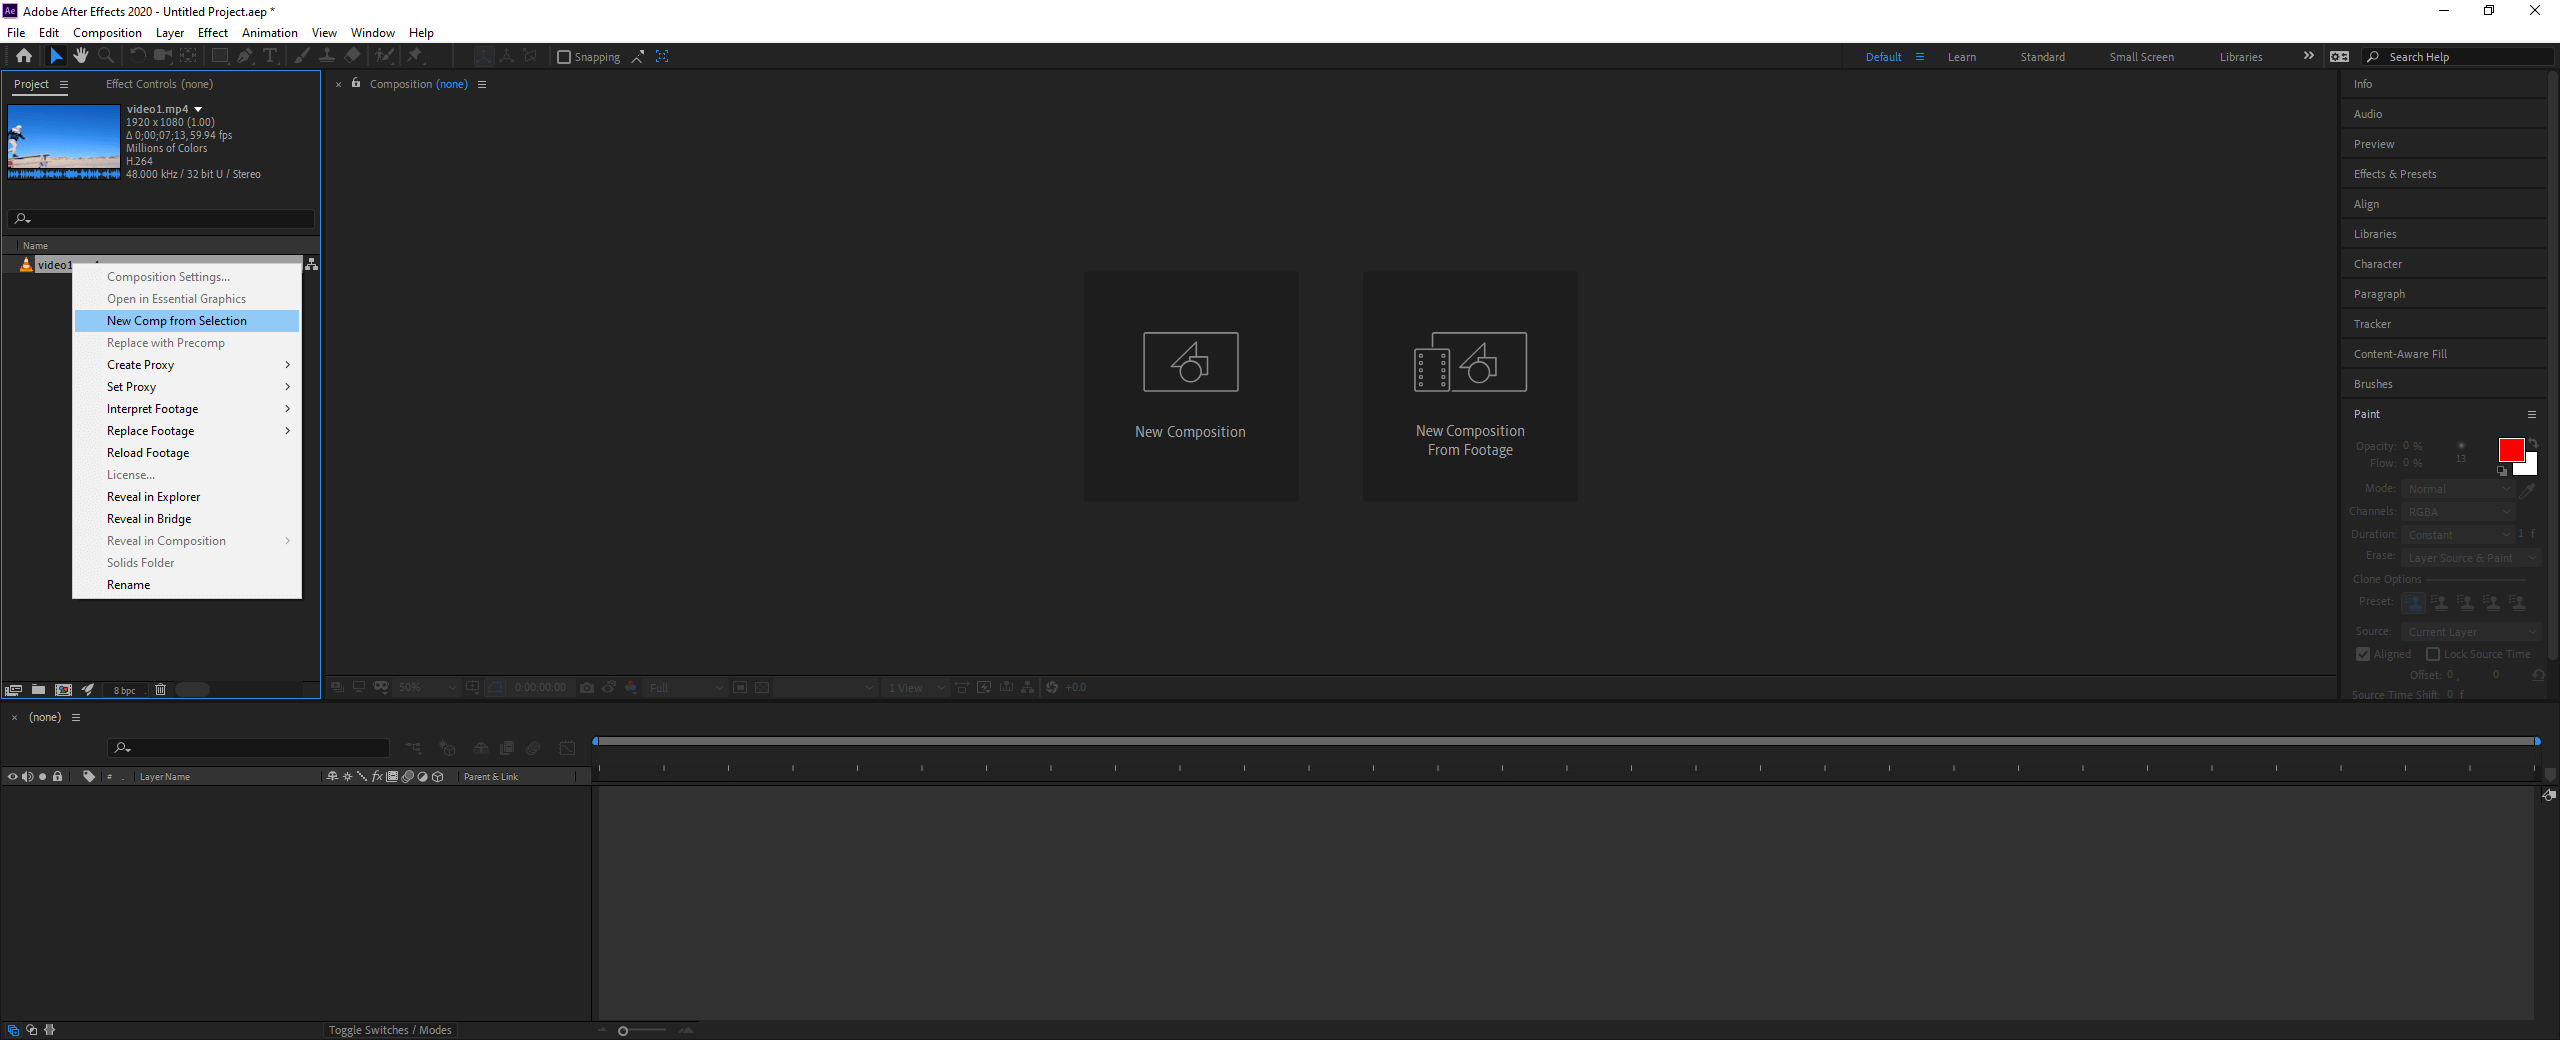
Right-click the video and select New Comp from Selection, or you can drag the video into the layers panel.
Step #4
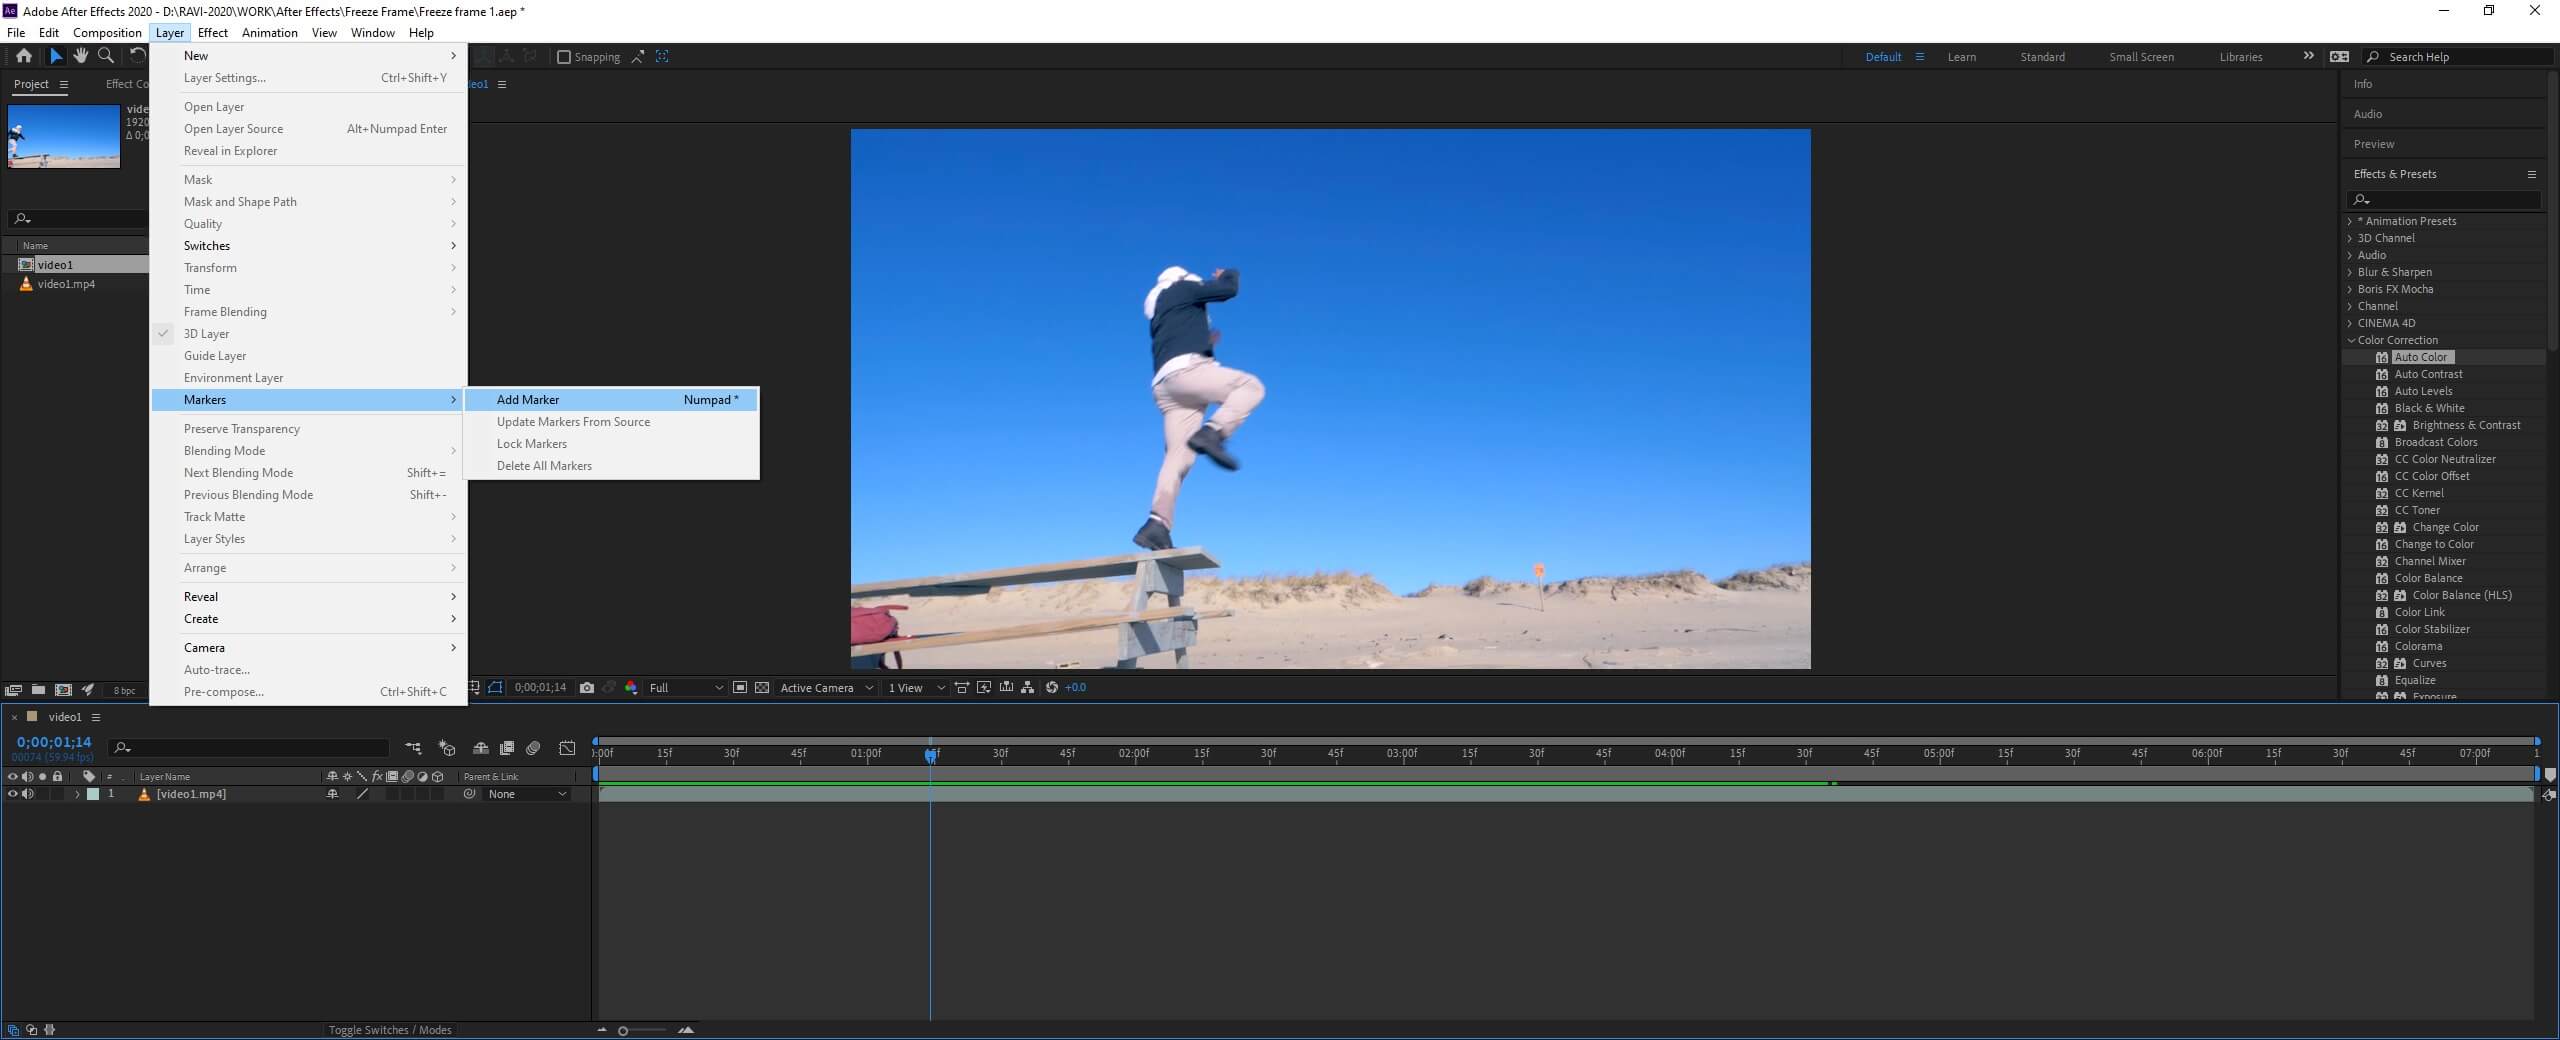
First, we will identify the areas where we want to freeze the frame in the video and add the marker for our reference. For this, go to Layer -> Marker -> Add Marker or press asterisk * on the Numpad. In this video, we will mark 2 positions. Make sure that before selecting the video for this effect, the camera is stable and does not move as currently, we are doing a 2D freeze-frame effect.
Step #5
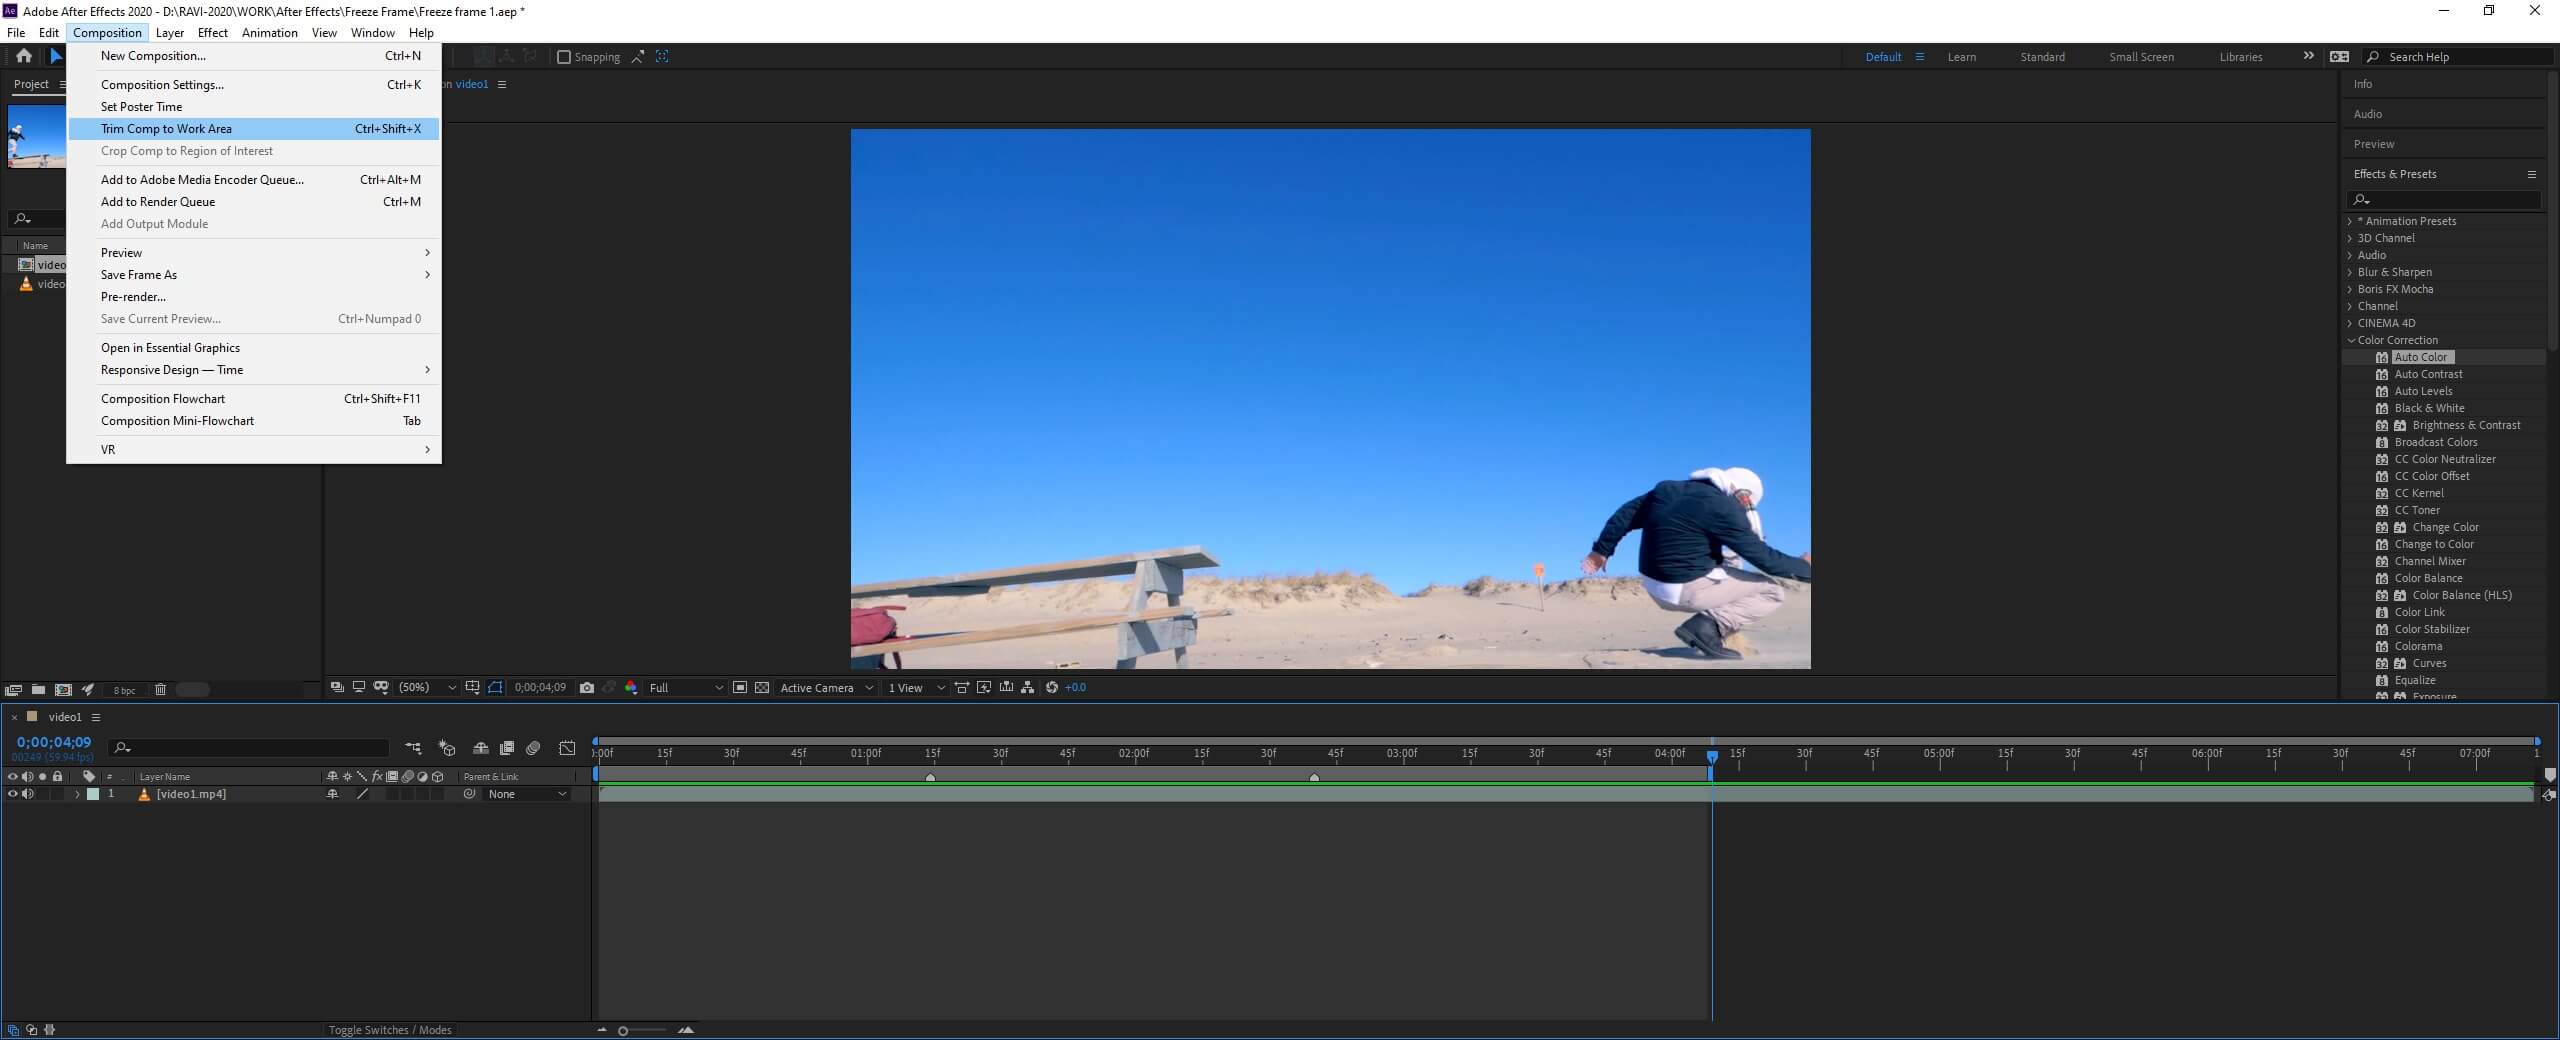
We have added the markers at which we need to freeze the frame, reduce the work area, and trim the comp to the work area or press Ctrl + Shift + X to remove the extra parts.
Step #6
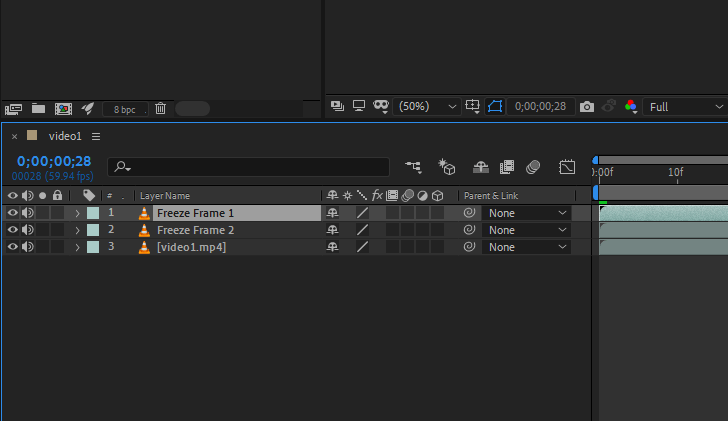
Since we have placed 2 markers, we have to duplicate the video twice. Press Ctrl + D or go to Edit -> Duplicate twice. Rename the footage to freeze-frame 1 and freeze frame 2, respectively.
Step #7
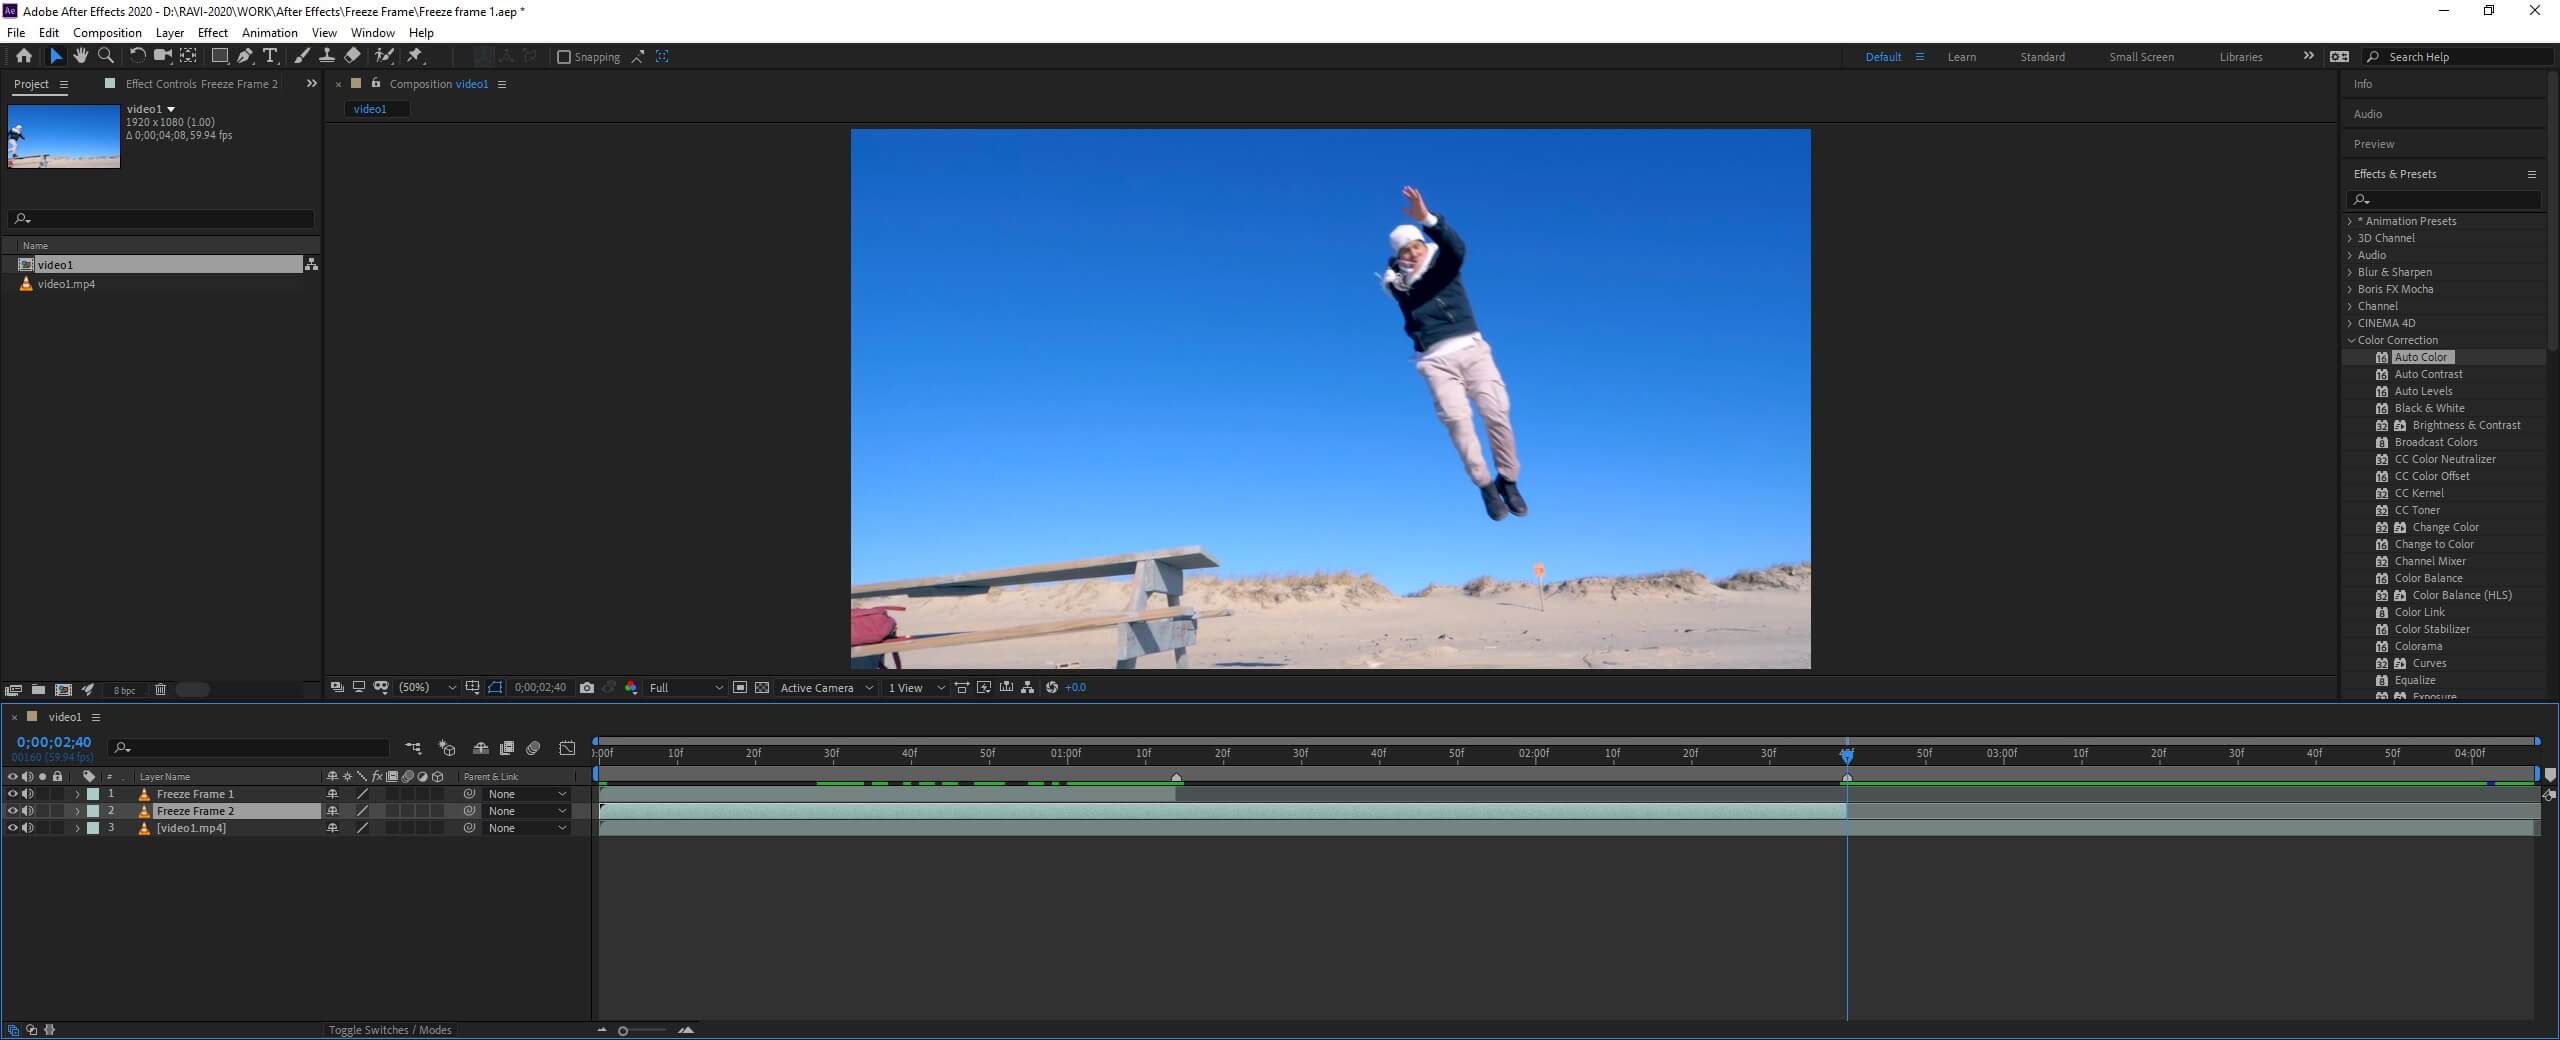
Go to the first layer, which is Freeze Frame 1 and reduce its size up to the first marker. To reduce the size, go to the end of the clip, and when the mouse cursor becomes a double horizontal arrow in the opposite direction, drag the clip.

Step #8
Similarly, go to the second layer, which is Freeze Frame 2, and reduce its size up to the second marker.
Step #9
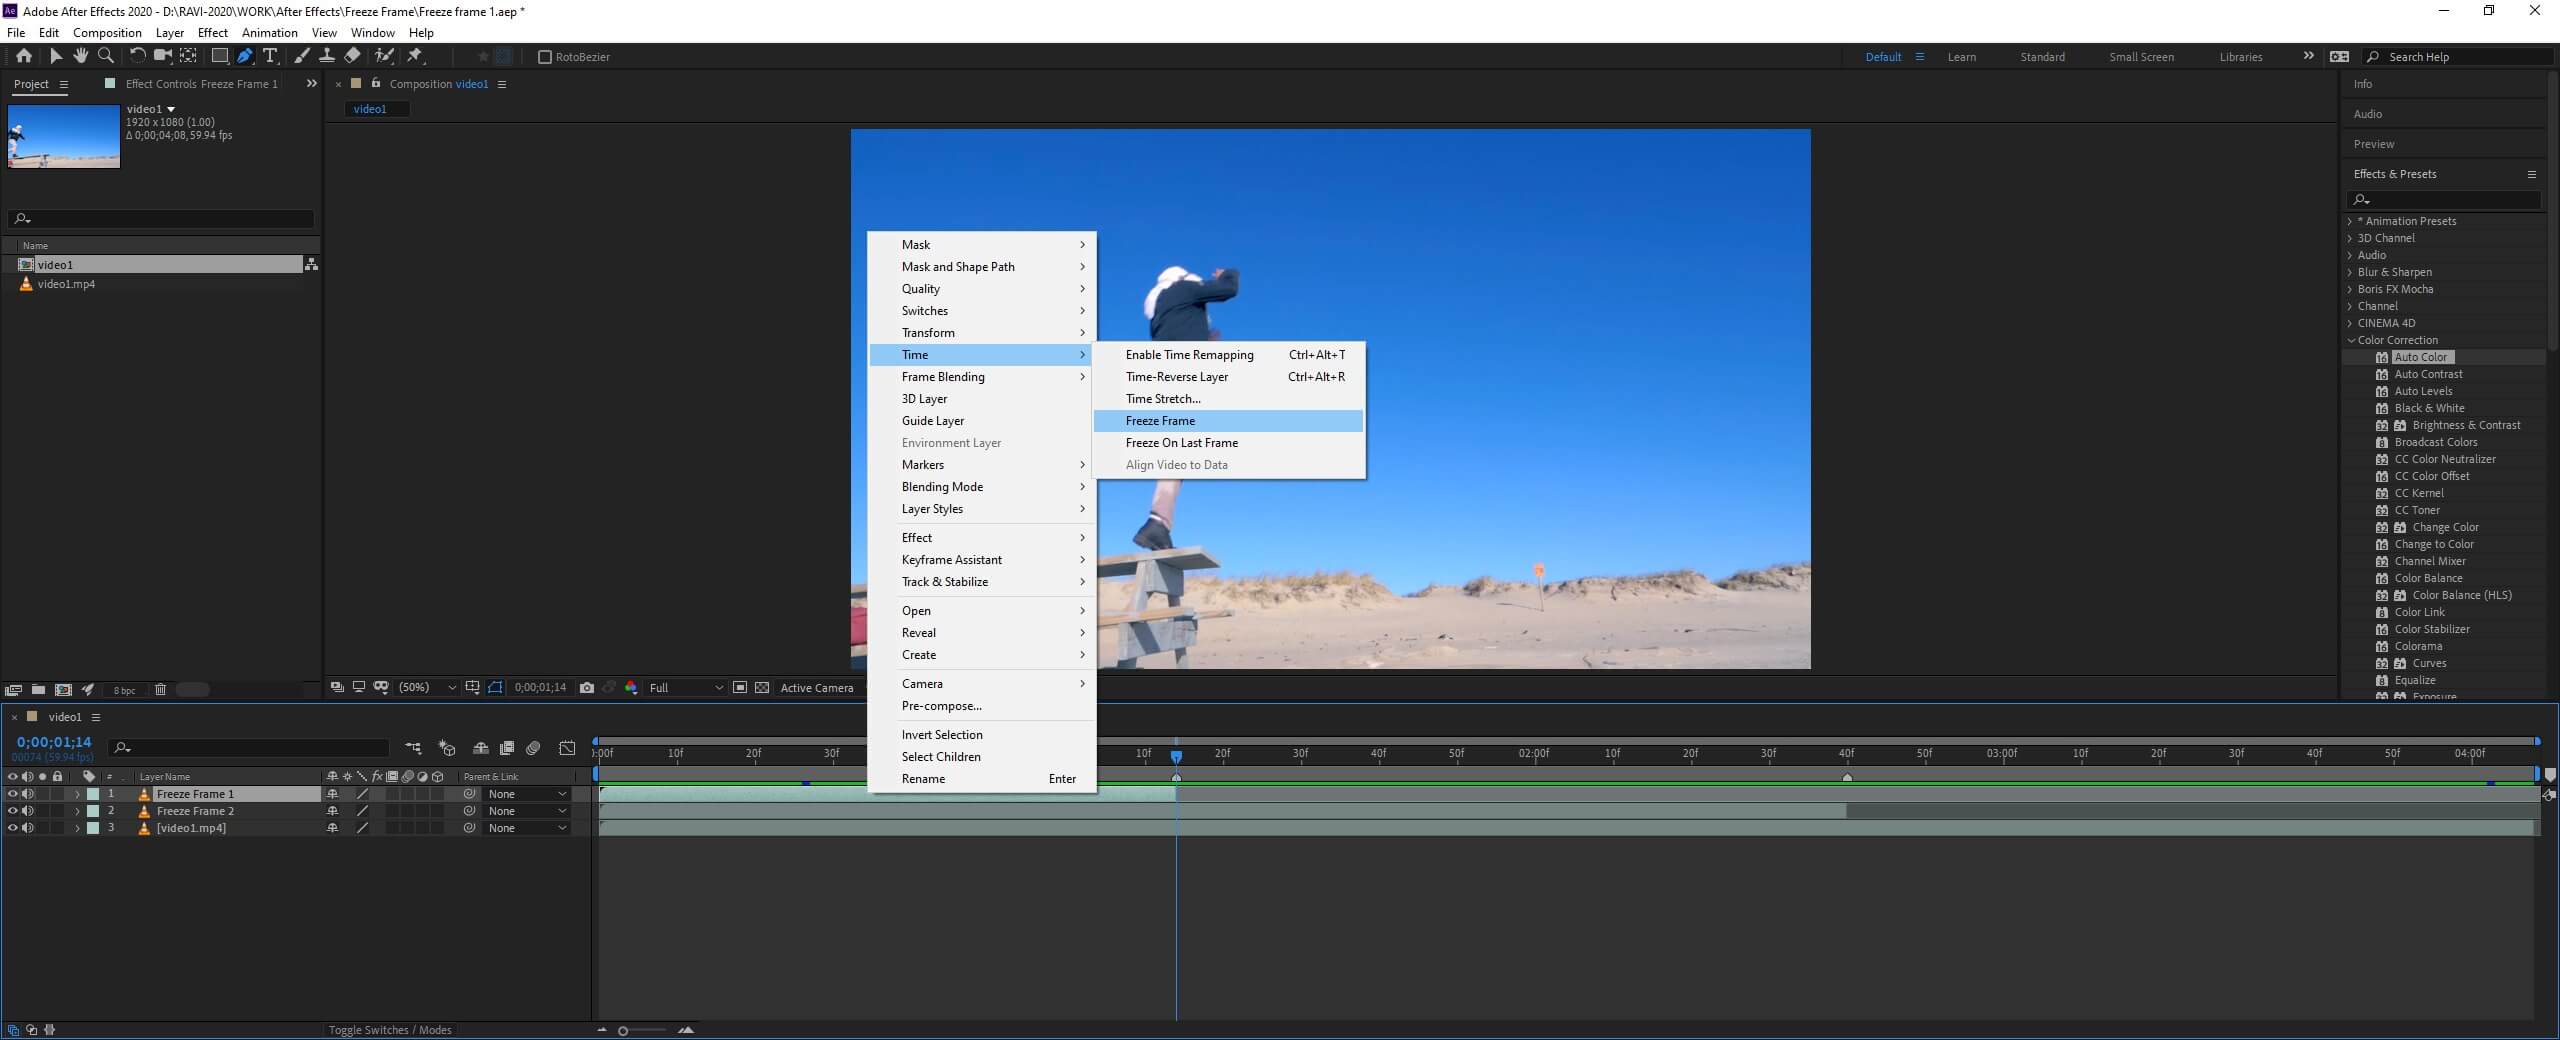
Bring the current-time indicator on the first marker. A tip is to hold shift which will snap the indicator to markers and keyframes. Now it’s time to freeze-frame, so right-click Freeze Frame 1 layer and go to Time -> Freeze Frame.
Step #10
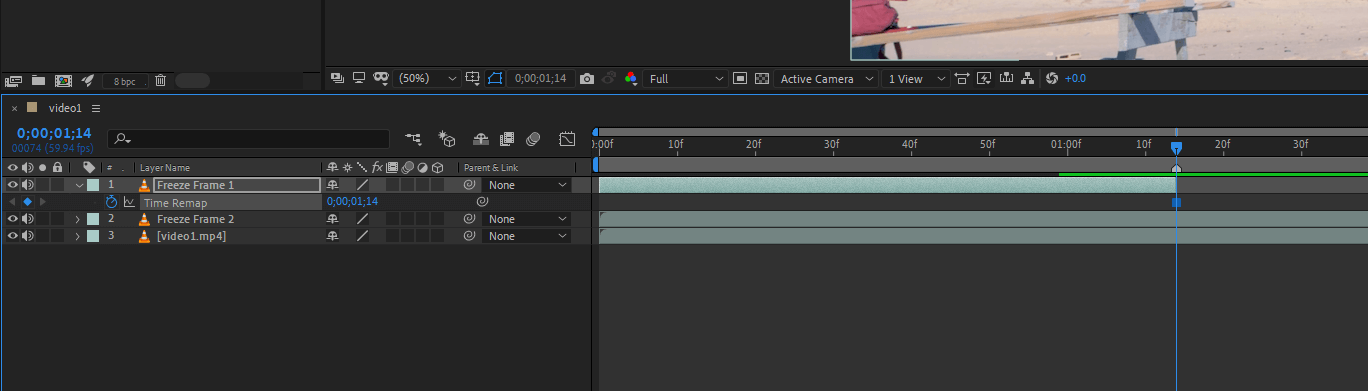
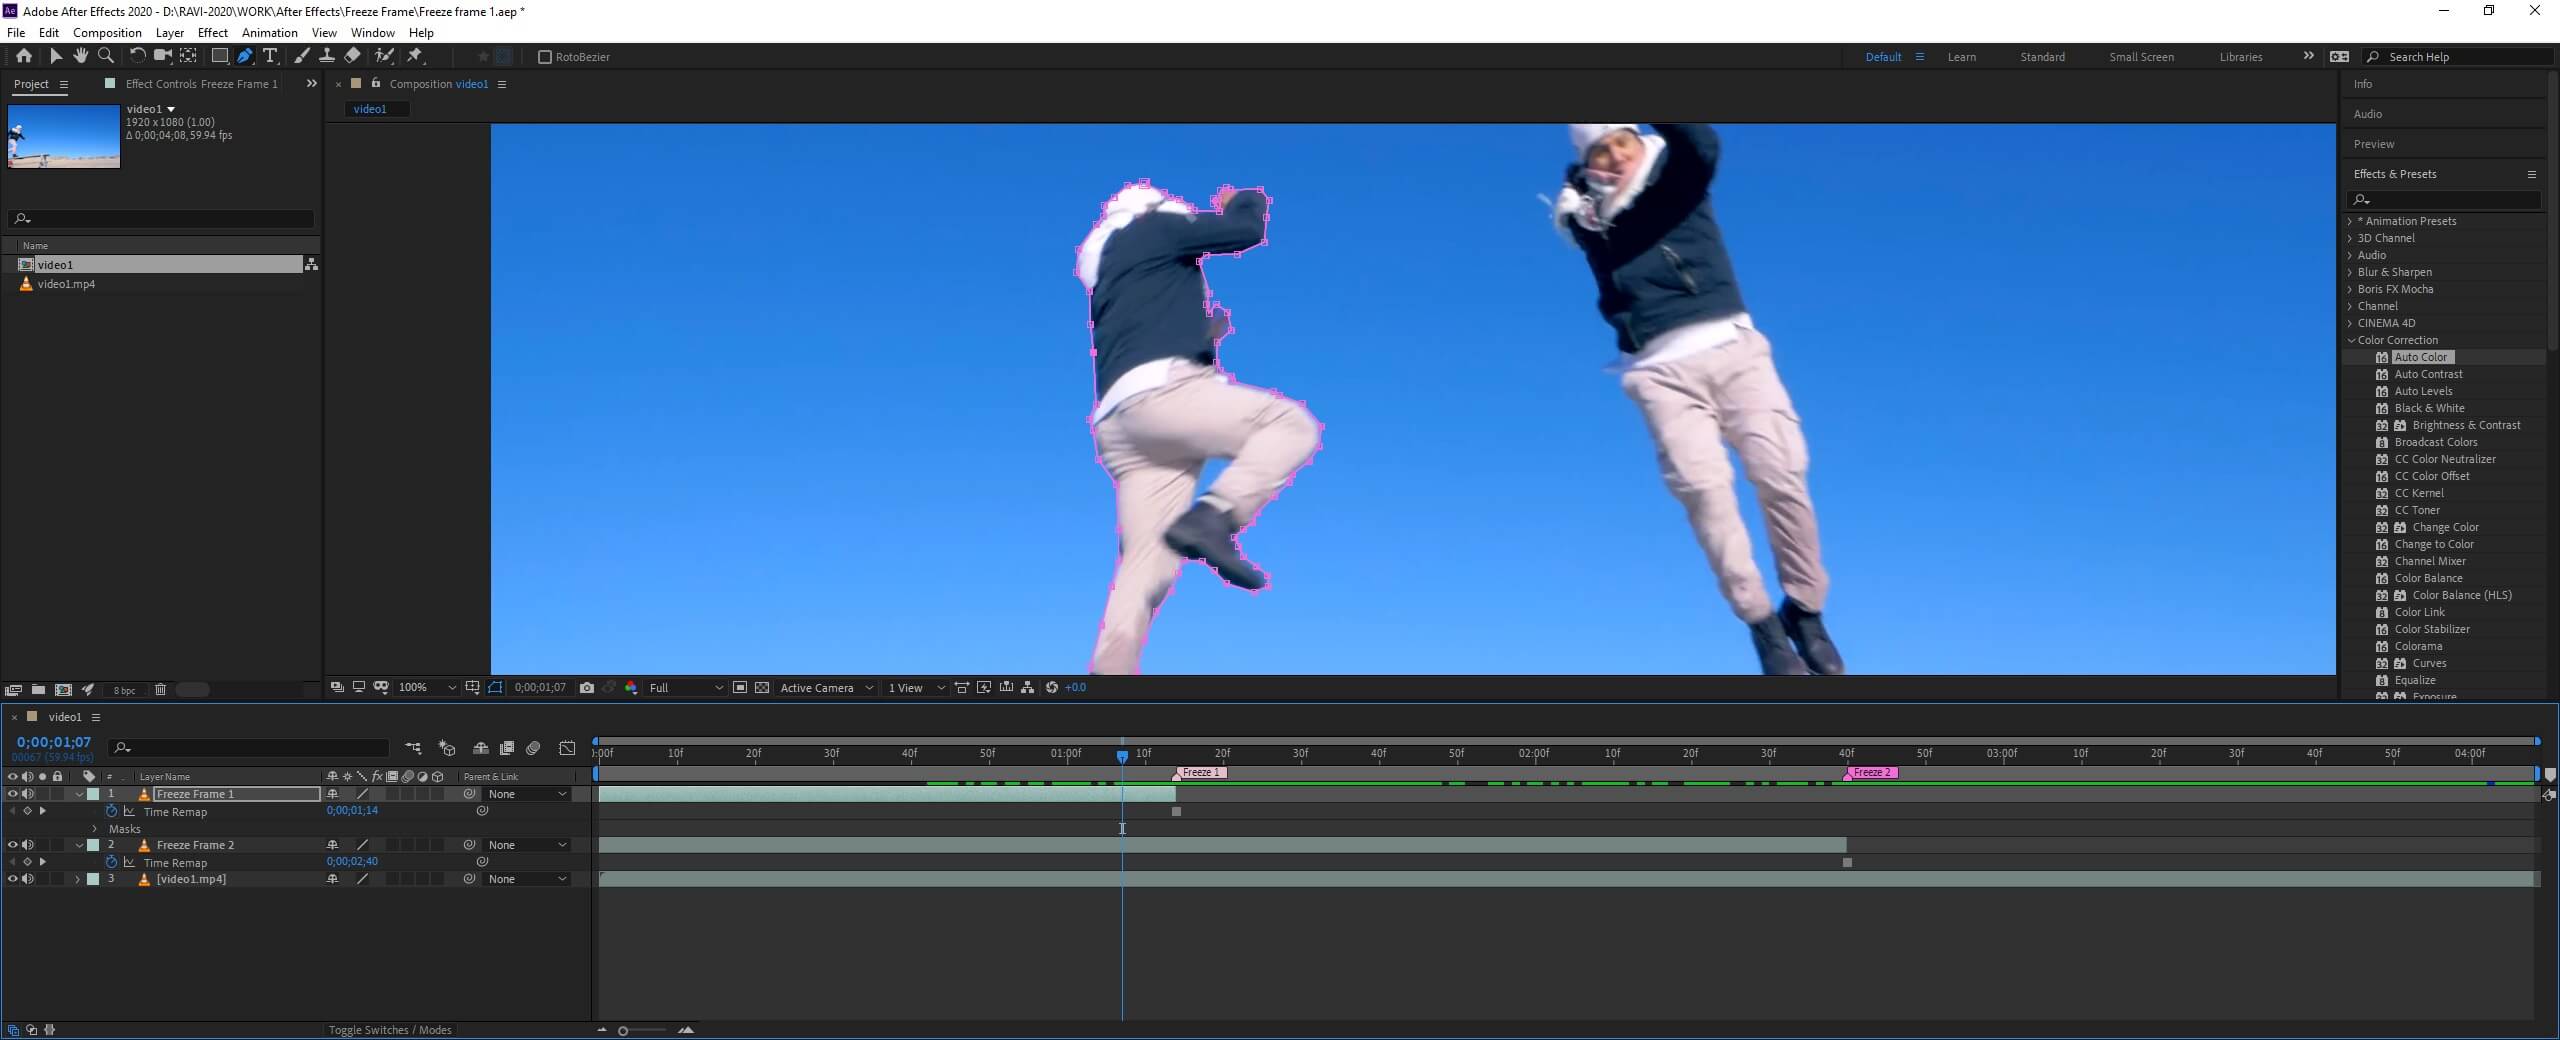
After freezing the frame, a Time Remap property is added to this layer. Also, in the top left corner, we can see the footage is 59.94 or 60 fps (frames per second), the current time remap is set to 1 second and 14 frames which is the meaning of 0;00;01;14
Step #11
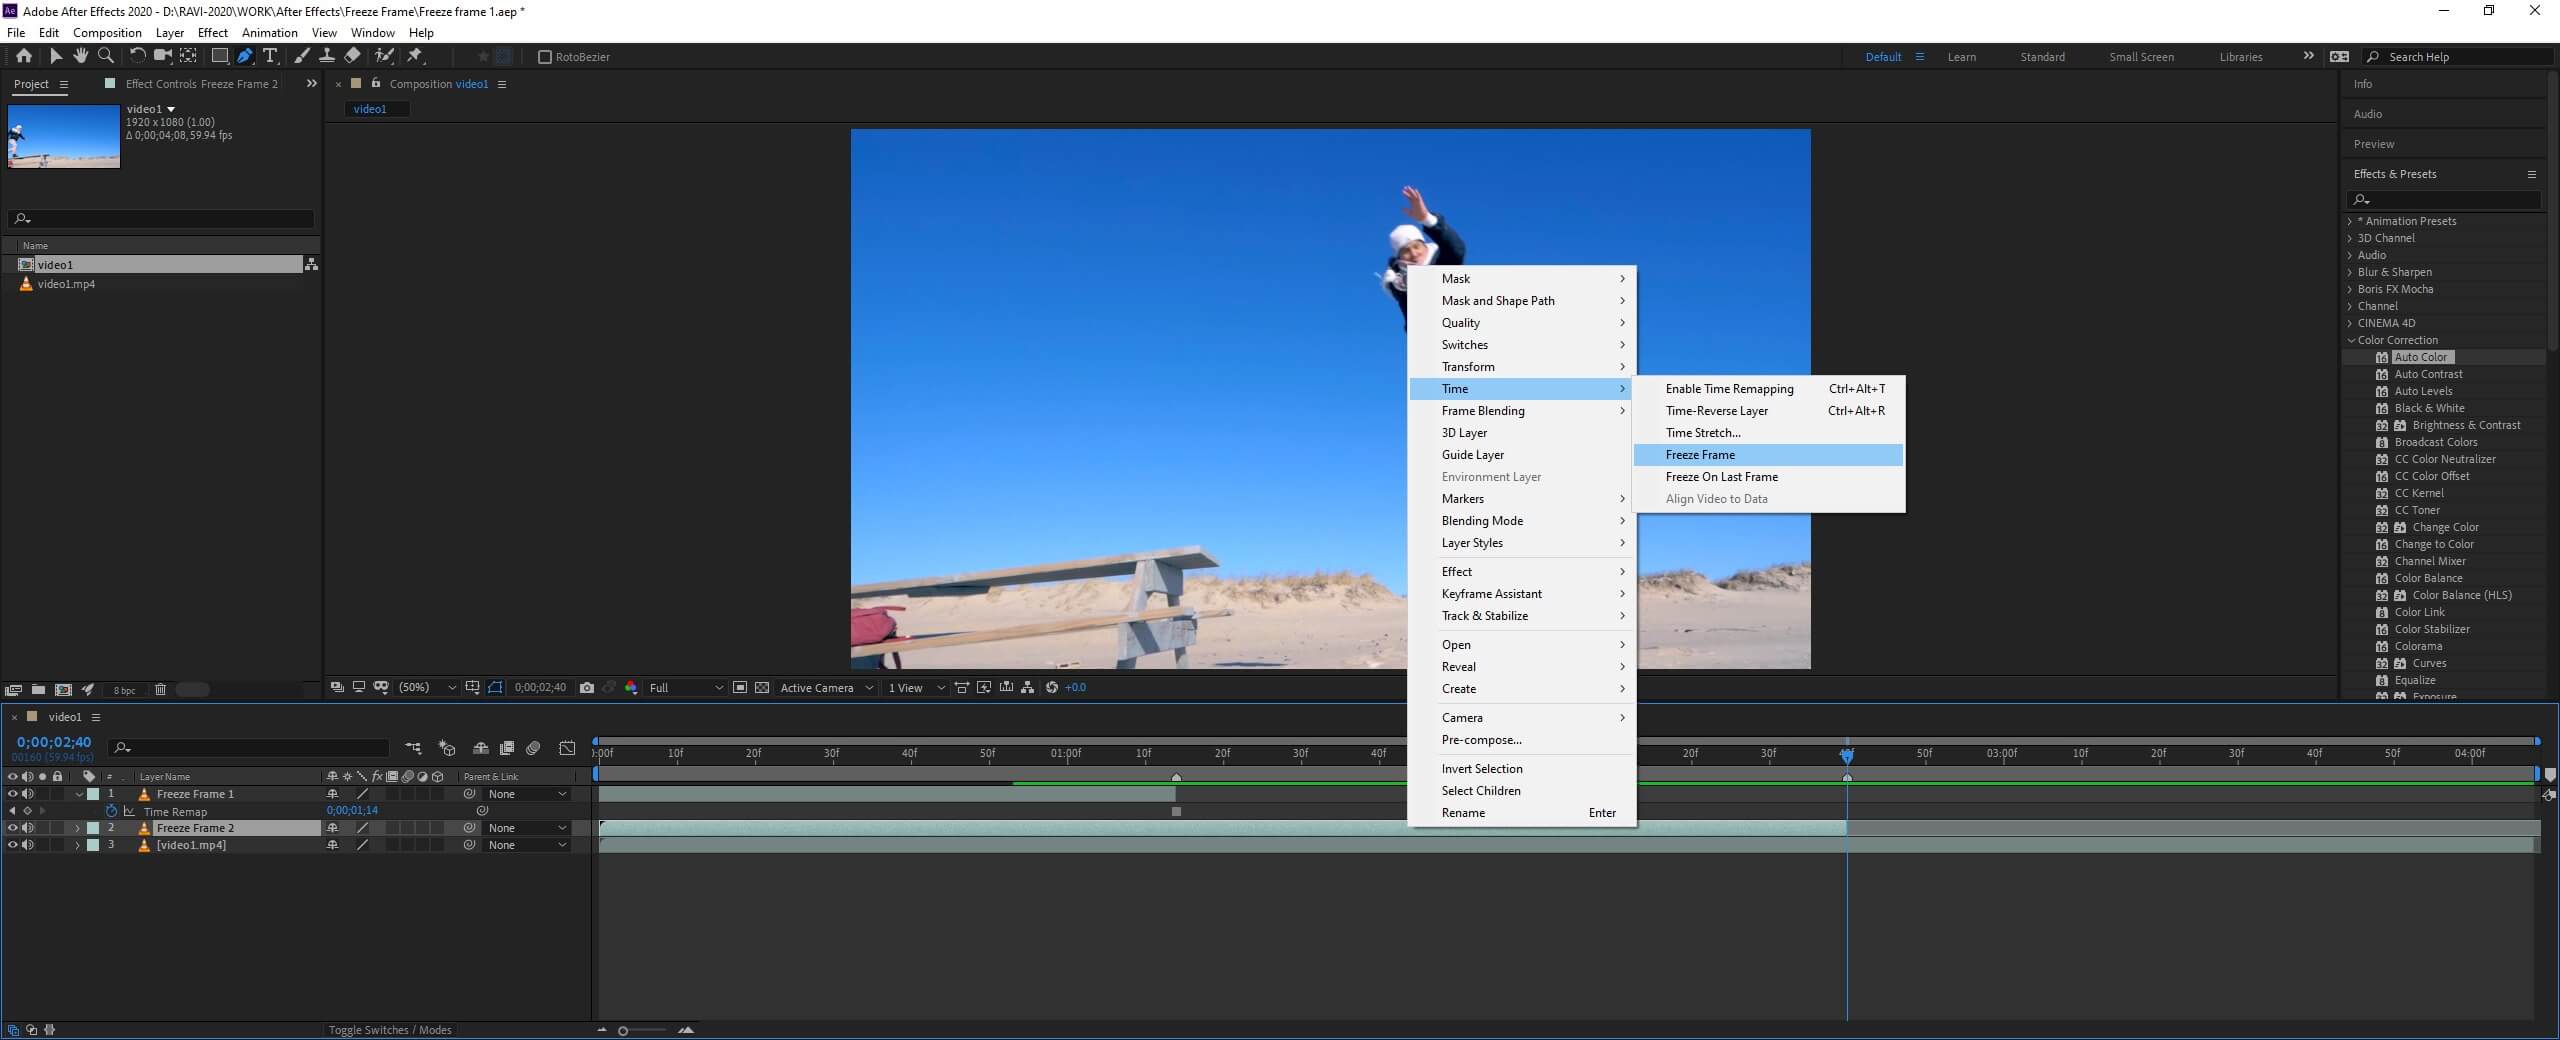
Similarly, bring the current-time indicator on the second marker, then right-click Freeze Frame 2 layer and go to Time -> Freeze Frame.
Step #12
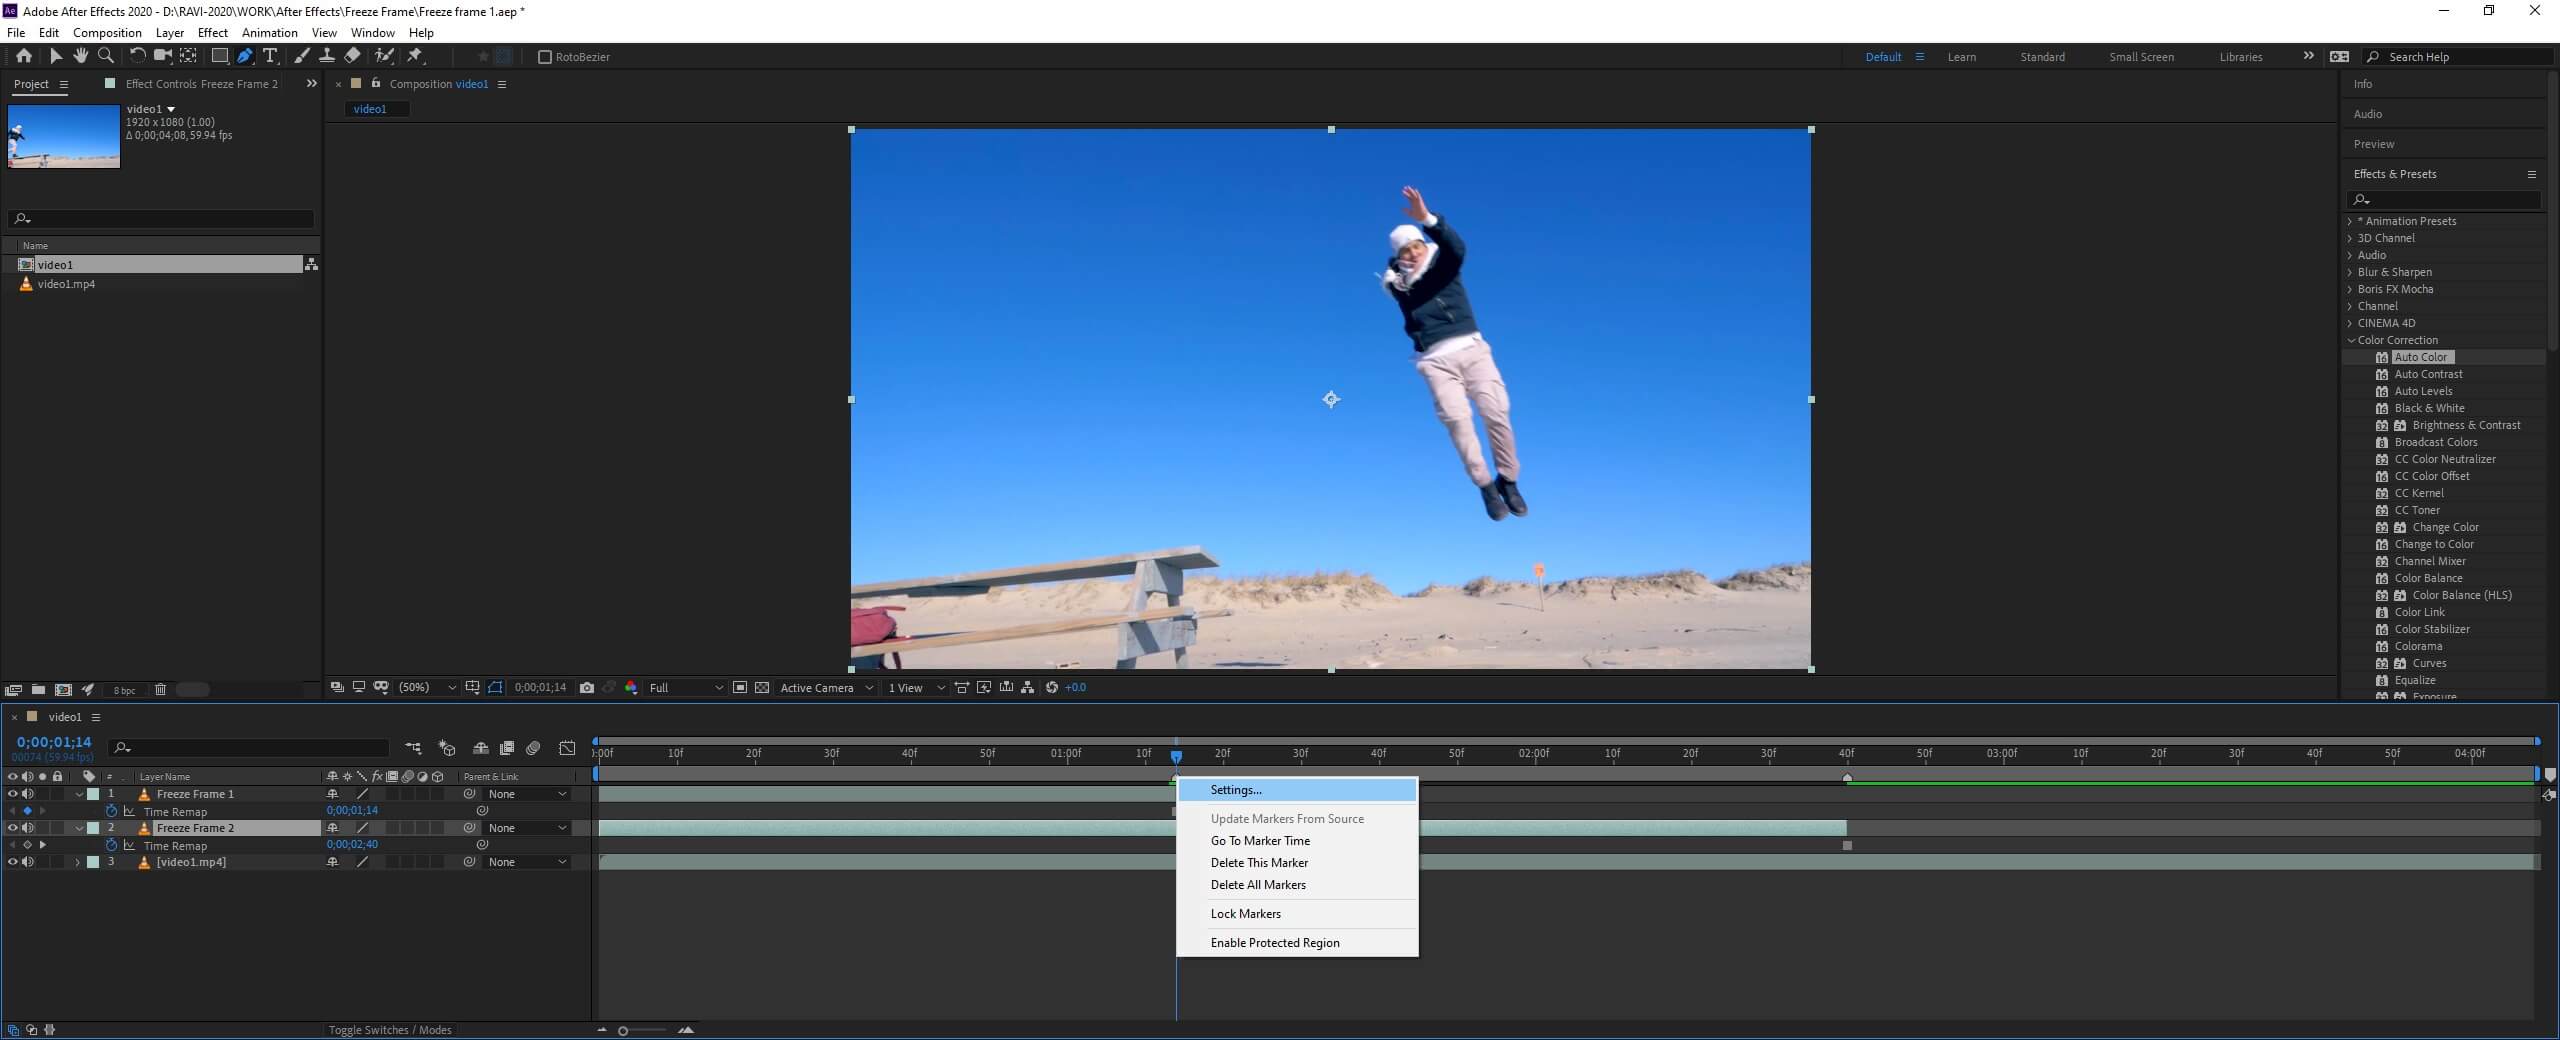
To avoid confusion of markers, we can label them by right-clicking. Also, if we want our timeline to line up with the marker without dragging it, then select Go To Marker Time.
Step #13
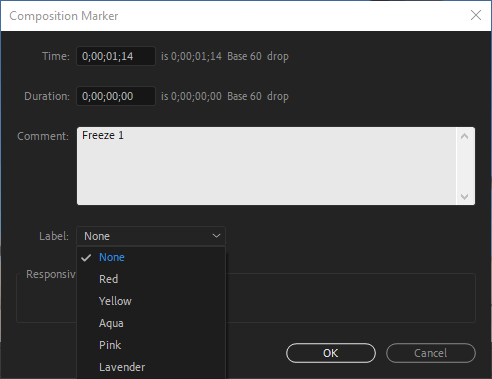
In the composition marker settings, you can add comments and label to distinguish it from other markers.

Step #14
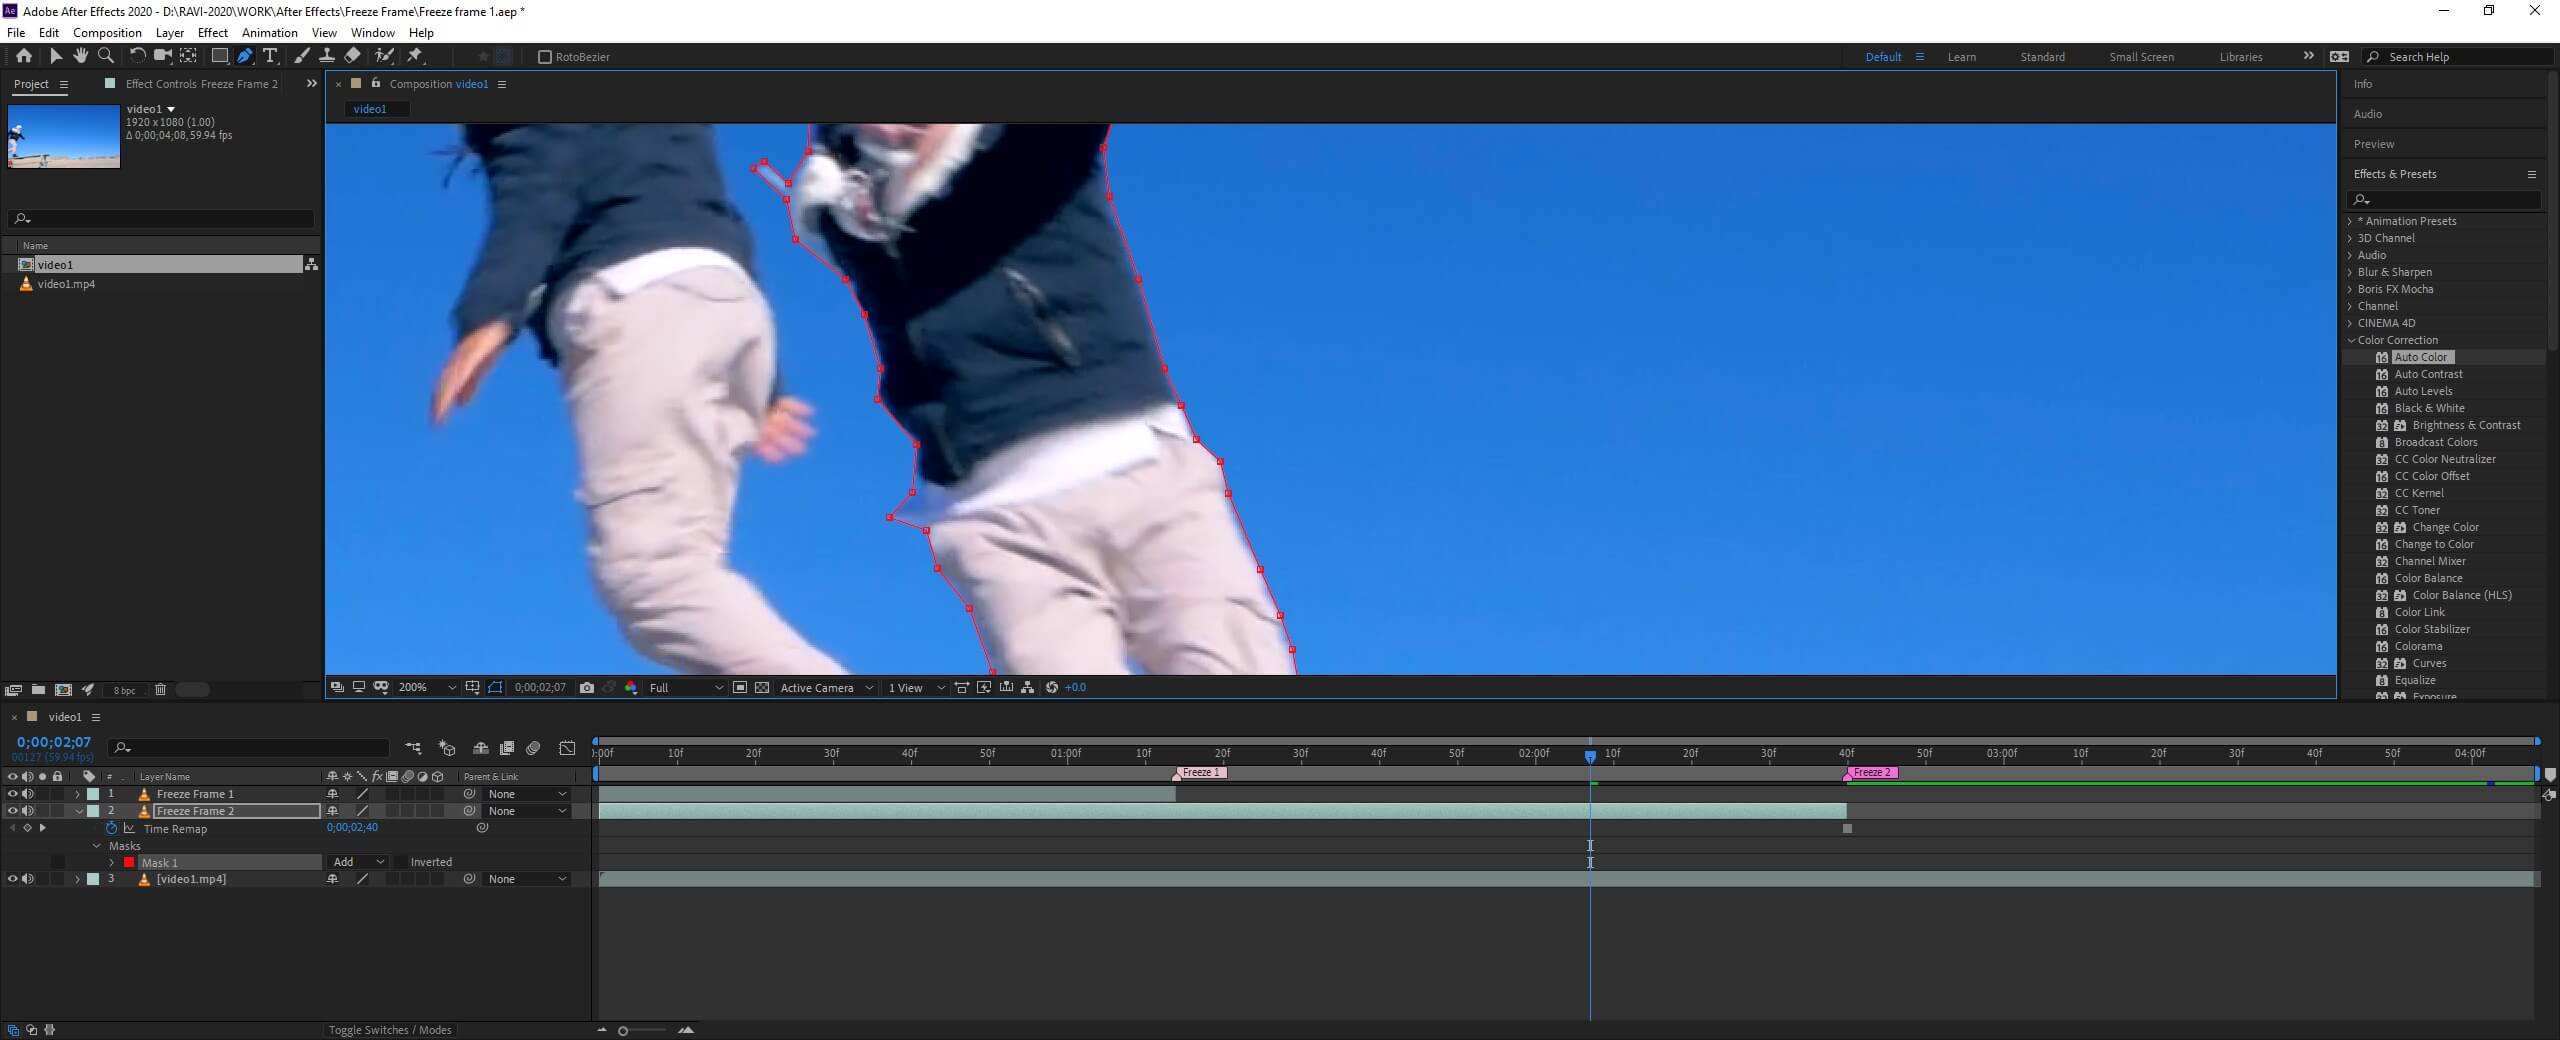
This is the most important step in the freeze frames effect, in which we will create a mask on the freeze frames layers. So, it will show only those parts which we want to freeze. Bring the time indicator before freeze 1 marker and use the pen tool or press G. Double click on the name of the composition in the Composition panel, which will make the composition panel full screen and it will make it easier to create the mask. Before starting to mask, make sure the Freeze Frame 1 layer is selected. Then create the outline of the person, which will be displayed until this frame is displayed.
Step #15
We have completed the outline of the person. In this step, we just need the silhouette of the person. To get an accurate outline, you can use pan and zoom tools while staying in the pen tool by pressing the space and mouse wheel.
Step #16
Next, bring the time indicator between freeze 1 and freeze 2 markers and make sure that the Freeze Frame 2 layer is selected and, as done previously, create the outline using the pen tool.

Step #17
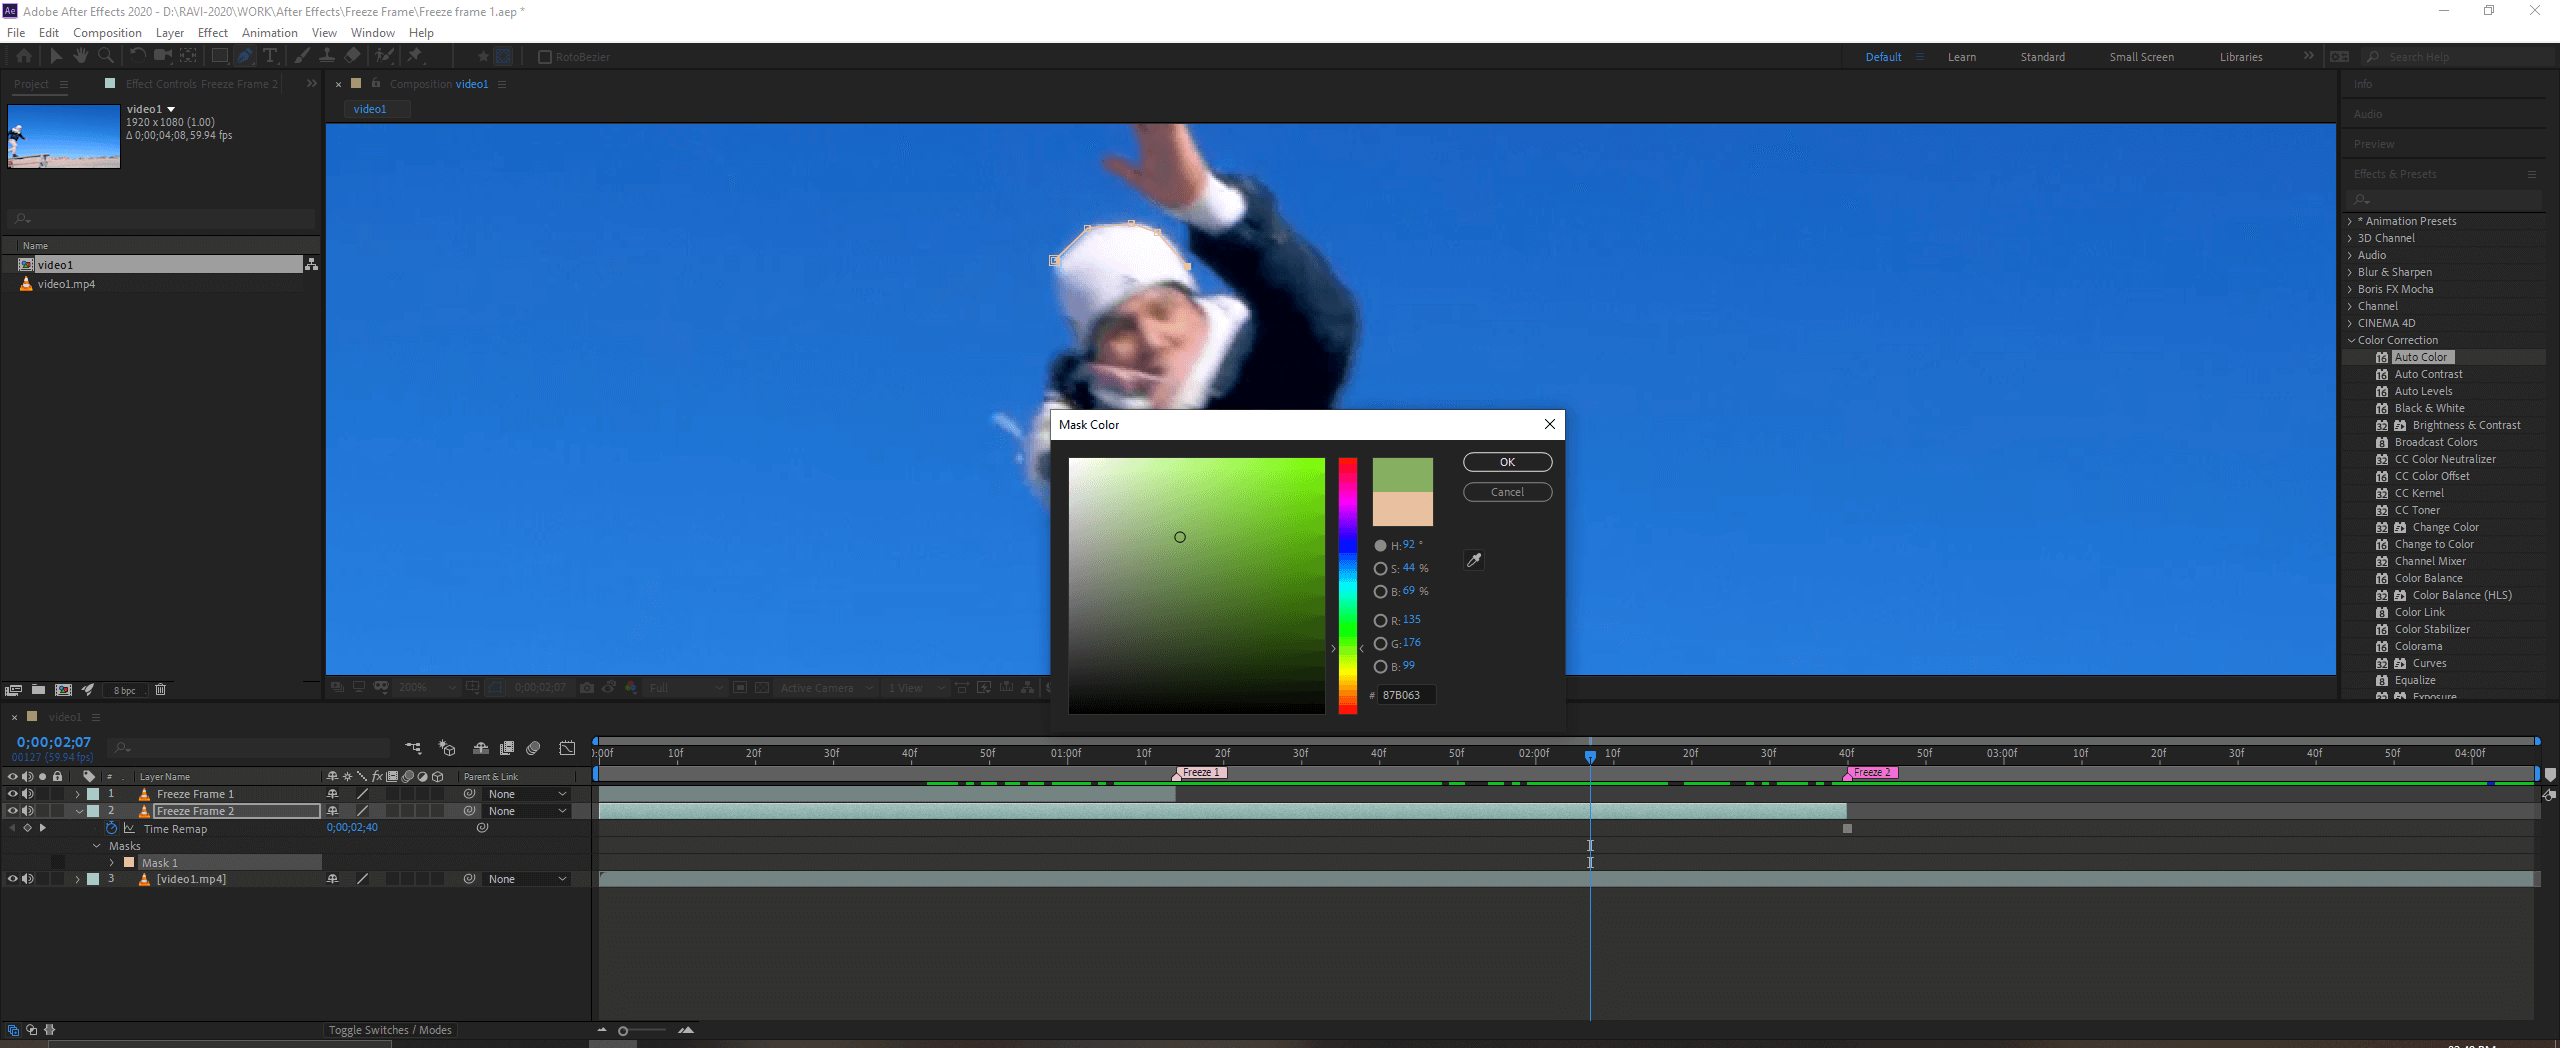
If you want to change the color of the outline of the mask, go to Masks in the layer and click on the color swatch of Mask 1 and select the color. This is handy if the background color is blending with the outline color.
Step #18
You can see that we have completed the outline for this layer. You might have noticed that we have just made straight edges using the pen tool and not the curved edges. Using curved edges would give greater precision but will take more time. So to make the outlines quickly and save time, we will use one trick.
Step #19
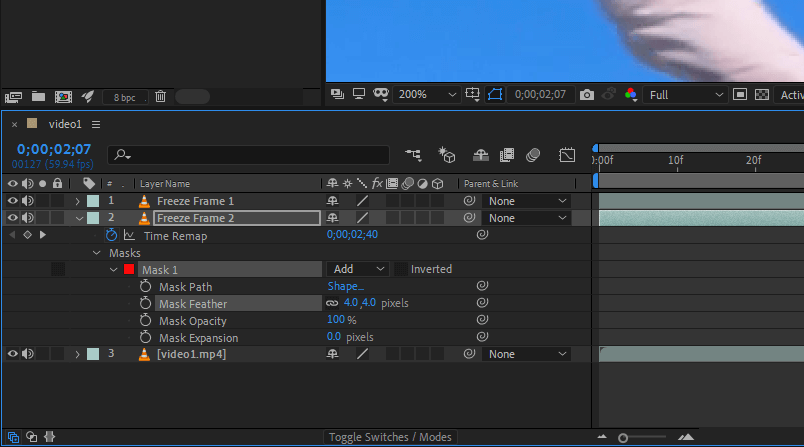
Inside the mask 1 dropdown, there is a property of mask feather set it to 4.0, which will roughen the hard edges. So do it on both the layers.
Step #20
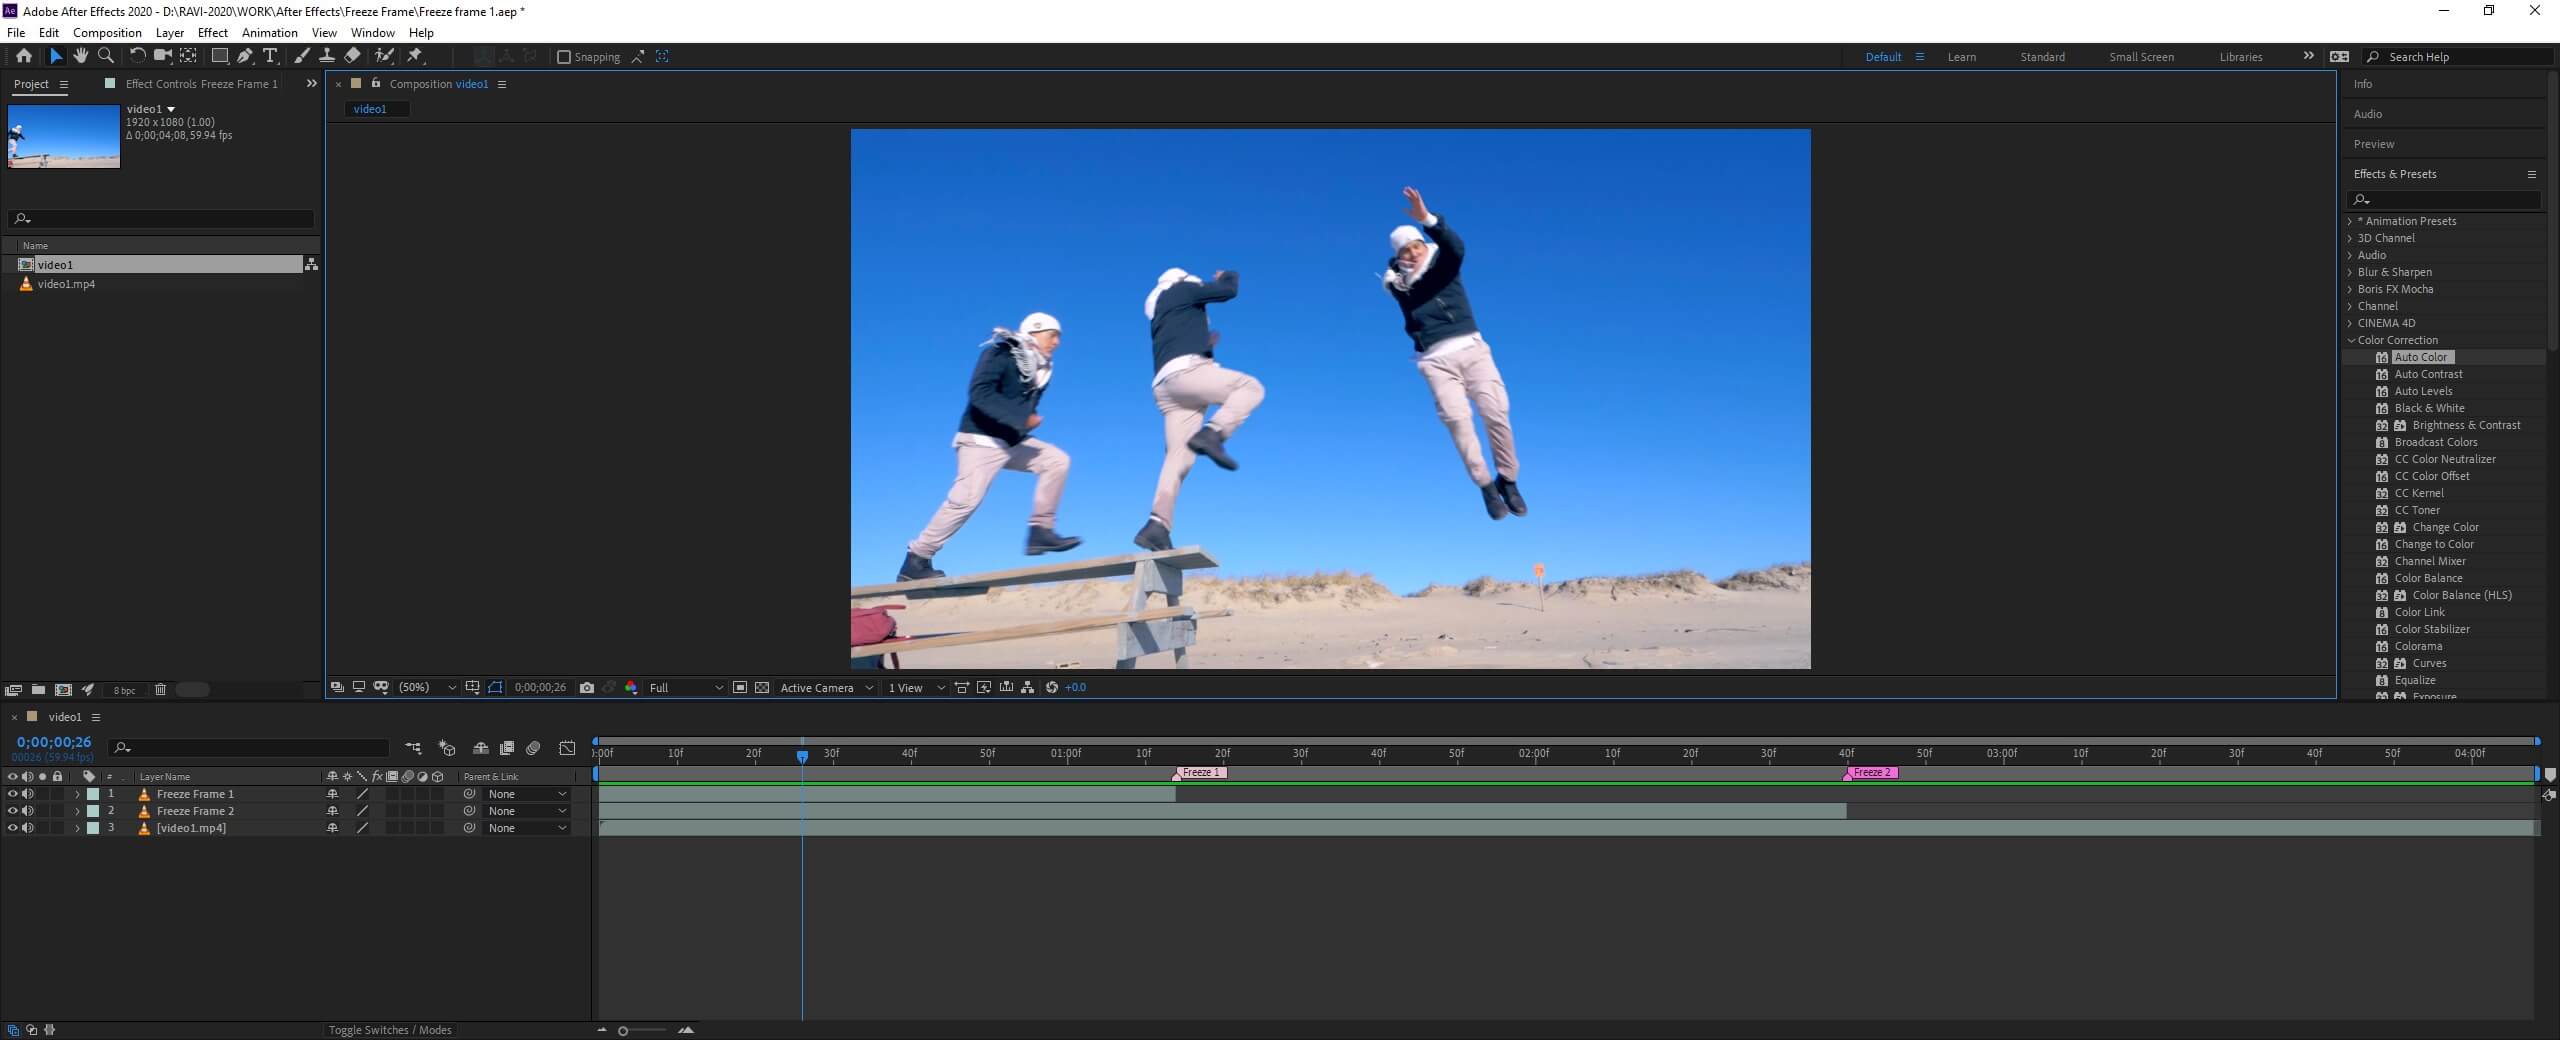
So, we have finished our Freeze Frame effect, which you can preview with space.
Conclusion
In this article, we have learned how to create a freeze-frame effect in After Effects and seen the use of pen tools and the creation of masks and using its properties. Apart from that, we have also seen how to use a marker for organizing stuff.
Recommended Articles
This is a guide to After Effects Freeze Frame. Here we discuss How to create a freeze-frame effect in After Effects along with the steps. You may also have a look at the following articles to learn more –
