


Updated July 27, 2026
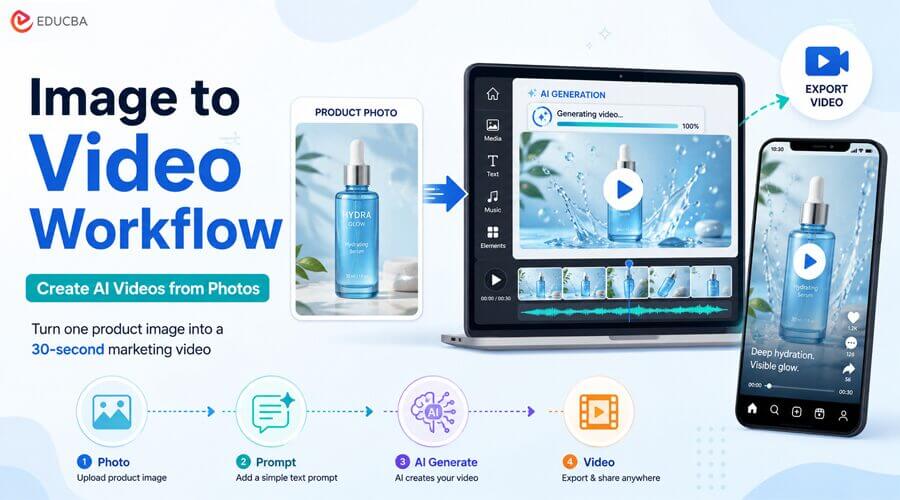
If you can take a clean photo of a product, you already have most of what you need to make a short marketing video. Modern AI generators can animate a still image into a moving clip, which means a solo founder, a student, or a junior marketer can produce a usable social ad without a camera crew or an editing suite. The catch is that good results are not random. They come from a repeatable image to video workflow a small set of steps you follow the same way each time so you can improve one thing at a time instead of guessing.
This tutorial walks through a beginner-friendly image to video workflow from start to finish, using a single product image as input and a 30-second clip as the goal.
1. Know what image-to-video is best for
Image-to-video is strongest when you already know what the subject should look like and you mainly want to add motion, atmosphere, and a sense of scale. Think of a sneaker rotating slowly under studio light, a skincare bottle with condensation catching a slow camera push, or a coffee bag on a kitchen counter with steam drifting past. In each case, the product identity is fixed by your photo, and the model’s job is to move the scene believably.
An effective image to video workflow is ideal when you want to transform a static product image into an engaging marketing clip while keeping the product consistent throughout the animation.
It is a weaker choice when you need precise on-screen text, exact logo geometry, or a complex sequence of unrelated shots. For those, plan to generate the motion first and add text or graphics afterward in a normal editor. Setting this expectation early saves you a lot of wasted attempts.
2. Prepare a clean product reference
The single biggest driver of quality is the image you feed in. Before you touch any generator, get the reference right:
- High resolution, sharp focus: Blur and compression artifacts get amplified once the frame starts moving.
- Uncluttered background: A plain or softly lit background helps the model keep the product stable. Busy backgrounds tend to warp.
- One clear hero: A single, well-lit product reads far better than a group shot.
- Honest angle: Choose the angle you actually want on screen. The model animates what it sees; it will not invent a flattering new side of the product.
Spending five minutes preparing your reference image makes your image to video workflow far more reliable and removes many issues people mistakenly blame on AI.
3. Choose one aspect ratio and one shot goal
Decide the frame shape before you write a single word of prompt. A 9:16 vertical frame suits stories and short-form feeds; 1:1 suits in-feed posts; 16:9 suits websites and pre-roll. Generating in the wrong ratio and cropping later usually cuts off the part of the product you cared about.
Then pick exactly one shot goal for this clip, for example, “slow 180-degree reveal of the bottle.” Resist the urge to pack a rotation, a zoom, and a lighting change into a single 30-second generation. One clear goal per clip is the habit that separates clean results from muddy ones.
4. Build a prompt with subject, action, camera, and lighting
A reliable prompt has four parts, in plain language:
- Subject: what the product is and its key visual traits (“matte black insulated water bottle, brushed metal cap”).
- Action: the single motion you want (“rotates slowly clockwise on a turntable”).
- Camera: how the virtual camera behaves (“slow push-in, shallow depth of field”).
- Lighting: the mood and light source (“soft studio key light from the left, gentle rim light”).
Because a native 30-second clip is generated as one continuous piece rather than several short segments stitched together, the description you write here has to carry the whole shot, so keep it specific but not contradictory. When choosing a generator for this step, a tool that supports a full 30-second render and lets you use your product photo as a reference will save you the trouble of stitching. Many beginners start with the Seedance 2.5 image-to-video workflow for exactly this reason, because the reference image and the shot description are handled in one place. Whatever tool you choose, the four-part prompt structure above stays the same.
5. Generate, review, and change one variable at a time
Run your first generation, then review it against a short mental checklist:
- Is the product identity intact?
- Is the motion smooth or does it jitter?
- Does the lighting match your brand?
- Is the pacing right for 30 seconds?
When something is off, change only one variable and regenerate. If the motion is too fast, adjust only the action wording. If the mood is wrong, adjust only the lighting line. Changing three things at once means you will never learn which change fixed or broke the clip.
This disciplined revision process is one of the most important parts of an effective image to video workflow.
6. Export checklist
Before you call a clip finished and hand it off, run it against this checklist. Copy it into your notes and reuse it for every product.
| Check | What “Good” Looks Like |
| Aspect Ratio | Matches the platform you are posting to; nothing important is near the edges |
| Product Identity | Colour, shape, and cap/label match the reference photo throughout the clip |
| Motion Stability | No warping, melting edges, or sudden jumps |
| Duration and Pacing | The single action fills the clip without feeling rushed or padded |
| Lighting and Mood | Consistent with your brand and the same from first to last frame |
| Resolution | Exported at the highest quality the platform accepts |
| Text and Logo | Any on-screen wording added in post, checked for spelling and placement |
| Human Review | A second person confirms nothing looks off before it goes live |
Putting the Image to Video Workflow Together
The workflow is deliberately simple: one clean image, one aspect ratio, one shot goal, a four-part prompt, a one-variable revision loop, and an export checklist.
Following the same image to video workflow every time makes your results more predictable and professional, which is exactly what beginners need. Once you are comfortable with the process, you can experiment with more advanced camera moves and multi-clip sequences. However, the discipline of changing one variable at a time turns a basic image to video workflow into a repeatable system for creating high-quality AI product videos.
Recommended Articles
We hope this guide helps you build a reliable image to video workflow and create engaging AI product videos from a single photo. Explore these recommended articles for more insights into AI video generation, image-to-video tools, prompt writing, product marketing, and content creation.