Updated March 15, 2023

Introduction to Logstash Install Plugin
Logstash install plugin is the process of installing the logstash plugin on the system, which can be done by following any of the processes explained in this article. In this article, we will learn about the installation of logstash and its requirements.
Create logstash install plugin
Use Downloaded binary file – We can go for the installation of logstash from the downloaded binaries. This binary file can be downloaded from the mentioned link.
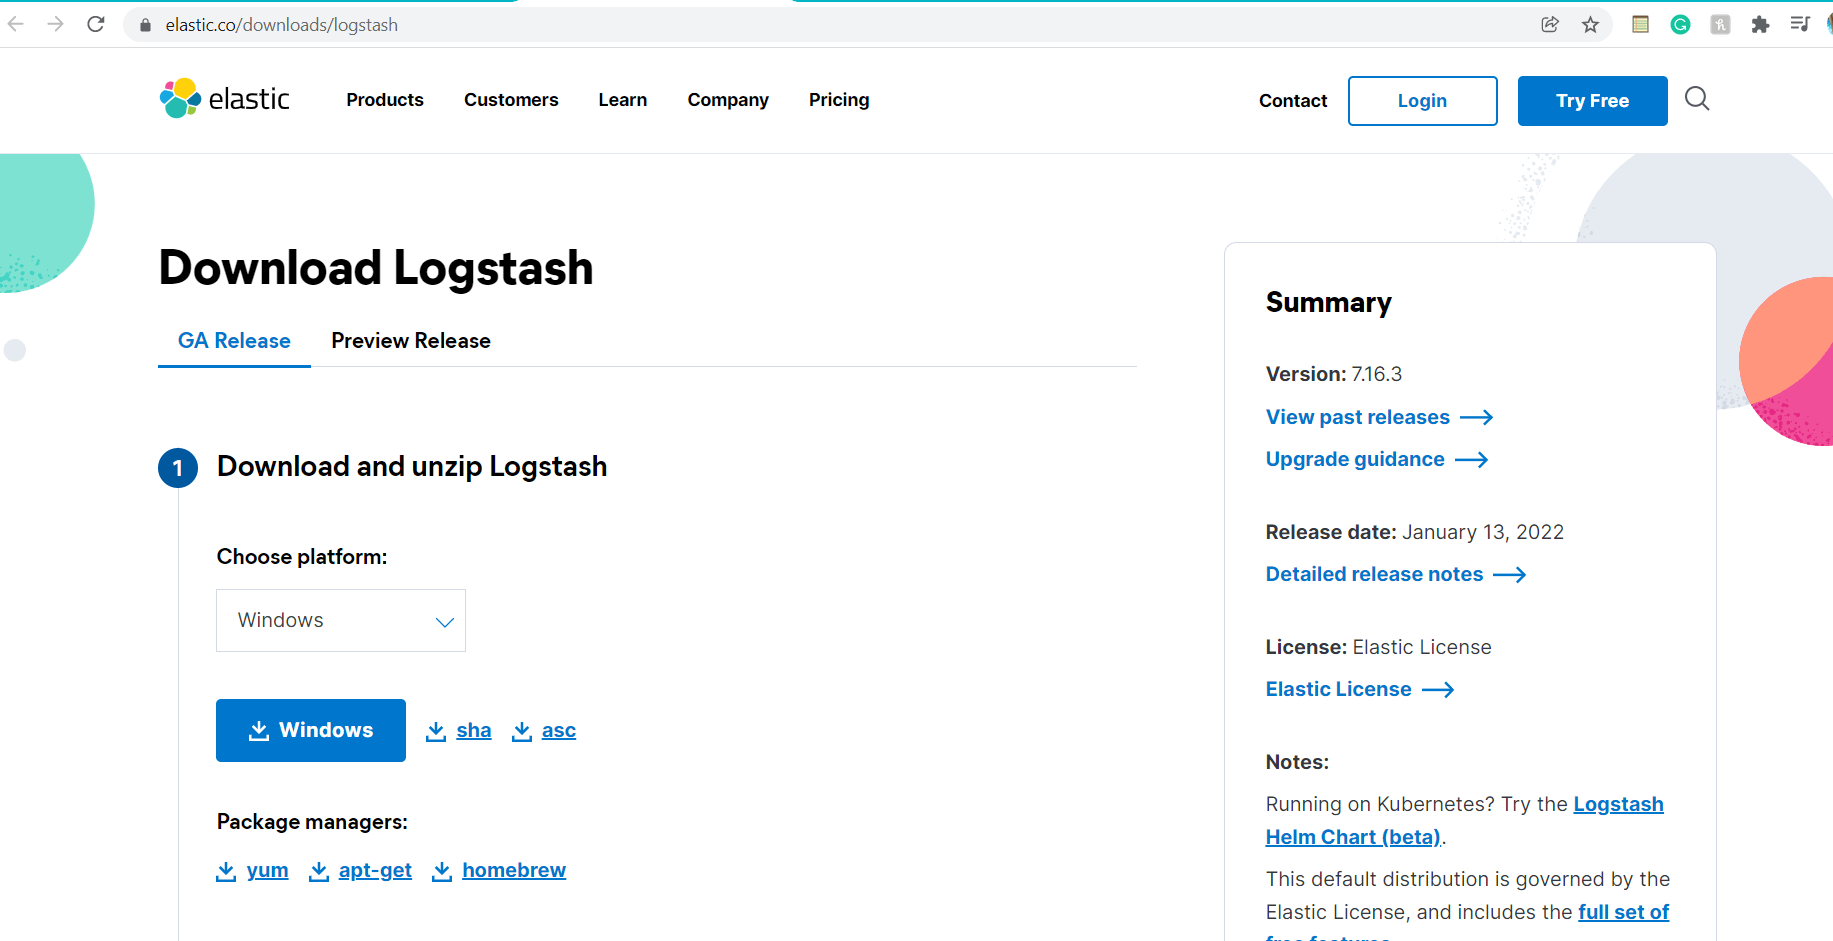
Step 1 – The first step will be to visit this link, and then according to the host environment of your system, which can be zip, deb, rpm, or targ.gz, you can download binary files in the required format. You can choose your host system, and the corresponding download option button will appear in blue at the bottom, as shown below where we have chosen the windows platform.
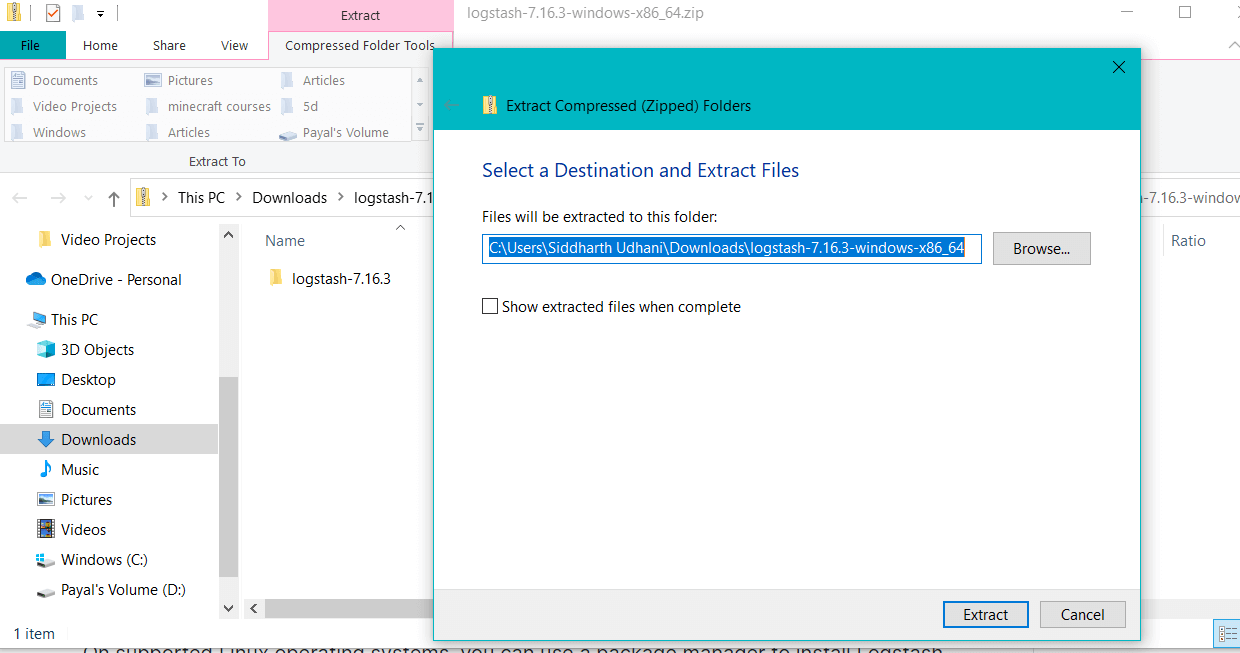
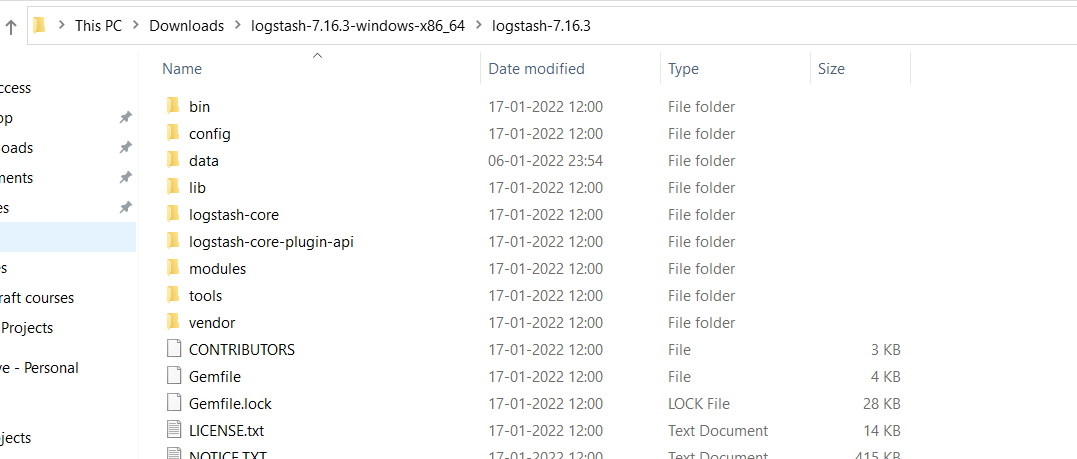
Step 2 – Once downloaded, unzip or extract the file using any of the extractors as shown below, which will lead to unpacking of binaries –
Step 3 – Note that now the installation process is to begin, and logstash should not be placed in a path that will have the special character of the colon “:” in it.
We can also use the package manager to install logstash using the Linux platform.
When you go for extracting, it will install on windows, and you are free to use all the packages as they are licensed under elastic. It is an open-source functionality with free commercial features while some are paid. For the provided 30-day free trial, you can even use the paid features free of cost for 30 days, after which you will have to pay for them. We can even go for downloading the package of oss, which comes along with only those features that are available under the license of Apache 2.0.
Installation of logstash from the repository of packages
For the distributions based on YUM and APT, there is a provision of repositories from where we can get the binary packages. It is impossible to get the source package from here as they are generated in the process of logstash build. To avoid incidents where accidental upgrades are made for the bigger version of the plugin, the package repository of logstash has split them according to the version of the repository that too in the separate URLs. Note that you will have to use the 7.x version for all the releases made in the format of 7.x.y.
You can use this link to get the PGP key and the fingerprint details required for this installation process.
Step 1 – Download the public signing key and install the same using the below command –
wget -qO – https://artifacts.elastic.co/GPG-KEY-elasticsearch | sudo apt-key add –
The output of the execution of the above command is as shown below –

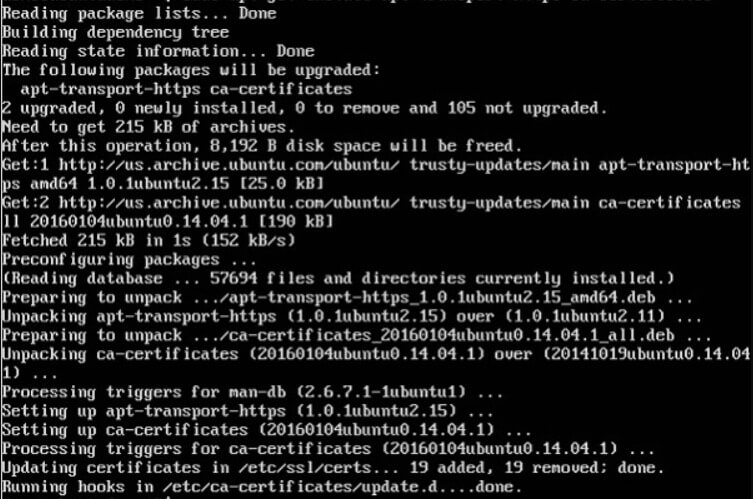
Step 2 – You may need to install the https package, which can be done by firing the below command –
sudo apt-get install apt-transport-https
The execution of the above command gives the following output as the resultant –
Step 3 – You can now go for saving all the repository definitions to the folder path of /etc/apt/sources.list.d/elastic-7.x, which is done by using the command –
echo "deb https://artifacts.elastic.co/packages/7.x/apt stable main" | sudo tee -a /etc/apt/sources.list.d/elastic-7.x.list
The execution of the command results in the following output –
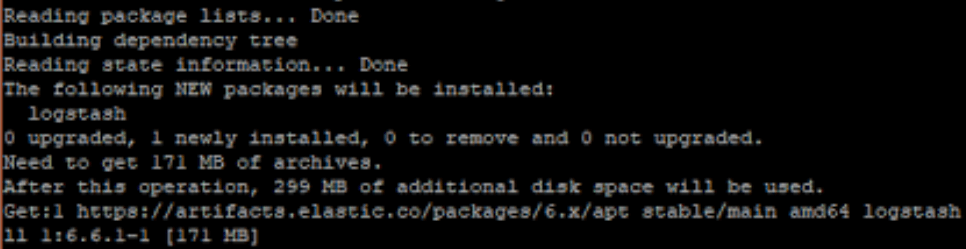
Step 4 – You are now ready to use the logstash once you update the package and install logstash with the help of the command –
sudo apt-get update && sudo apt-get install logstash
The execution of this command results in the following output as resultant –
Note – You need to make sure you are using the echo method specified in step 3 for adding the repository of logstash. In case you go for using the add-apt-repository, it will also add the corresponding entry of deb-src, but as we haven’t specified the source package path in the command, it will result in an error which will be as shown below –

Make sure that there is the existence of an entry of deb-src, then delete the entry from the path of /etc/apt/source.list, which will make the process of installation work successfully.
Installation using YUM –
Step 1 – We will have to download the file and then install it by using the public signing key, which can be done by using the below command –
sudo rpm --import https://artifacts.elastic.co/GPG-KEY-elasticsearch
The execution of the above command will give the following output –

Step 2 – Copy the code snippet and lines below and paste them inside the directory path inside the file /etc/yum.repos.d/logstash.repo. Note that the file’s name can vary, but the format should be .repo only. The lines to be added are –

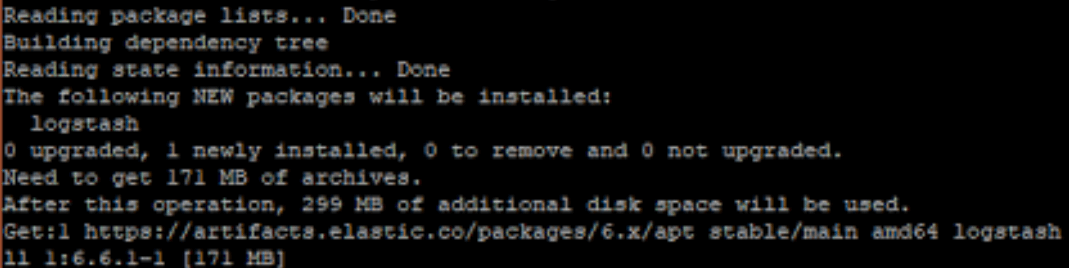
Step 3 – Now, the repository is completely ready, and we can move ahead with the installation of logstash, which can be done by using the following command in yum –
sudo yum install logstash
The output of the above command is as shown below –
The repository will not work properly if your rpm-based distribution is very old, like centos.
Logstash installation in the mac operating system with the help of homebrew –
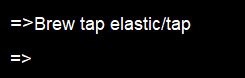
Step 1 – Homebrew is the package manager available in Mac operating system, which Elastic has published. To install the package manager of homebrew, we will have to execute the following command, which will tap on the repository of elastic homebrew –
Brew tap elastic/tap
Which will result in the following output –
Step 2 – we can now go for the installation of logstash using brew install, which is its default distribution –
Brew install elastic/tap/logstash-full
The execution of the above command as shown below –
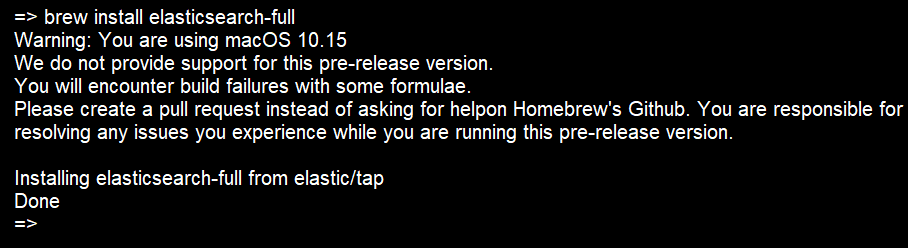
If you follow this process, it will lead to installing the latest release of logstash to be installed on the system. For the installation process of OSS distribution, you can specify the path as elastic/tap/logstash-oss instead of logstash-full.
After you have installed logstash using any of the above methods, you can restart it and then go for running the command –
brew services start elastic/tap/logstash-full
the output will be as shown below –
![]()
Conclusion
This article taught us how to install logstash plugins on various operating systems and environments. Further, for running it, we can type in command of logstash, which runs logstash immediately provided if installed properly.
Recommended Articles
This is a guide to Logstash Install Plugin. Here we discuss how we can install logstash plugins on various operating systems and environments. You may also look at the following articles to learn more –
