Updated August 25, 2023
Definition of Action in Photoshop
Action is a feature of Photoshop software through which you can create a short cut key for any particular action of Photoshop so that you need not to repeat each and every task for doing the same work for different images. You can create an action button for your repeated work so that you can save your time for the same work. Here in this article, we will understand the Action feature of Photoshop by doing color correction of an image and record it as an action button. We will also learn how we can apply this action to more than an image at one time. So let us understand this topic through an example.
How to Create Action in Photoshop?
We can create a number of Actions in Photoshop as per our choice. We just have to follow a few simple steps for this, but before starting, let us have a look at the working screen of this software to better understand this topic throughout our learning.
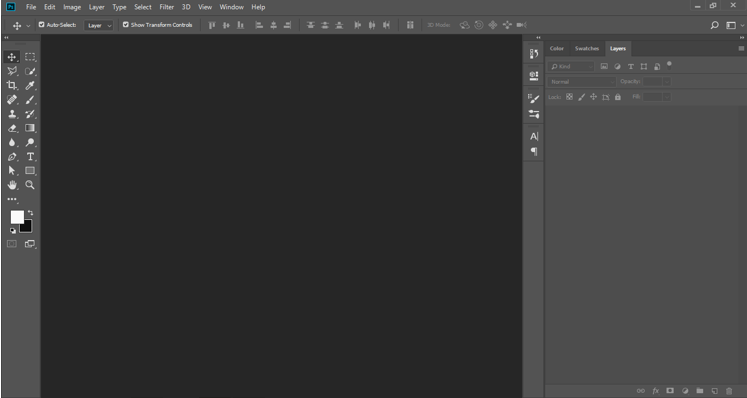
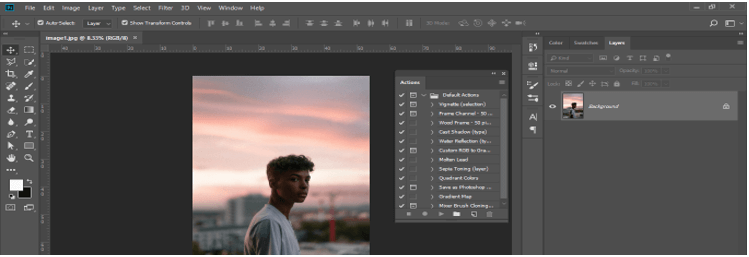
At the top of the working screen, the Menu bar has a number of menus such as the File menu, Edit menu, Image menu, and others. Below this, we have a property bar of active tools or images for making changes in their parameters. Below this, we have a toolbar at the left side, display window at the center; at the right side, we have some tabs such as the color tab, swatches tab, and some others. You can adjust all these sections as per your choice anywhere on the working screen.
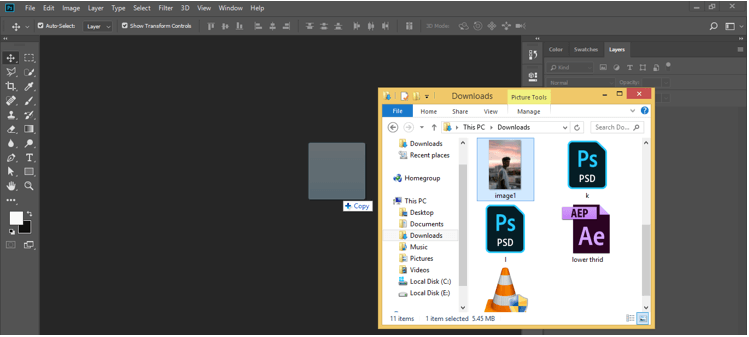
Now let us have an image for our learning. I have downloaded an image from the internet for this purpose. You can have your own one. For placing an image, go to your desired folder where you have saved your image and pick your image from there, then drop it in the display window area of this software.
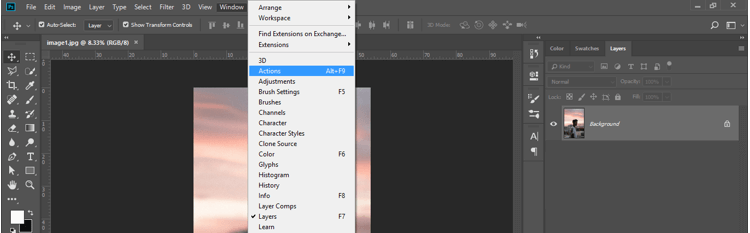
Now go to the Window menu of the menu bar and click on it. A drop-down list will be open. Click on the Actions option of the drop-down list.
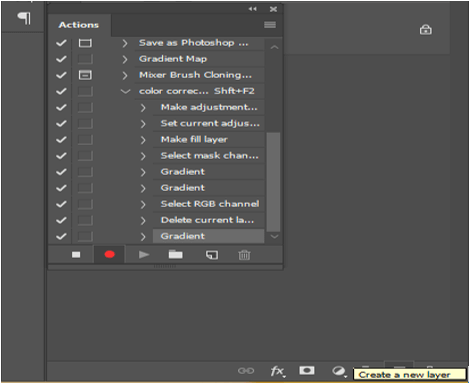
An action dialog box will be open like this. You can place it anywhere at your desired place on the working screen.
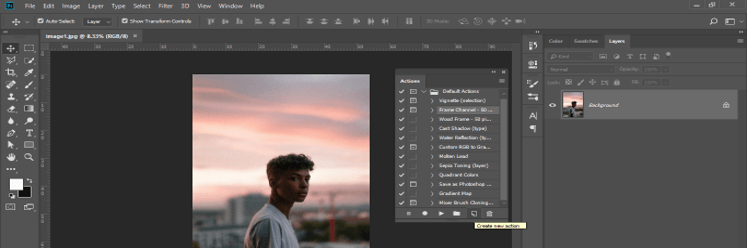
There is some default presets of Actions is available in this box. You can use any one of them without creating any action button on different images. But we will learn how we can create our own Action, so click on the Create new action button, which is at the bottom of this box.
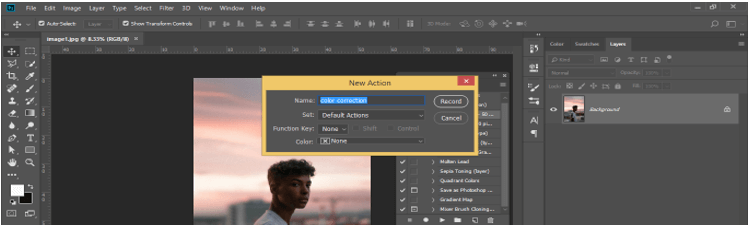
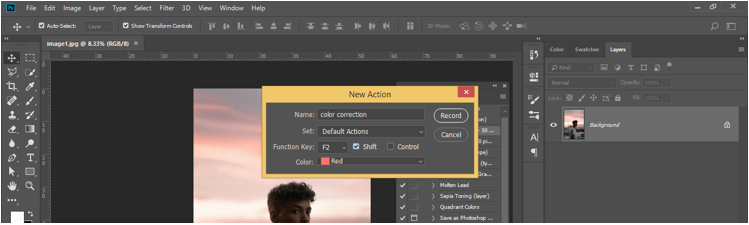
A new dialog box will open for the saving your Action button. Name your action as per your choice. For example, I will name it as Color Correction.
Define a short cut key for your action button from this list. You can choose anyone from this list.
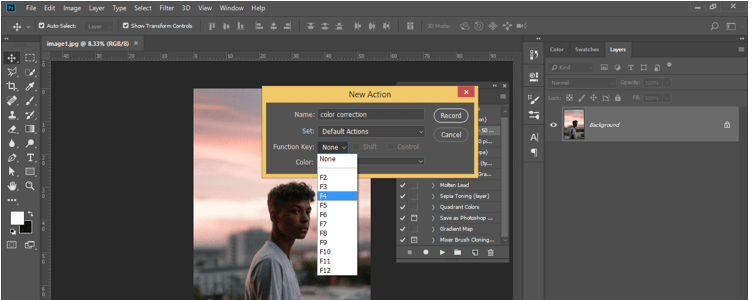
You can enable the Shift or Control button of the keyboard by clicking on the checkbox of these buttons as an additional key with a short cut key. Now click on the Record button of this dialog box.
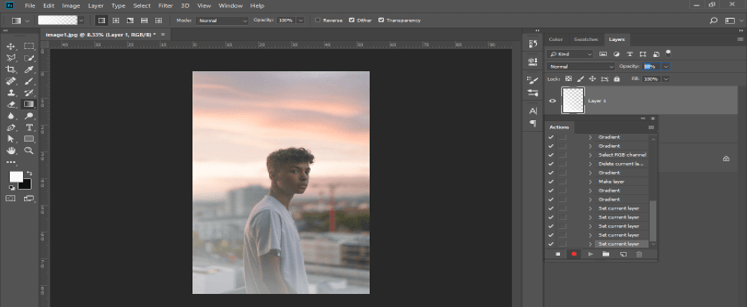
And your Action will start recording your each and every correction or change, which you will do in this image. The recording indicates by the red button in the Action dialog box at the button.
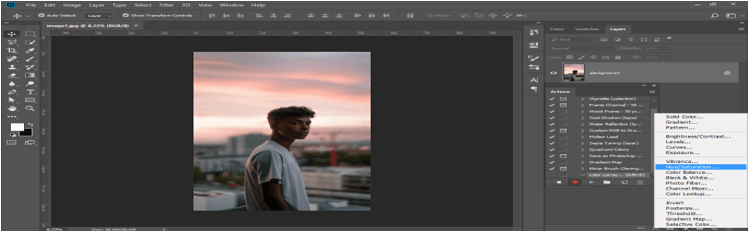
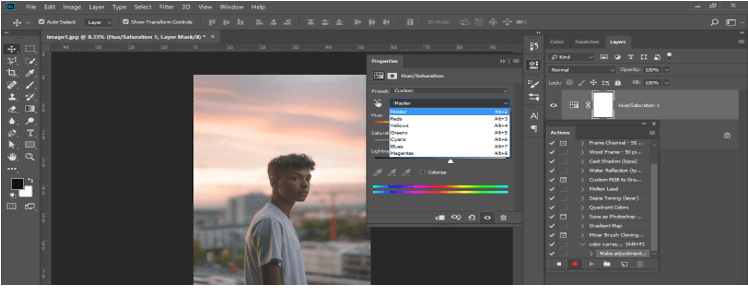
Now let us make some corrections to this image which will record in our action button. First, go to the Adjustment layer button, which is at the bottom of the layer panel, and a drop-down list will be open; then click on Hue/Saturation option from the list.
Now make some corrections in color of the image.
Now create a New layer for adding gradient on its image. For a new layer, go to the ‘create new layer’ button of the layer panel and click on it.
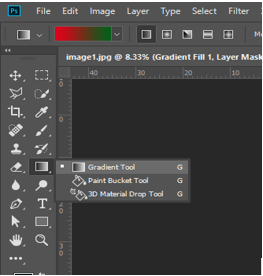
Now take gradient Tool from the tool panel by click on it, or you can press the G button of the keyboard as short but key.
Choose a simple gradient from the presets of the gradient property bar. You can choose it according to you.
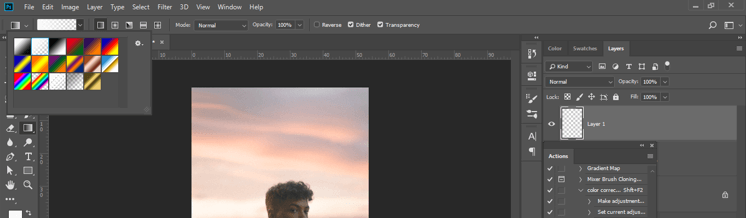
Drag gradient line on the image for applying a gradient on your image from your desired direction. I will apply a gradient from bottom to top direction like this.
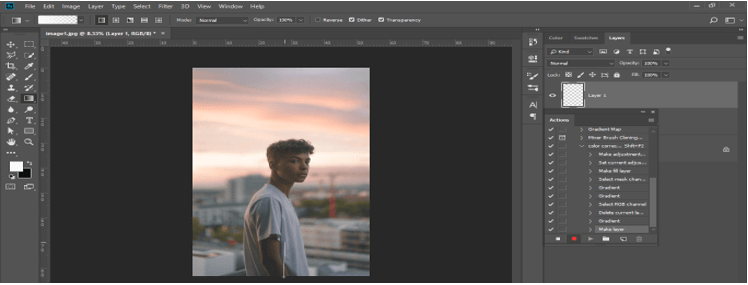
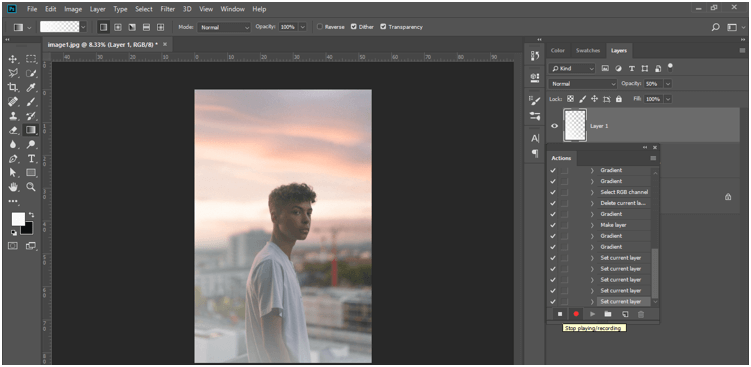
Now it will give a fade look of the image in the bottom area like this.
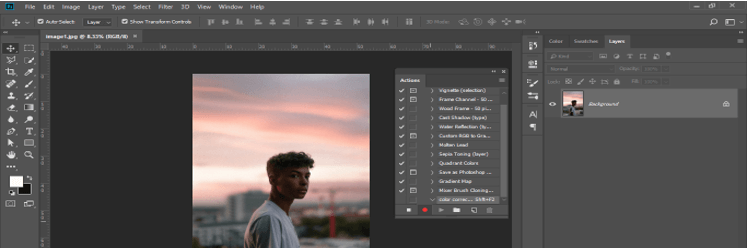
Now click on the ‘Stop playing recording’ button of the Action dialog box to stop recording.
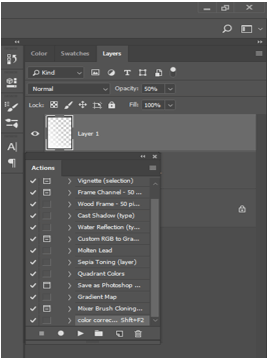
Your created Action will save in the list of Action presets in the Action box like this with your given name.
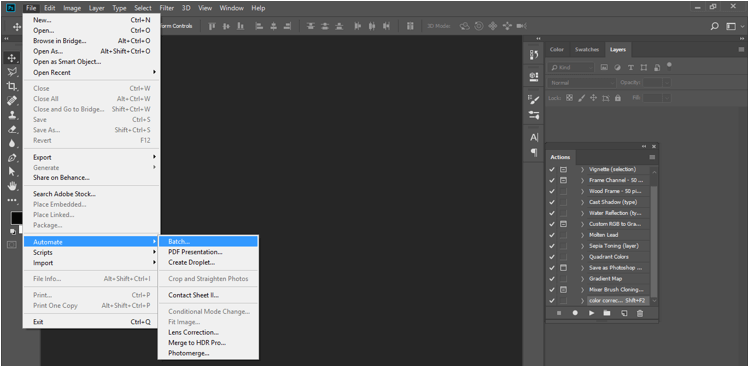
Now let us apply our action to other images with a click. For this, go to the File menu of the menu bar and click on it. Choose the Automate option from the drop-down list. Again go to the new drop-down list and choose the Batch option from the list.
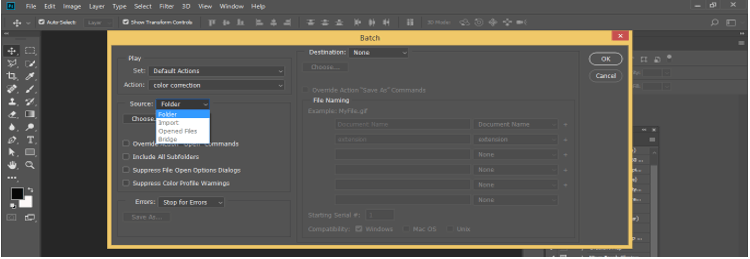
A dialog box will be open like this for choosing your action, which you want to apply to other images. Here choose your Action from this list. For example, I will choose ‘Color Correction’, which is created by me as my action.

Now choose how you want to apply your action to a different image. I will choose the Folder option from the list.
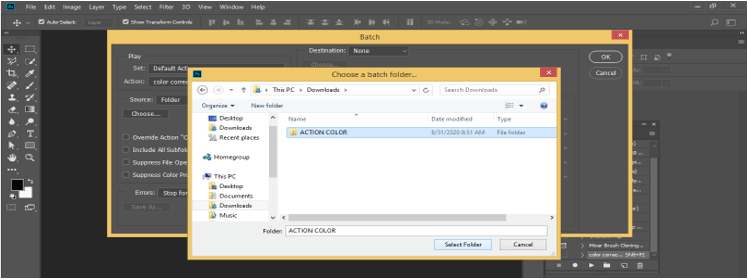
Now click on the Choose button of this dialog box. Once you click on the choose button, a new dialog box will open for choosing a folder where you have saved your image. I will choose this folder.
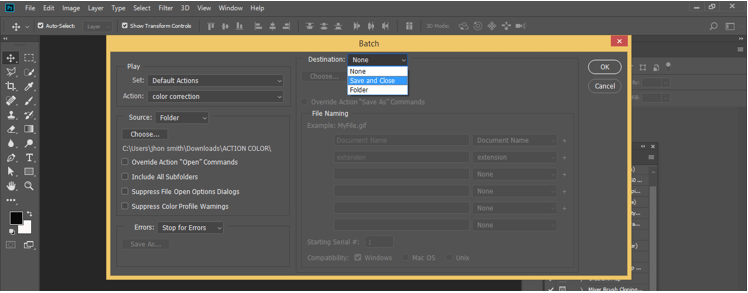
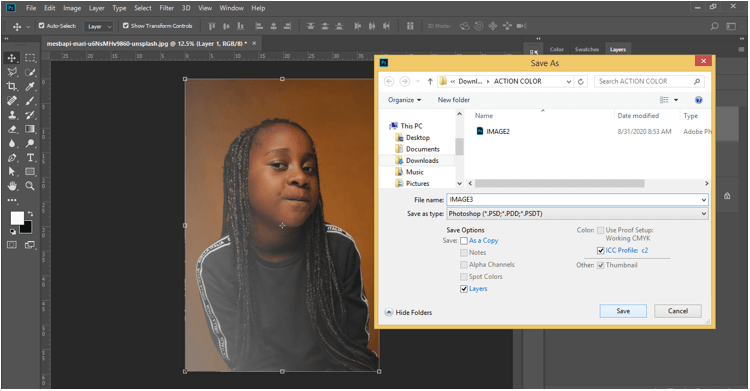
Choose Save and Close option from this list so that after applying your action on different images, it will ask you to save your edited image in your desired folder. Then click on the Ok button of this dialog box.
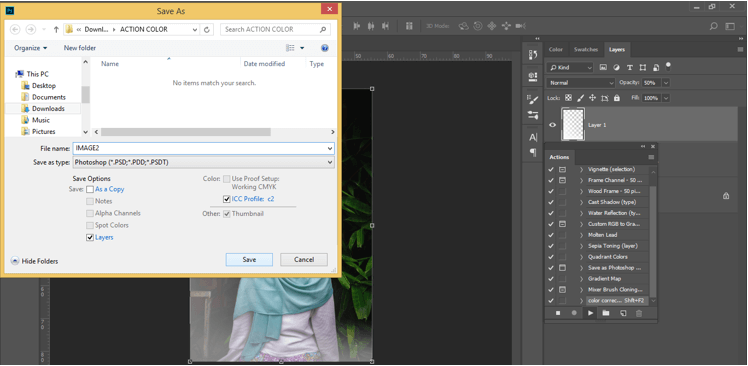
Now after applying your action on your selected image, it will ask you where you want to save it. So save it at your desired location, then click on the Save button of this dialog box.
Repeat this for each and every image of your selected folder.
In this way, you can create Action in Photoshop and apply it to different images for saving your time.
Conclusion
After this article, you can understand what Action is and how you can create it to save your time for some type of working in Photoshop for different images. Furthermore, you can increase your expertise in features of Photoshop by practicing on it.
Recommended Articles
This is a guide to Action in Photoshop. Here we discuss the steps to Create Action in Photoshop for different images. You may also look at the following article to learn more –
