Updated May 12, 2023
Introduction to Nginx multiple server_name
Nginx multiple server_name is defined by the server name’s directive and determines which server block is used for this request. We can define the nginx server name using wildcard names, exact names, or regular expressions. While searching a virtual server by using its name, if the name matches more than one variant, e.g., both regular expression and name of a wildcard will be matching.

Overview of Nginx multiple server_name
Multiple server_name is hosted on nginx by using a block of the server. If we choose VPS as our hosting platform, all the websites will reside on a single server; also, it will give us the flexibility to take control of ourselves. Nginx is the web server used as a load balancer, reverse proxy, and http cache. We can do all the hosting configuration by using configuration files; we need to create two separate configuration files to specify each server name. Nginx lookup starts from the block of http, through a block of one or more servers, followed by a location directive.
How to Set Nginx multiple server_name?
The below steps show how to set the multiple server_name of nginx. But first, we are installing the nginx server.
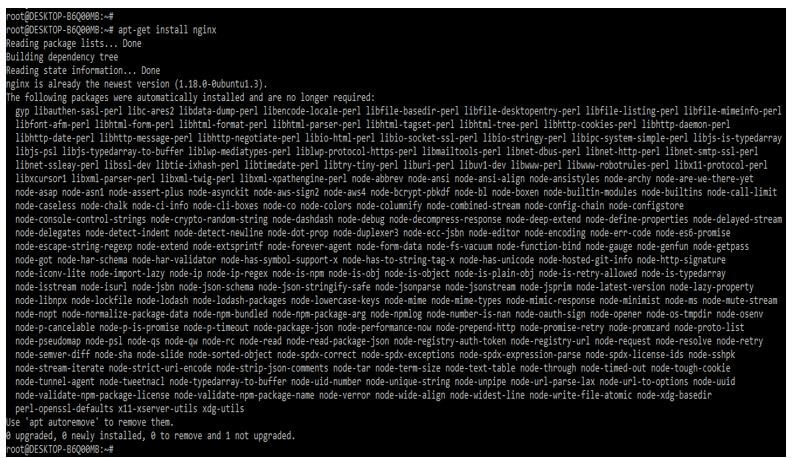
1. In the first step, we need to install the nginx server in our system. We can install the nginx server by using rpm, and source, as well as by using the binary installation.
Code:
apt-get install nginxOutput:
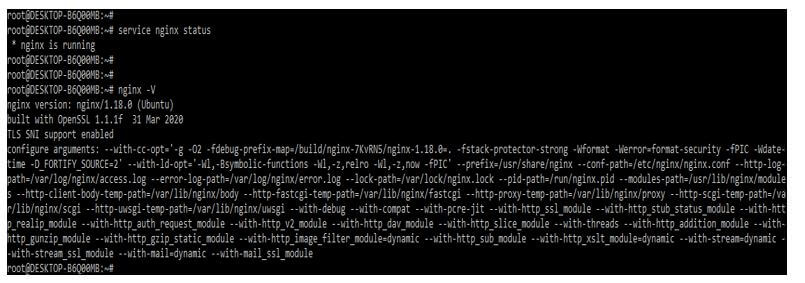
2. After installing the server of nginx, we need to start the nginx server by using the “service nginx start” command. After starting the nginx service, we can check the status of the service. We have installed the nginx version as 1.18 as follows.
Code:
service nginx status
nginx –V
Output:
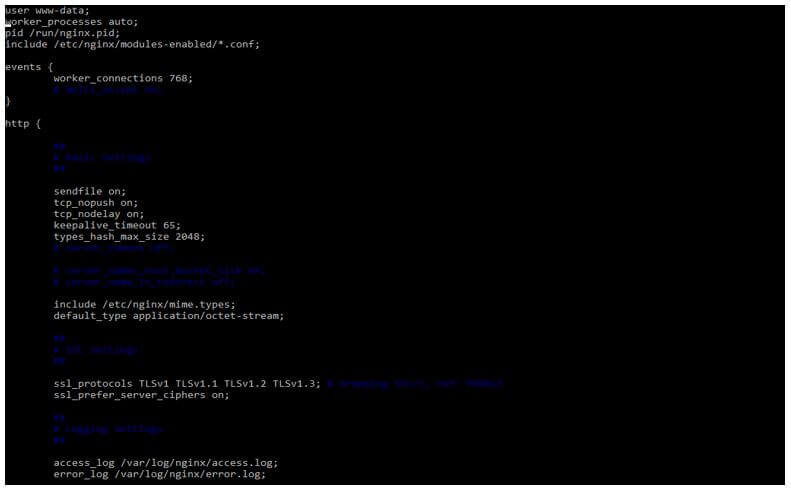
3. After creating the directory and providing the umask value to the same now, we are opening the nginx configuration file to add the configuration of the nginx autoindex as follows.
4. Now, we are creating the web root directory for the first domain. In this step, we create a directory and the configuration file.
Code:
mkdir -p /var/www/server1/html
vi /etc/nginx/sites-available/server1.conf
Output:

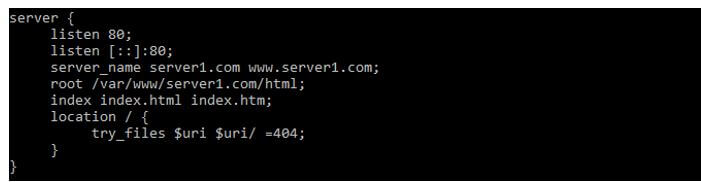
5. After creating the web root directory, we add the server configuration for the first domain. In the below example, we added the listen port as 80 and defined the first server name as server1.com. The directive of root will specify the root location for our website.
Code:
server {
  listen 80;
  listen [::]:80;
  server_name server1.com www.server1.com;
  root /var/www/server1.com/html;
  index index.html index.htm;
  location / {
  try_files $uri $uri/ =404;
 }
}
Output:
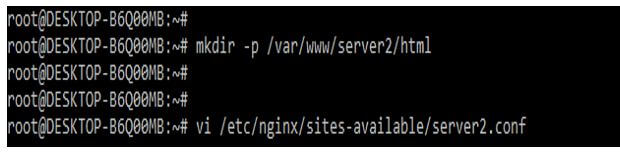
6. We are now creating the second domain’s web root directory. In this step, we create a directory and the configuration file.
Code:
mkdir -p /var/www/server2/html
vi /etc/nginx/sites-available/server2.conf
Output:
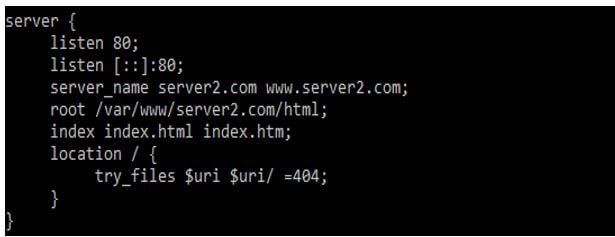
7. After creating the web root directory of the second domain now, we are adding the server configuration for the second domain as follows. In the below example, we are adding the listen port as 80 and defining the second server name as server2.com.
Code:
server {
  listen 80;
  listen [::]:80;
  server_name server2.com www.server2.com;
  root /var/www/server2.com/html;
  index index.html index.htm;
  location / {
  try_files $uri $uri/ =404;
 }
}
Output:
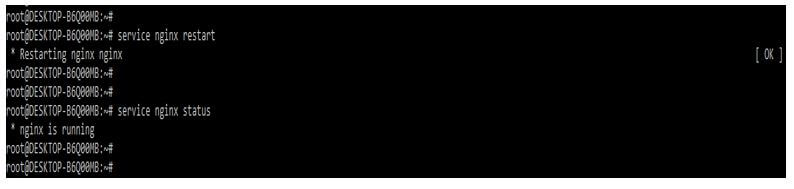
8. After adding the configuration of the first and second domains in this step, we restart the nginx server.
Code:
service nginx restartOutput:
Use of multiple server Block
The Nginx server contains multiple server blocks. While searching the virtual server by its name, suppose we choose by using the following order of precedence.
- Exact name
- The name of the longest wildcard starts from the asterisk, e.g., “*.server.com”.
- The name of the longest wildcard is ended with an asterisk, e.g., “mail.com.”
- First regular expression.
The wildcard name contains the asterisk at the time of the name starting and ending. We can specify multiple names by using regular expressions. The regular expression we are using by nginx was compatible with those using the programming language of Perl. When using a regular expression with multiple server blocks, the server’s name must start with the tilde character.
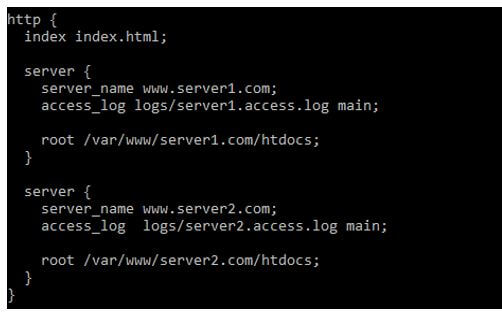
If suppose the server name does not start with the tilde character, then it will be treated as the exact name or the expression containing the asterisk or wildcard. The below example shows the use of multiple server blocks as follows.
Code:
http {
      index index.html;
server {
       server_name www.server1.com;
       access_log logs/server1.access.log main;
       root /var/www/server1.com/htdocs;
}
server {
       server_name www.server2.com;
       access_log logs/server2.access.log main;
       root /var/www/server2.com/htdocs;
       }
}
Output:
How to Configure Nginx multiple server_name?
Below steps shows how we can configure the nginx multiple server_name as follows:
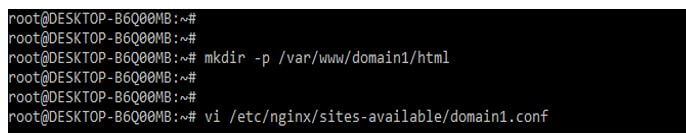
1. First, we create the web root directory for the first domain. In this step, we create a directory and the configuration file.
Code:
mkdir -p /var/www/domain1/html
vi /etc/nginx/sites-available/domain1.conf
Output:
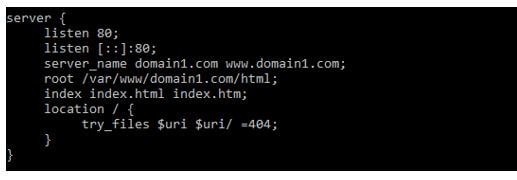
2. After creating the web root directory now, we are adding the server configuration for the first domain as follows.
Code:
server {
        listen 80;
        listen [::]:80;
        server_name domain1.com www.domain1.com;
        root /var/www/domain1.com/html;
        index index.html index.htm;
        location / {
   try_files $uri $uri/ =404;
 }
}
Output:
3. We are now creating the second domain’s web root directory. In this step, we create a directory and the configuration file.
Code:
mkdir -p /var/www/domain2/html
vi /etc/nginx/sites-available/domain2.conf
Output:

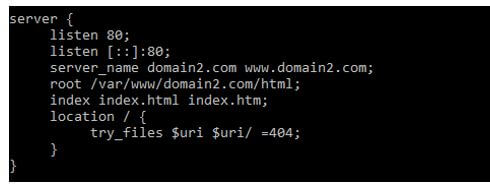
4. After creating the web root directory of the second domain now, we are adding the server configuration for the second domain as follows.
Code:
server {
        listen 80;
        listen [::]:80;
        server_name domain2.com www.domain2.com;
        root /var/www/domain2.com/html;
        index index.html index.htm;
        location / {
    try_files $uri $uri/ =404;
  }
}
Output:
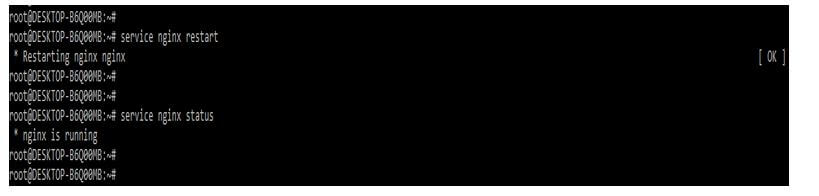
5. Restart the nginx server.
Code:
service nginx restartOutput:
Conclusion
Nginx lookup starts from the block of http, through a block of one or more servers, followed by a location directive. Nginx multiple server_name is defined by the server name’s directive and determines which block of the server is used for this request.
Recommended Articles
This is a guide to Nginx multiple server_name. Here we discuss the introduction, how to set nginx multiple server_name? Use & configure multiple server blocks. You may also have a look at the following articles to learn more –
