Updated August 25, 2023
Introduction to Healing Brush Tool in Photoshop
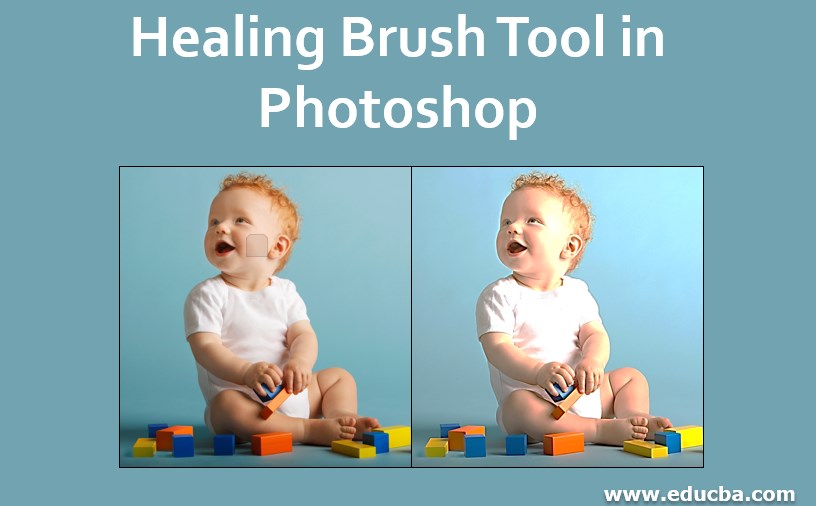
In this article, we will discuss the Healing Brush Tool in Photoshop. We use Photoshop for the purpose of editing raster graphics that means you can edit any raster image in Photoshop with the help of many exciting tools of this software. Healing Brush Tool is one of the most popular tools of this software. You can also do any type of editing work with the help of this tool. We generally use this tool for color correcting any image by taking the color sample from the same image, removing any object from an image, taking any object of an image, and placing it on other positions in the same image. This article will discuss the features and working of this tool and check out ‘How it can be used?’ in a different context with some examples.
How to Use the Healing Brush Tool in Photoshop?
Let us take a look at the features of this tool first, and later, we will discuss its use with exciting examples:
- This is the Healing Tool of this software. It denotes the symbol of bandages because the word ‘Healing’ refers: ‘To Recover Something’. You can find this tool in the section of the Spot Healing brush tool of the Tool panel of this software.
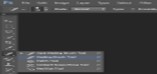
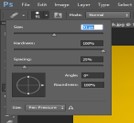
- Once you click on this tool to activate it, the properties of this tool will be activated at the top of the working area.
![]()
- In the property of this tool, you can set the size of the brush according to the selection area; the hardness option in the property of this tool will give you soft and hard edges by changing the value of hardness. Next is Spacing; take the value of spacing about 15 % to 20% for the smooth working of this tool.
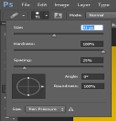
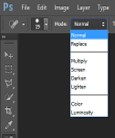
- Next is Mode. We have different types of modes in this tool, which gives a result of some changes. We will see this mode in the next step with an example.
Example #1
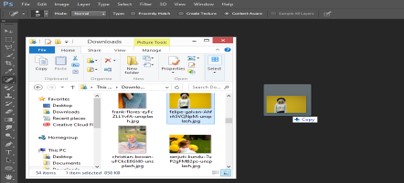
Step 1: Let us take some images for our learning. For placing an image in Photoshop, open the folder of your personal computer, where you have saved the image, and then pick it from there and drop it in Photoshop with the help of the mouse button.
Step 2: Now click on the Healing Brush tool in the Tool Panel.

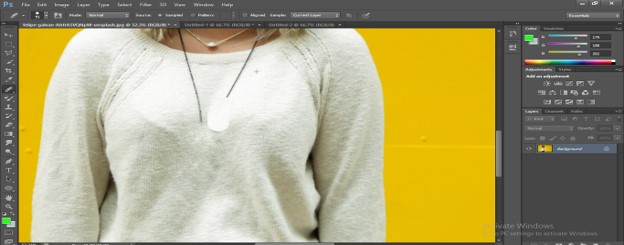
Step 3: We will remove the locket off of the girl in this image with the help of the Healing brush tool. Now Increase the size of the tool from its property for better selection.
Step 4: Now ‘Zoom In’ the image for a better view by holding the Alt button of the keyboard and scroll out the mouse wheel.
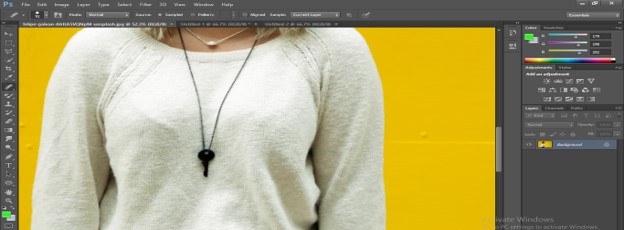
Step 5: Now press the Alt button and hold it and then click on the white area in the T-shirt of the girl for taking a sample of the T-shirt.
Step 6: In the next step, go to the locket area; you can see the sample will be shown in the circle, which you have taken with this tool.

Step 7: Now press the mouse’s left button to place this sample in the locket area.
Step 8: When you drag the mouse cursor, after pressing the left click of the mouse, a plus sign in becoming visible on the working area. This plus sing will take samples continuously when you drag the mouse pointer after clicking the mouse’s left button. So be aware that where is the plus sign otherwise, it will take the undesired sample. You can remove this locket by pressing the left button of the mouse again and again.
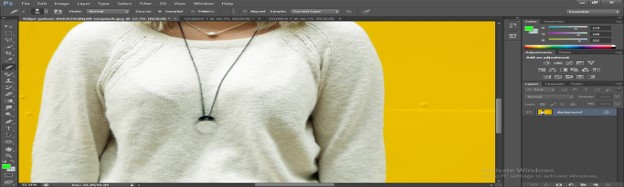
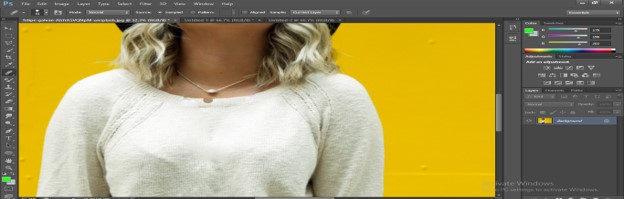
Step 9: This is the first use of the Healing brush tool. You can see the locket is removed from the image without damaging any part of this image.
Example #2
Step 1: Now, come to the next image to know about the next use. Make sure the image is ‘Rasterize’. If the image is not raster, you cannot edit it in this software. For rasterizing, right-click on the image layer in the layer section. A drop-down list will be open; click on the ‘Rasterize Layer’ option.

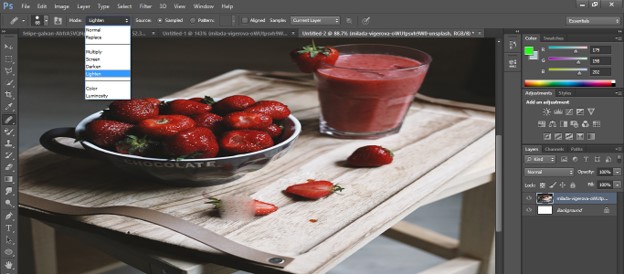
Step 2: Now, if you take Darken mode, then it will only remove light color, and dark color will remain as it is.
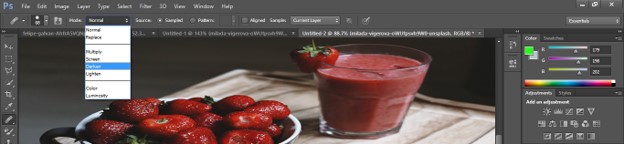
Step 3: For example, I will take a sample from the table in the image and try to remove the strawberry, which is on the table. But when I click on it to remove it, it will not remove because it has a darkened area.
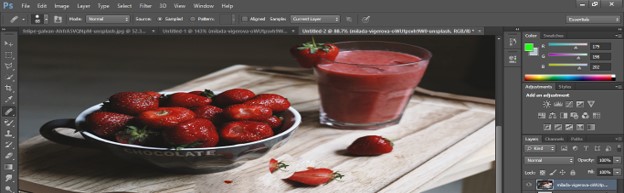
Step 4: Now, when you take Lighten as a mode. It will remove dark colors only and leaves the lighten the area. For example, when we remove the same strawberry with a sample of the table, lighten color will not remove.
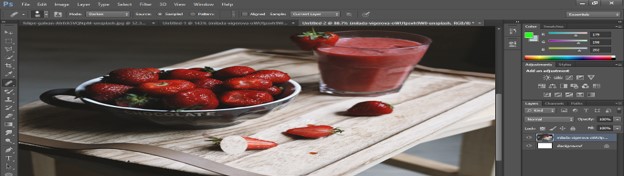
Step 5: We generally use Normal mode for removing any object or placing any object. For removing the strawberry, take the sample from the table and then click on the strawberry with the mouse’s left button again and again until the strawberry is totally removed.
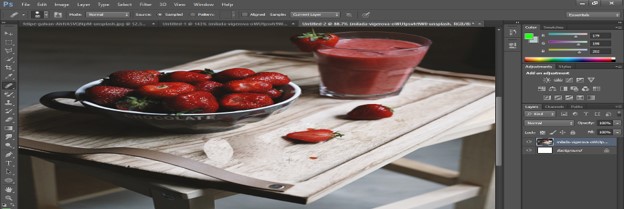
Step 6: If you want to place the strawberry anywhere else in the image. Just go on strawberry and click on it by holding the Alt button. The healing tool will take it as a sample.
Step 7: And then place it anywhere in the image by pressing the mouse’s left button.
Example #3
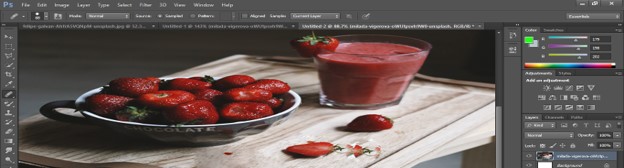
Step 1: The next property is Source. In it, we will choose the type of sample. If you take the ‘Sampled’ option then, the tool will take a sample of your desired area and replace the object with the taken area.
![]()
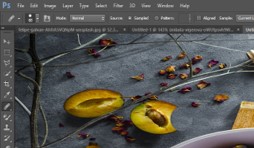
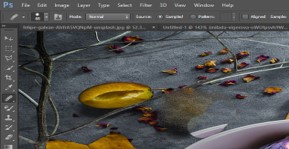
Step 2: For example, If we take a sample of the background of this image and remove the fruit with it, then took will replace the fruit with the background color.
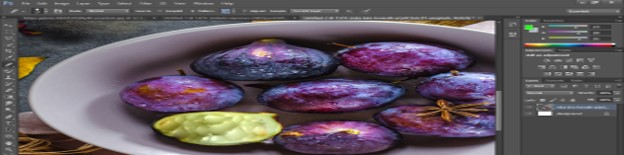
Step 3: But if we choose ‘Pattern’ in Source, then the selected area will be replaced with a pattern.
![]()
Step 4: You can choose any pattern from the drop-down box of the Pattern property.

Step 5: I will click on the half onion area with a selected pattern, and you can see the area replaced with the pattern.
Example #4
Step 1: Next is the Sample property. It will help you in working on more than one layer.
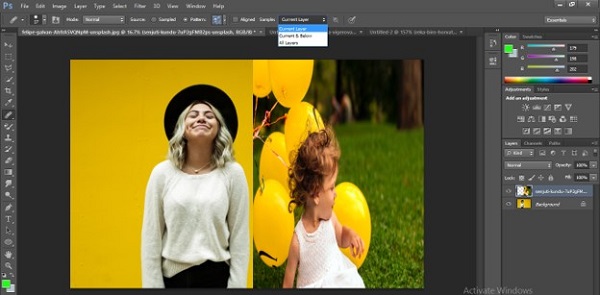
Step 2: When you work with all layer options, the tool will work on both layers at a time.

This is all about the Healing tool of Photoshop.
Conclusion
Now you can edit any image with the help of the Healing tool of Photoshop and solve the problem related to removing the object, adding objects, and editing images. Having knowledge of the Healing tool enhances your skill and smooths your work in raster graphics.
Recommended Articles
This is a guide to Healing Brush Tool in Photoshop. Here we discuss the basic concept of fixing and blending images using the Healing Brush Tool in Photoshop. You can also go through our other related articles to learn more –
